


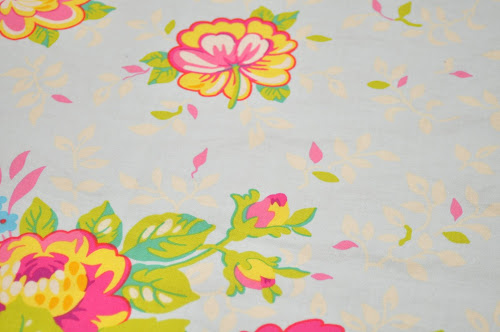
- Half a yard of your favourite fabric
- Matching lining fabric
- Scraps for the top petals
- Embroidery floss in matching colours
- Batting
Watch a 2 minute fabric embroidery demo first:
- Teapot cozy template (pdf). The template is for a pot 11 ½ x 21 ½ (see below on how to measure your teapot)

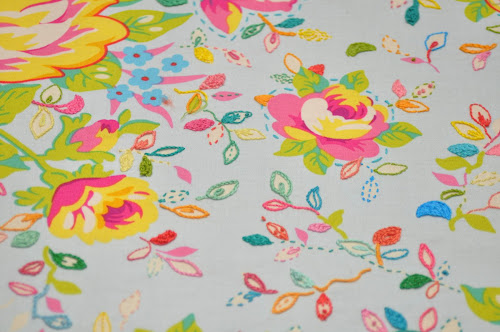
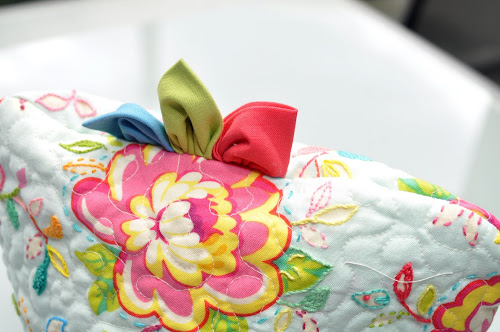
Detail of the embroidery.
Measuring your teapot
Measure your teapot around the widest part and add one extra inch: 21 1/2”.

Now measure it around its height from side to side and add an extra inch: 11 1/2”.

Divide both measurements by 2 and add 1” to each.
My teapot is 22 ½ around by 12 ½ high. Using these figures I made the teapot pattern (pdf). If this template doesn’t fit your teapot, which is quite likely, you can use the method I just explained to create your own pattern.
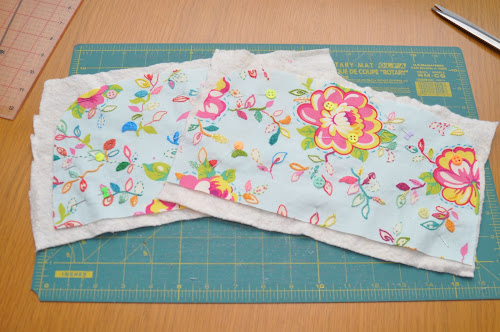
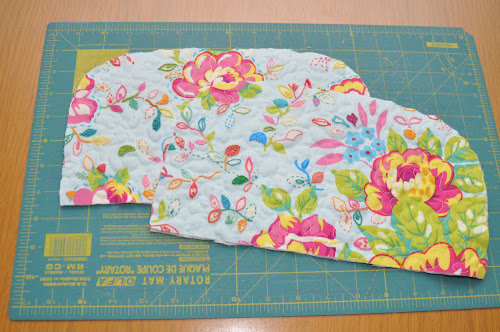
Cut panels
Using the template cut 2 pieces of the outside fabric and 2 of the lining fabric.
To cut, fold the fabric in half and place the template on the fold as per picture below. Cut around the template.

Add batting
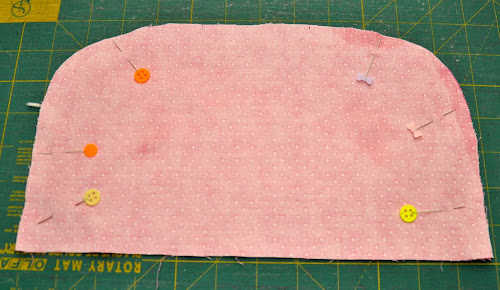
Cut two rectangles of batting larger than the front panels and pin to the fabric.
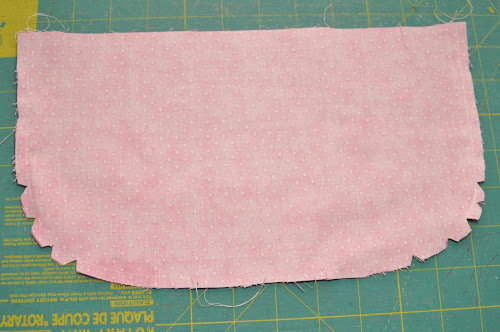
Quilt and trim.
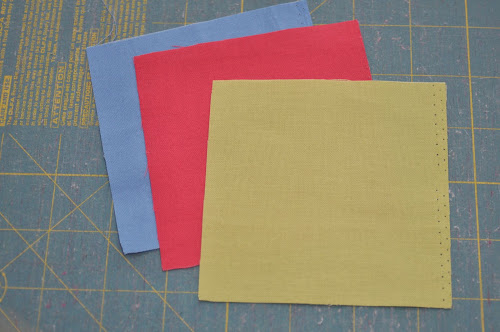
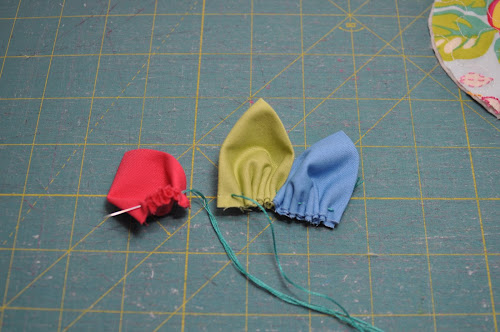
Making the top petals
Cut 3 squares, 4” x 4”.
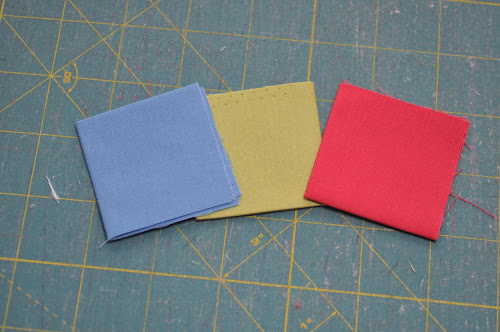
Fold twice into a smaller square.
Now round the corners.
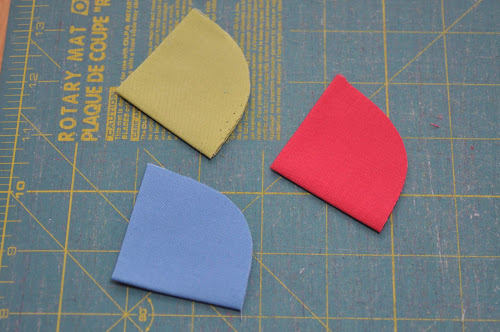
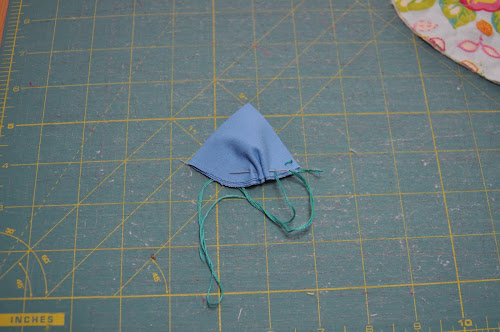
Do the same with each square and stitch them together as you go.
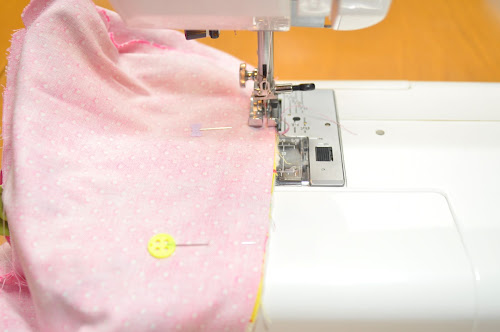
Sewing the panels together
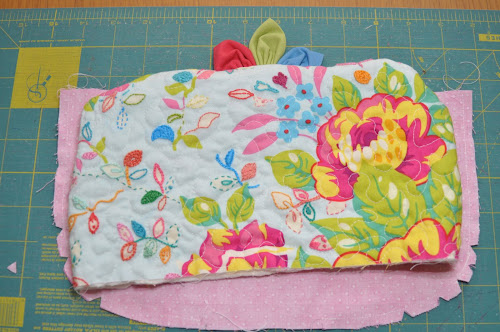
Place one panel right side up, then place the petals in the middle facing the bottom of the panel.
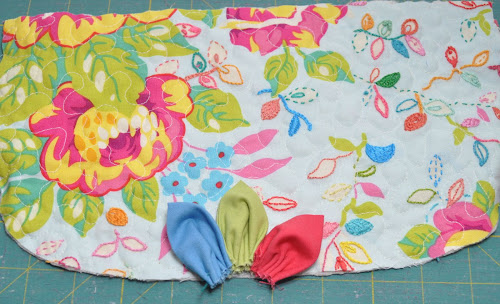
Place the second panel with the wrong side up and pin in place.
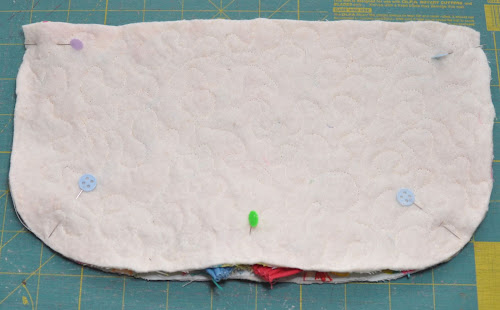
Cutting the lining
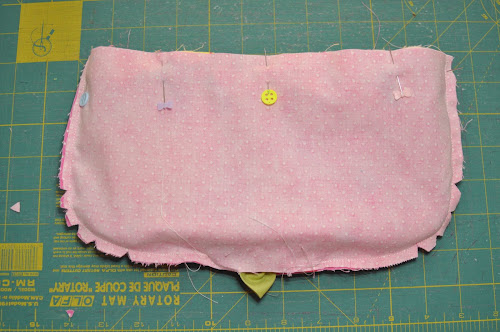
Using the template cut 2 more panels for the lining. Pin in place.
Stitch around leaving a 3” opening at the top to turn the cozy inside out.
Pink the corners after stitching.
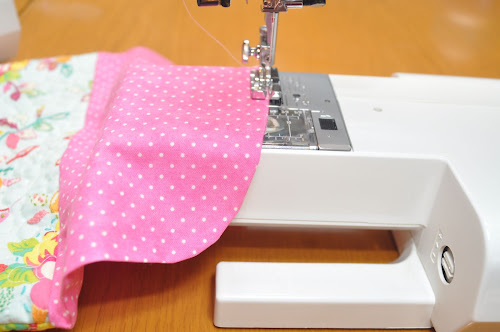
Adding the lining
Place the quilted side of the cozy inside the lining as per picture below. Align the edges well and pin in place.
Stitch all along the edge.
Turn inside out through the 3” opening in the lining.
Stitch the opening in the lining.
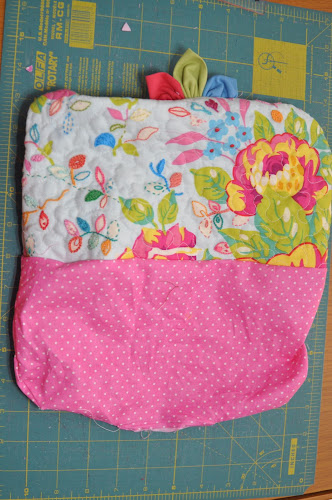
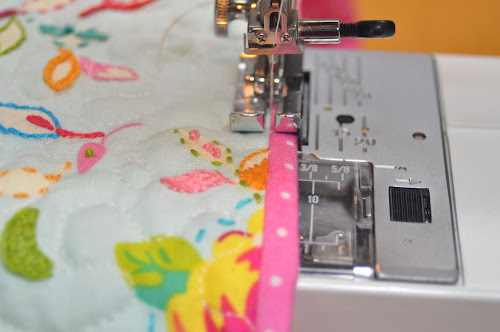
The lining will be slightly larger than the quilted cozy so it will overflow at the base. Use this bit of extra lining to add a small border as per picture. Just iron the extra lining and topstitch.
Top detail.
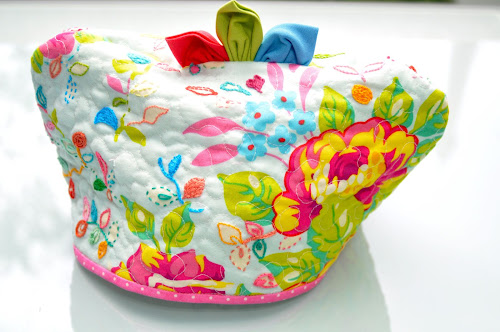
The teapot cozy is finished.
Join my Patreon page

Get a new video tutorial every week plus other exclusive perks with 3 membership tiers.
Stay connected
Subscribe to my blog, follow me on YouTube , Instagram or join my Facebook group and Facebook page.
My book and other publications
You can now purchase individual chapters from my book as bundles of 4 unique quilt patterns.
If you prefer to own the complete book, Turnabout Patchwork, please note it is currently out of print. However, you might still be fortunate enough to find a copy on Amazon.
Explore all the quilts from the book in real-life projects!

