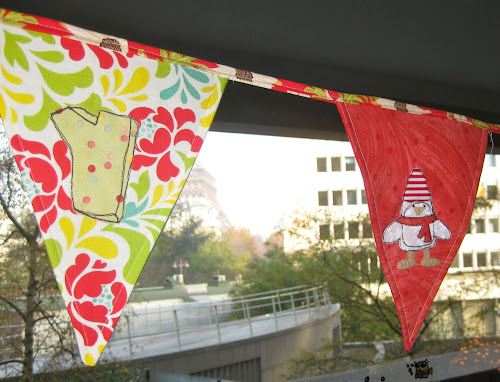
In this part we’ll be finishing the bunting.
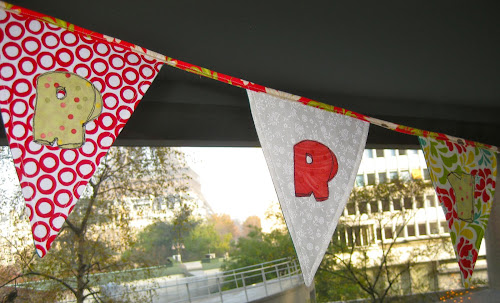
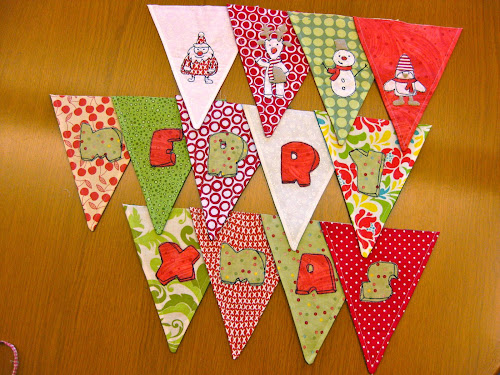
Firstly we will be making flags with the message MERRY XMAS.
Download the lettering and bunting templates (pdf), print it and proceed to fuse it to the flags as you did in Part 1. You will need to transfer R and M twice as there’s only one copy of each letter in the download.
Cut 9 flags and fuse the letters to the flags.
Cut 9 triangles of one sided fusible interfacing and iron to the back of each flag.
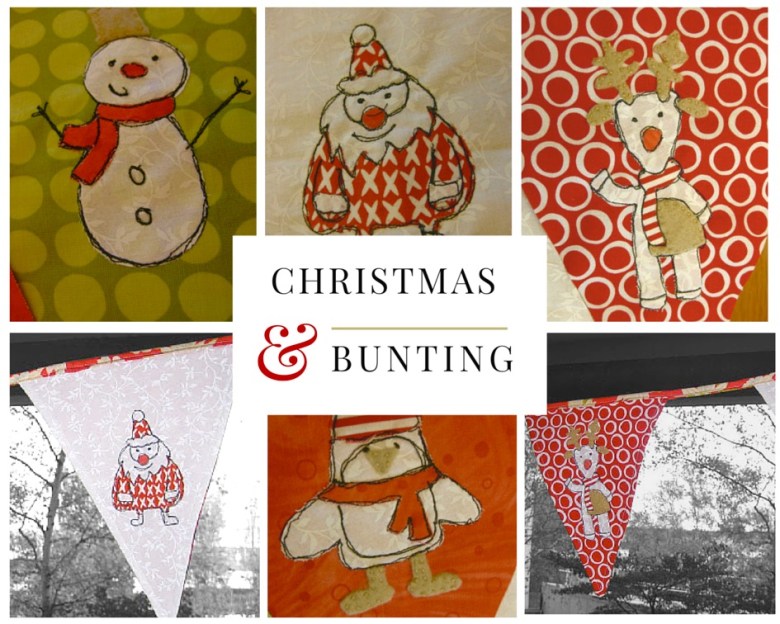
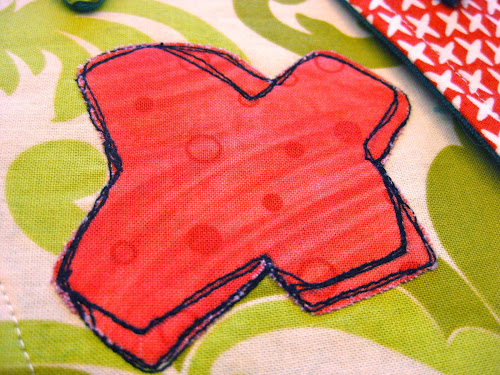
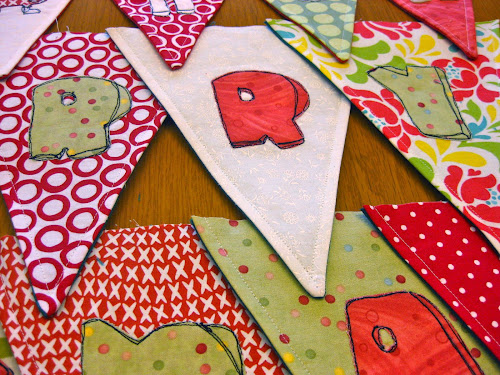
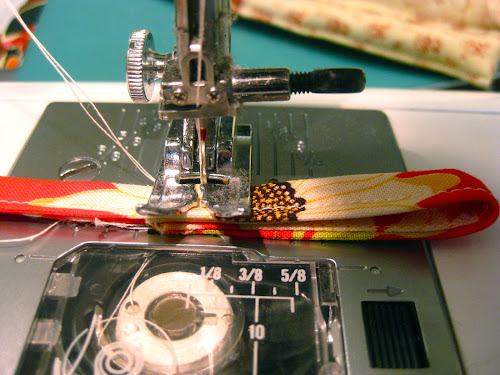
Then draw the inside lines of each letter to make it 3D as per pattern.
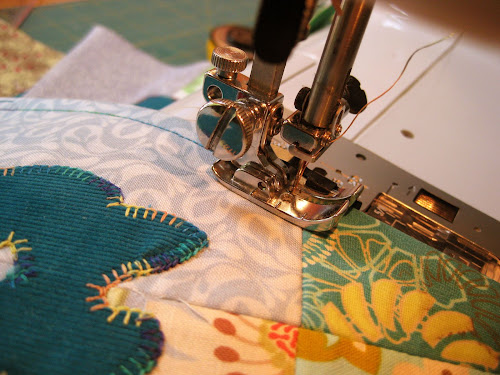
Stitch around each line and around the edge of each letter as per picture below).
Now you will need to add some backing to each flag. Cut 13 triangles in a matching fabric or calico.
Place front and back flags right sides together and stitch around 2 sides leaving the top open to turn inside out. Trim the pointy end of the triangle before turning inside out.
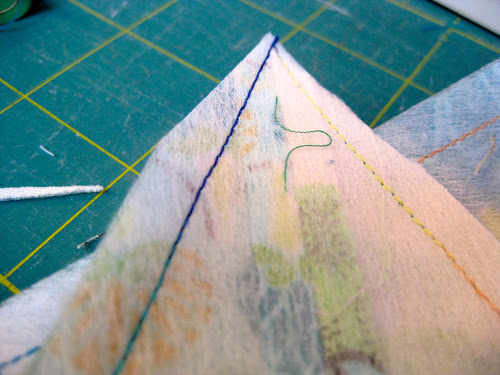
Turn inside out and push the corner out with a pointy blunt instrument. Iron flat.
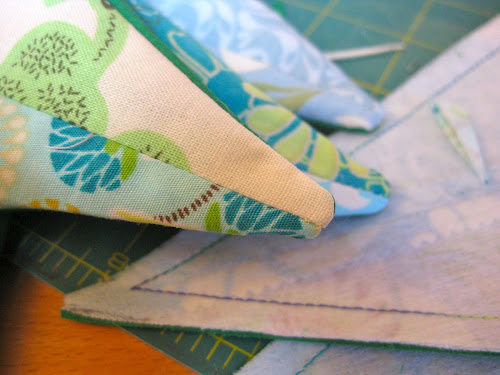
Top stitch each triangle around 3 sides leaving a one quarter seam allowance.
Trim the open end of each triangle.
The triangles are ready to be placed on a string.
Making the string
The strip of fabric we need to place the triangles in is 140 inches long.
The width of the strip is 1 ½ in wide.
Fold the strip of fabric in half and iron, then fold each side inside again and iron.
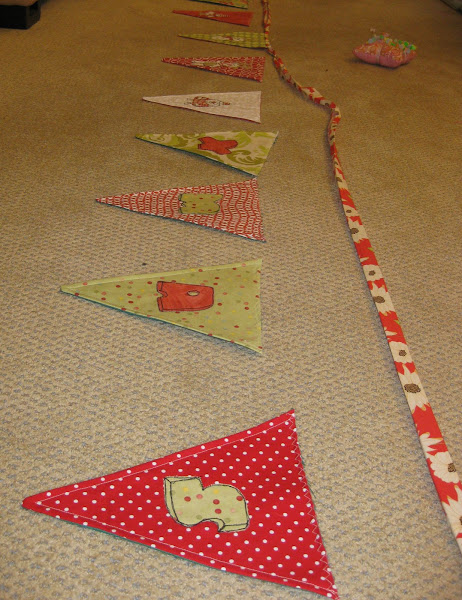
Fold the strip in half and pin it in the middle. Use this mark to place the first flag.
After pinning the first flag, continue to place a flag on each side leaving 3 ½ inches separation between flags.

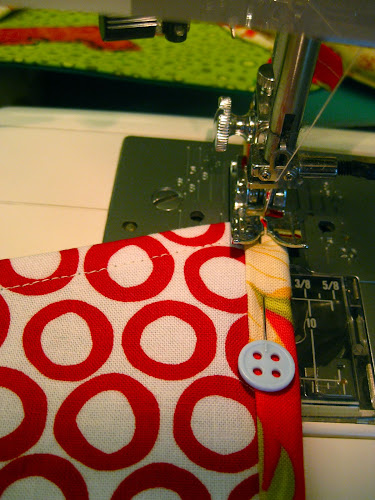
After all flags have been pinned, top stitch along the strip.
Fold both ends of the string to make a hook as per picture.
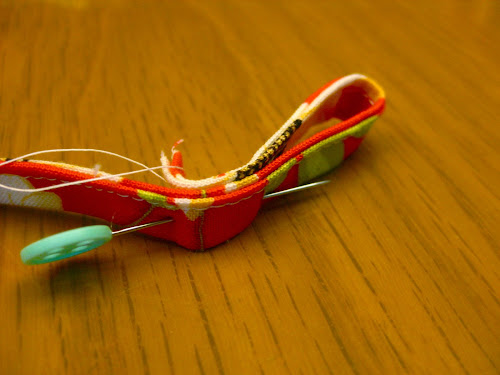
Stitch.
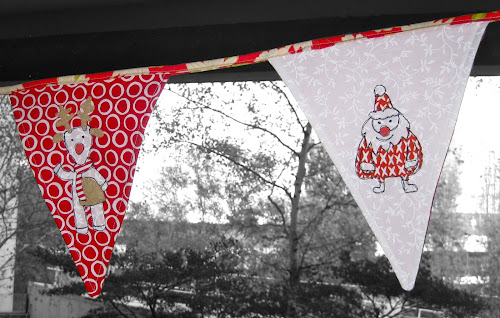
All done.