
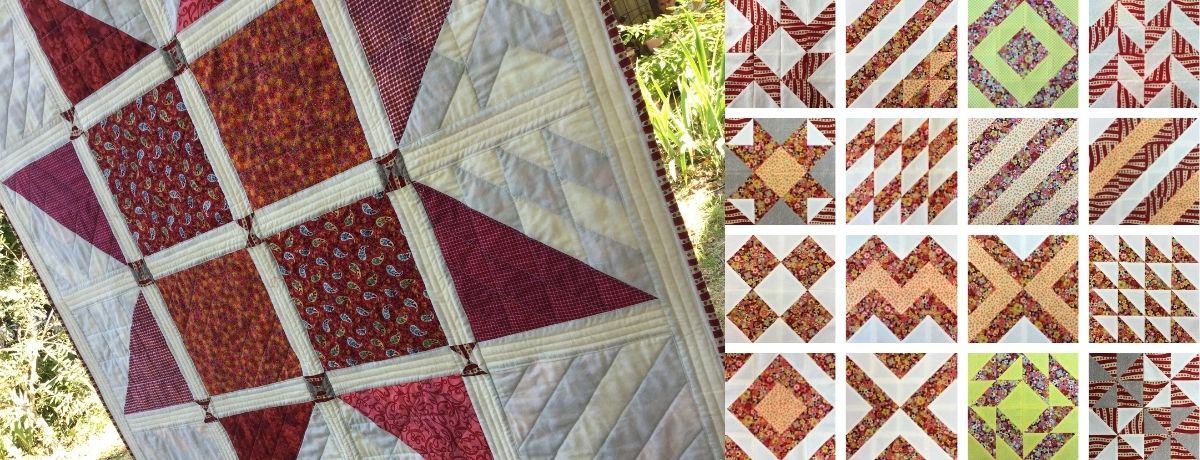

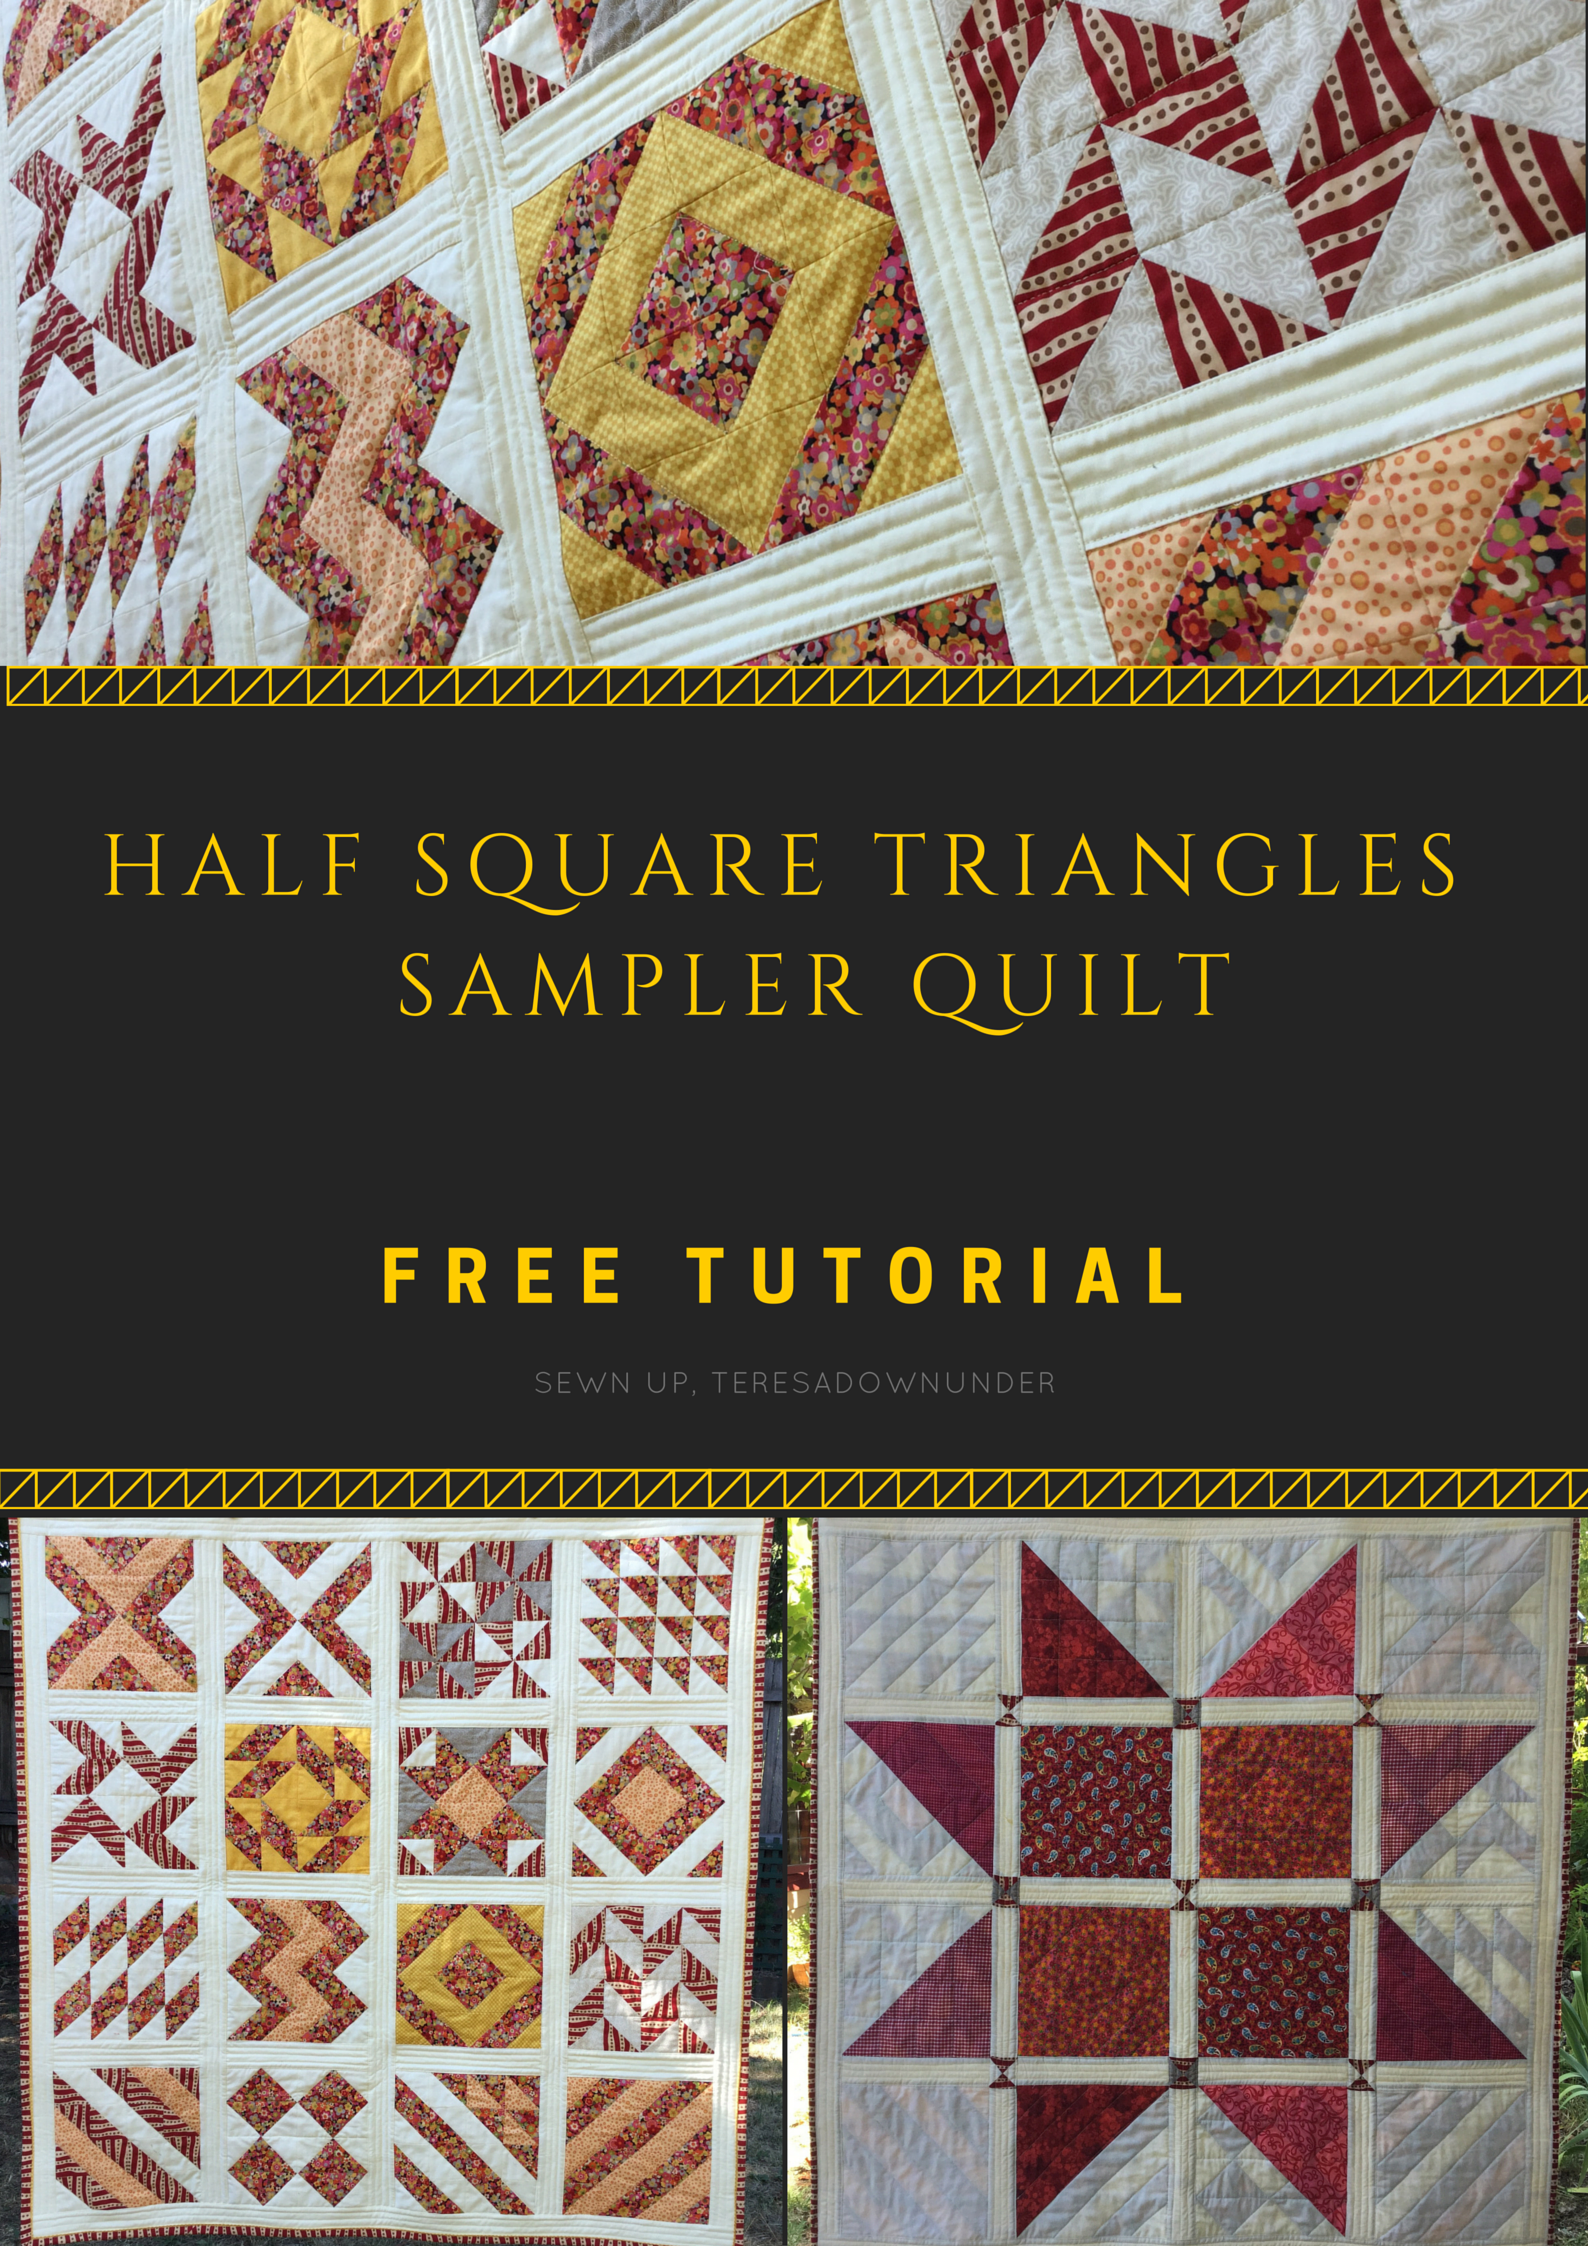
- Skill level: beginner.
- Block size: 10 1/2 inch square.
- Block type: 16-patch block.
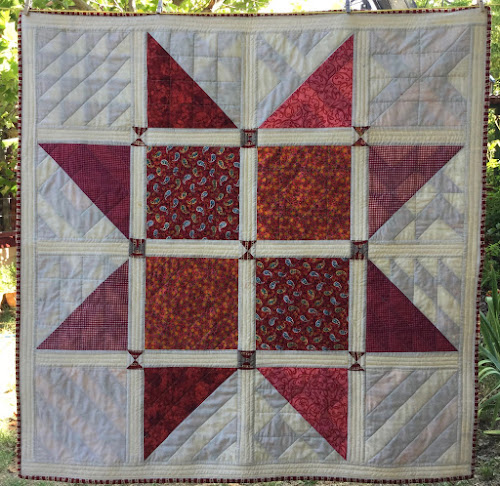
- Quilt size: 48 1/2 inch square.
- Quilting technique: Quilt-as-you-go (QAYG).
- Binding: machine binding with faux piping
How to make this quilt
How to make the Half Square Triangles (HST)
Watch the 2 minute video tutorial on making 8 HSTs at once:
If you enjoy my video tutorials, subscribe to my Youtube channel.
Some notes on making the blocks
Fabric needs
Each pair of 7 inch squares makes 8 HST.
You will need at least four 7 inch squares for each block or more for blocks in 3 or 4 different fabrics. The left over HSTs will be used in the sashing.
I give you the fabric needs for each block tutorial below.
Trimming half square triangles: Essential. Remember to trim off your HSTs and make sure that they are 3 inch square.
This quilt is fat quarter friendly.
Colour scheme: For better results, use high contrasting fabrics.
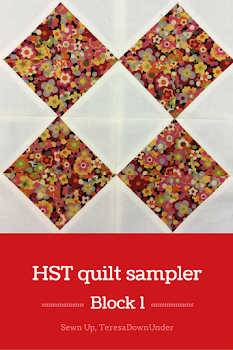
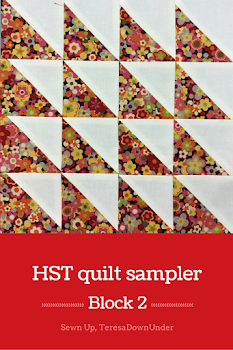
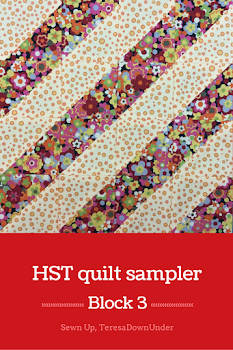
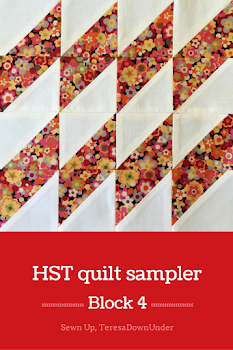
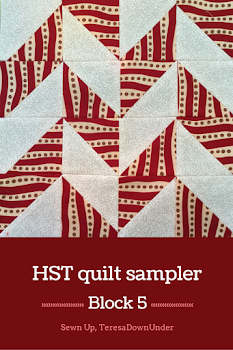
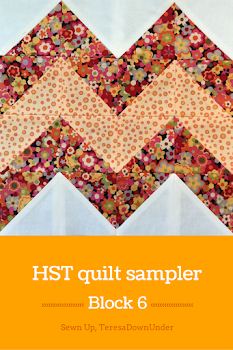
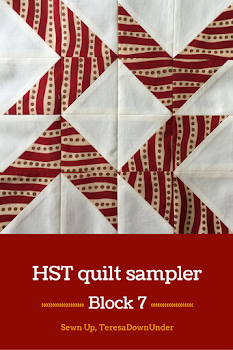
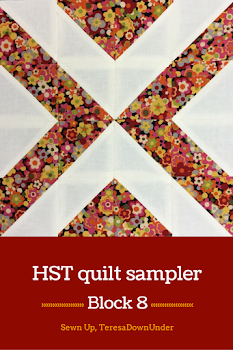
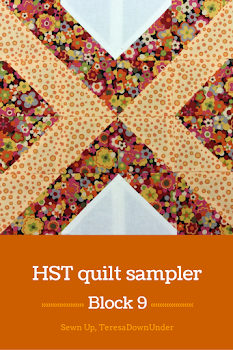
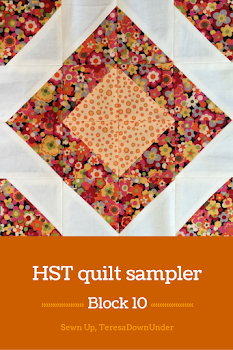
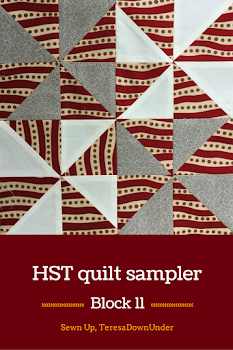
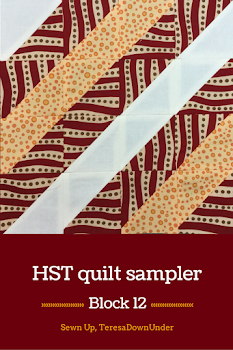
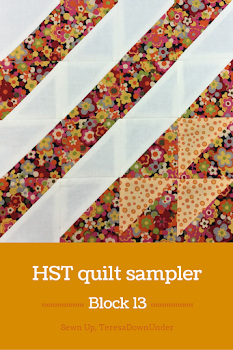
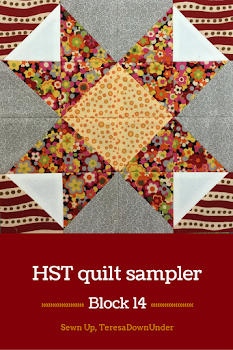
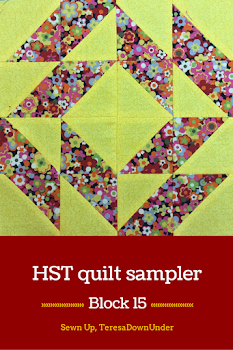
HST quilt sampler block tutorials:

Free motion quilting
Once you make the 16 blocks, it’s time to quilt them individually before you put them together with quilt as you go.
Quilt-as-you-go (QAYG) with 2 inch sashing tutorial
Learn to how to quilt as you go with sashing in just over 3 minutes:
Sashing mini hourglass blocks
The long sashing strip for the back has hourglass little blocks in the intersections.
I used the left over HSTs from the blocks to make an hourglass block.
To make the hourglass block, take 2 HSTs.
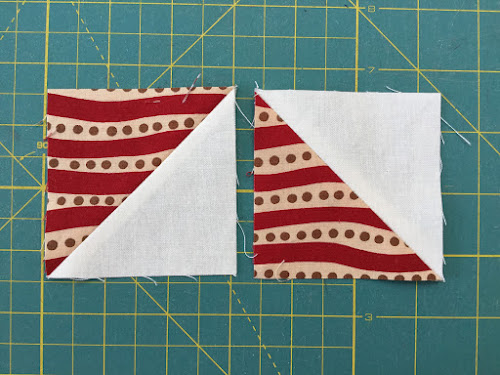
Place both HST with right sides facing together as shown below:
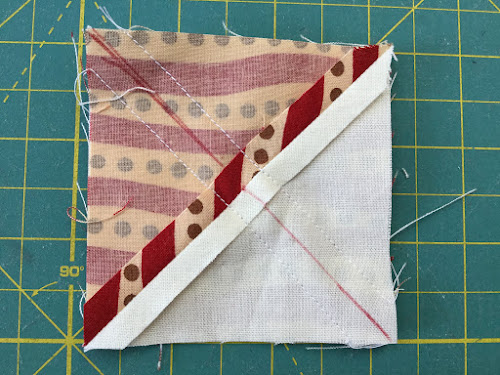
Draw a diagonal line.
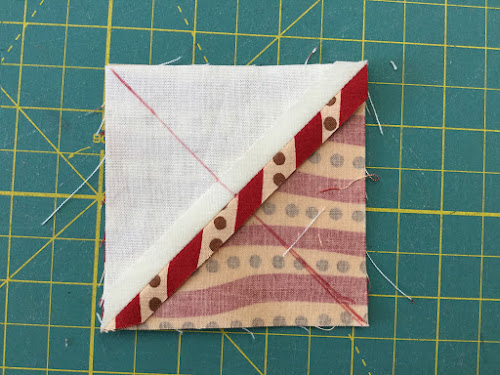
Sew together on each side of the diagonal line, at 1/4 inch from the line, as shown below:
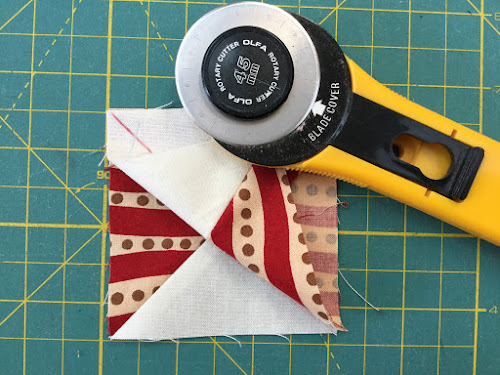
Cut along the line.
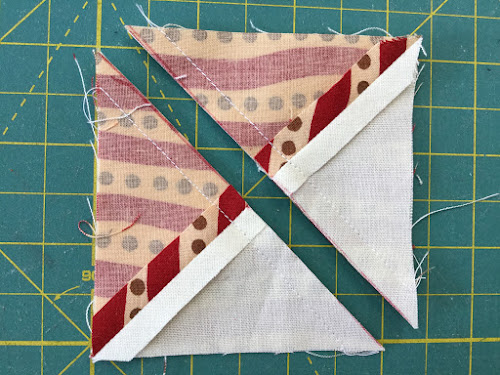
Trim the resulting block to 2 1/2 inch square.

Back of the quilt
Fabric requirements
- Four 10 1/2 inch squares in white for the corner squares
- Four 10 1/2 inch squares in reds for the centre squares
- Four 10 3/4 inch squares in white for the star points
- Four 10 3/4 inch squares in red for the star points
Star points
I made the star points using two 10 3/4 inch squares in white and red placed with right sides together and sewn in the diagonal.
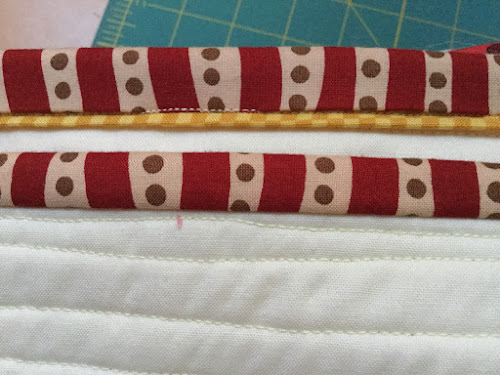
Machine binding with faux piping tutorial
Learn to make the machine binding with faux piping in 2 minutes:
Look how pretty the binding is.
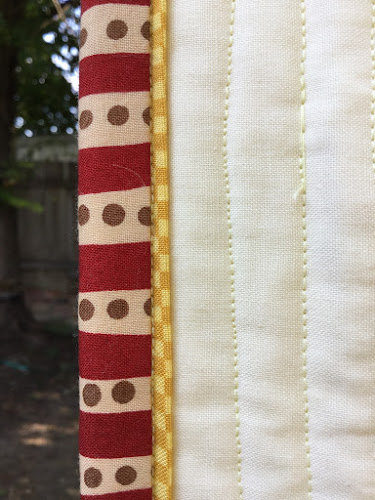
On the photo below, the top is the front and the bottom is the back.
Making the binding this way is so fast… I don’t think I can go back to hand sewing the binding after this.
Are you making this quilt? Feel free to post pictures on my 16 HST quilt sampler Flickr group. Or post on Instagram with tag #16hstquiltsampler

This is genius !
This is really inspiring . I will prob spend all day now glued to this ! You are brilliant !
LikeLiked by 1 person
Theresa, I Have been learning from you for years ! I appreciate you sharing your knowledge ! Thank you so much !!!
Diane
LikeLiked by 1 person
Thank you Diane
LikeLike
Türkiye ‘den sizi takip ediyorum.
Harikasınız. Sizden çok şey öğrendim.
Çok teşekkür ediyorum.
Sizden öğrendiklerimi uygulamaya başladım. Size minnettarım.🙏🌹❤
LikeLiked by 1 person
Thank you 🙏
LikeLike