

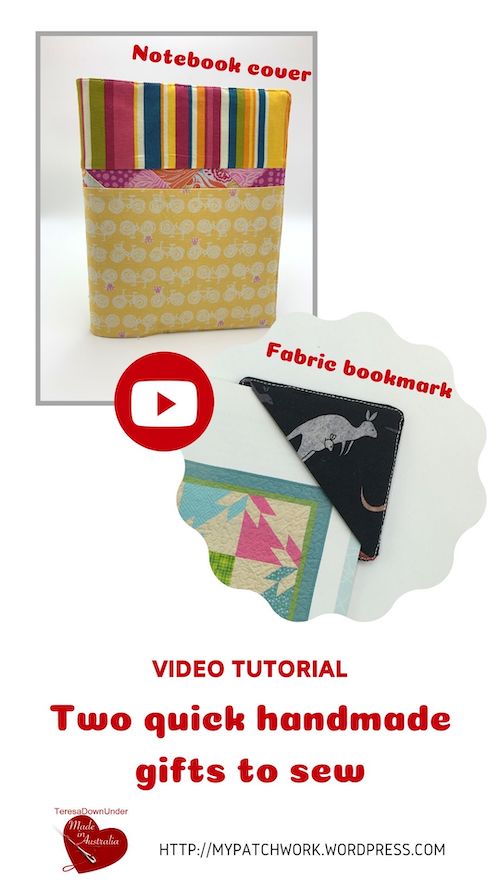
These tutorials are for a notebook cover that measures 9″ x 15″ and a fabric bookmark.
Check out how they’re made.
Notebook cover tutorial for printing
Materials
Fabric
Lining: 1 rectangle 16″ x 10″
Pockets: 4 rectangles 10″ x 5″
Cover: 1 rectangle 16″ x 10″. Mine is made of 3 pieces patched together with the following measurements:
- 1 rectangle 16″ x 6 1/4″
- 1 rectangle 16″ x 3 1/2″
- 1 strip 16″ x 1 1/4″
Fusible interfacing (iron on one side)
- Lining and cover: 2 rectangle 15″‘ x 10″
- Pockets: 4 rectangles 10″ x 5″
- 1 elastic ban (optional)
- 1 fabric covered button (optional)
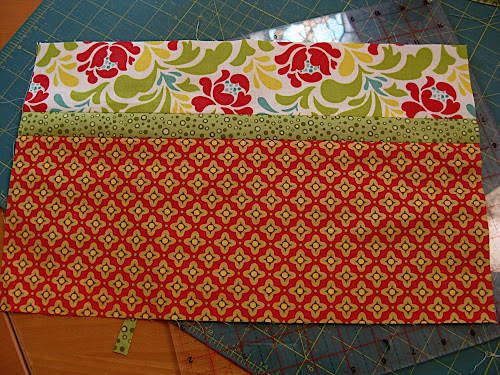
Stitch all three rectangles together to make the cover.
Iron with the hems open.

Cut all your other pieces.
Stitch your pockets to make 2 squares. Iron with the hems open.

Fold the cover in two along the long side and make a marking in the middle. Stitch the elastic band where the marking is with the elastic band placed facing inside the fabric (see picture).

Iron the interface to the inside of the fabrics. Getting the interfacing to stick to the fabric when the cover is turned inside out is tricky.

Iron the pocket in half, wrong sides together and pin to the sides of the lining as per the above picture.

Place the cover on top, right sides together, as per the picture.

Pin in place and stitch all around leaving a 4 inch gap to turn the cover inside out.

The corners need to be trimmed after stitching to reduce the bulk after turning inside out.

After turning the cover inside out you end up with a neat cover. The turning is quite tricky because the fusible interface tends to come loose. Pinning it in place temporarily may work.
Try to fit the notebook in the cover now. This may give you an indication of how closely you need to stitch around the cover.
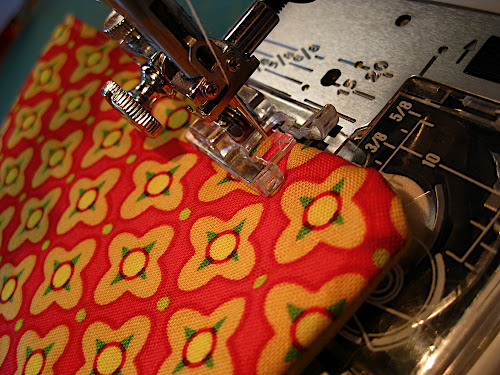
Top stitch around very close to the edge, about 1mm or 2mm depending on how tight you want the cover to fit.

The corners are almost inevitably round unless you have removed much of the fabric on the inside hem.
The book cover is finished.

Place the notebook inside.

Voila!

I used a fabric covered button because I think it looks smart but you could use a plain button. Also, instead of an elastic band you could use a ribbon, in which case it would need to be stitch to both sides of the cover.

Other notebooks


Can’t open the video. No info for the cute little bookmark
LikeLiked by 1 person
I love your patterns! You make things like this easy to do. Thank you for your great instructions.
LikeLiked by 1 person
1. Open the videos by double clicking.
2. It looks like only the notebook cover has instructions written on this site.
LikeLiked by 2 people
that’s right, just the notebook has written instructions
LikeLiked by 1 person
Thank you 🙂
LikeLiked by 1 person
I’m looking forward to making a few of these. Is there a reason not to cut the pockets at 10×10 and then fold in half? Does the seam serve a purpose? Thank you for sharing this tutorial!
LikeLiked by 2 people
You can just fold the pockets.
LikeLiked by 1 person