

If you want to add a special touch to your quilt, add a faux piping, flange or accent.
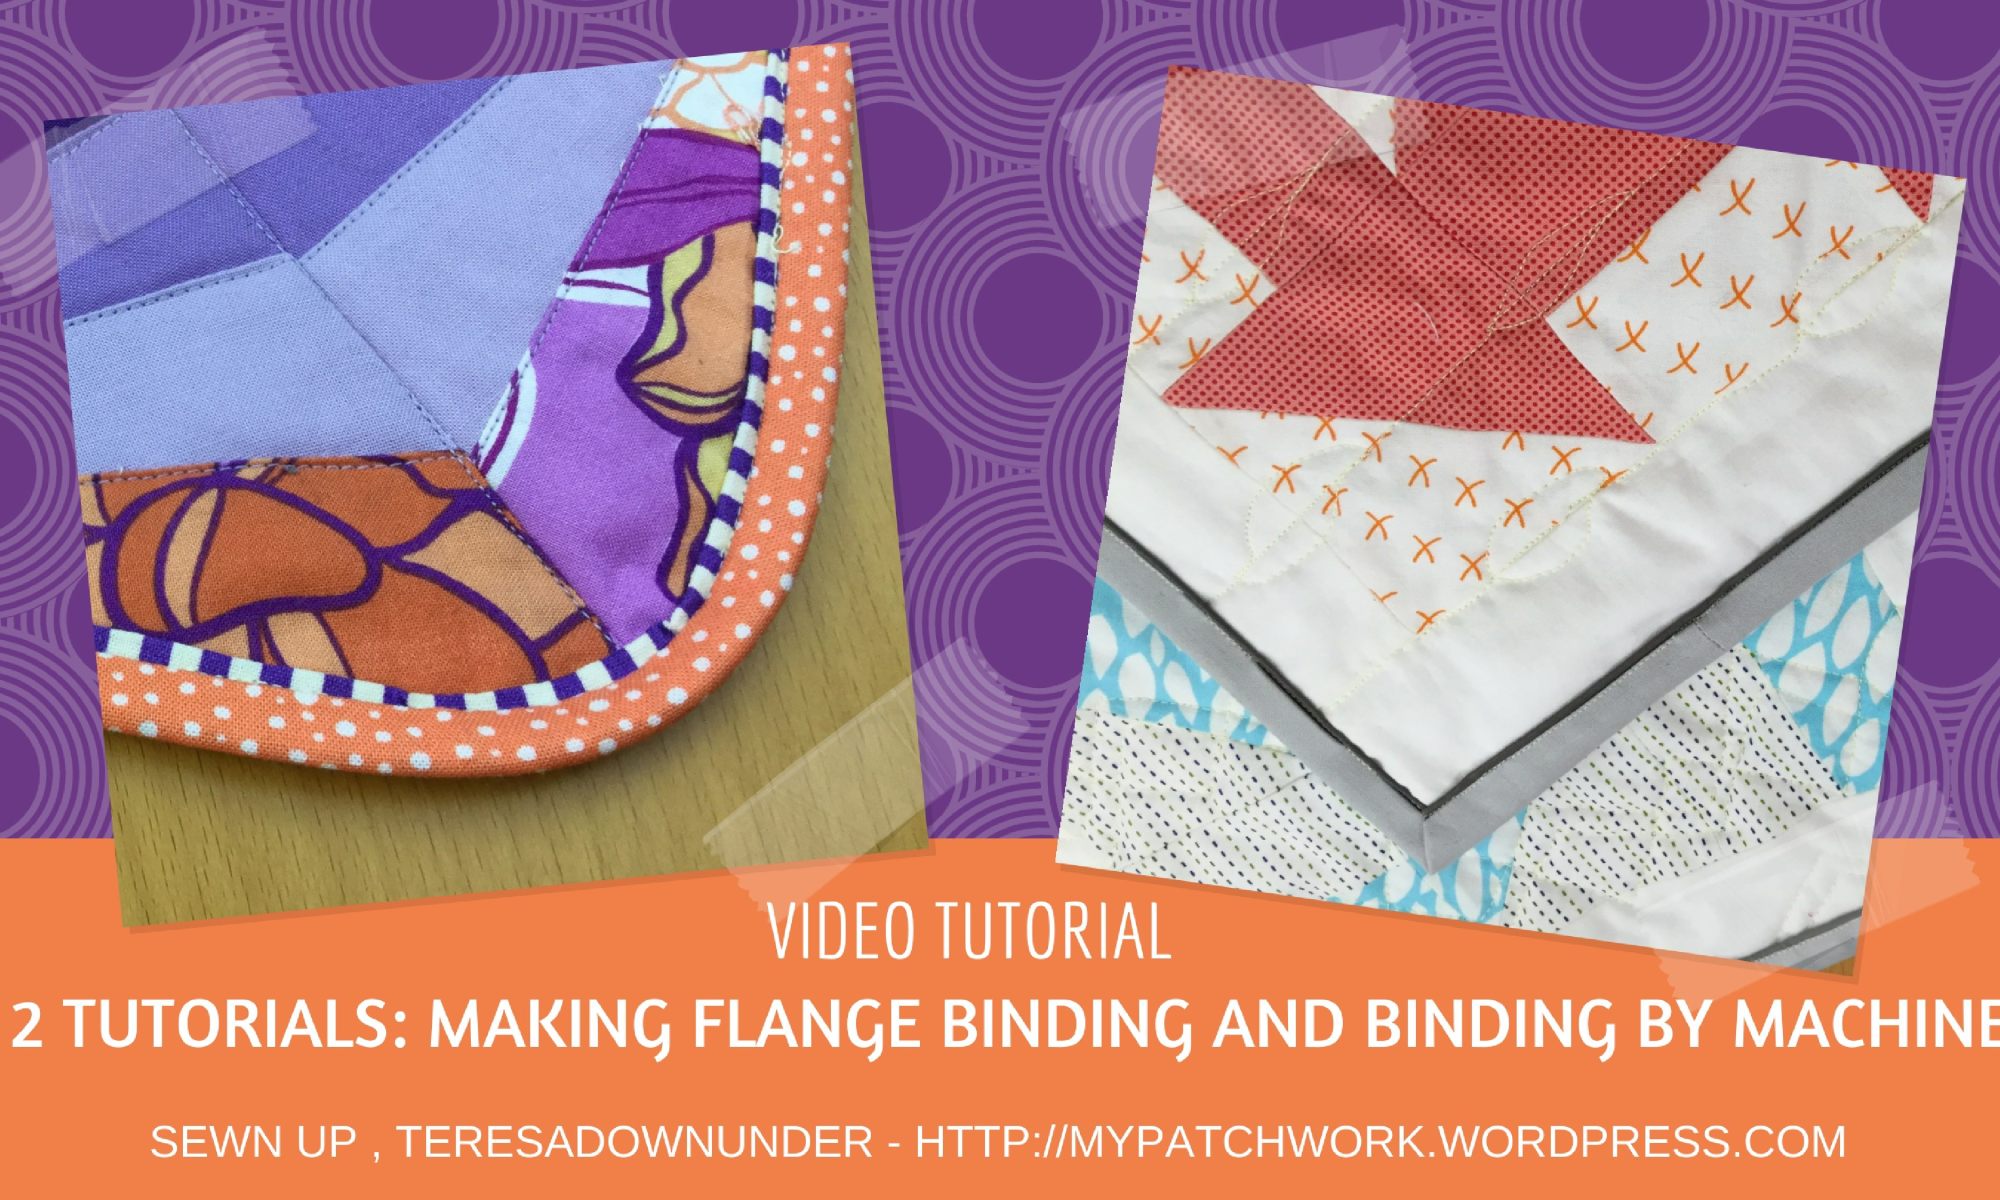
Video tutorial: how to make flange binding and sewing the binding by machine
This is how you add faux piping to your quilt:
If you enjoy my videos and tutorials you can help by:
- following my blog – Look for the follow button and don’t miss any future tutorials.
- subscribing to my videos on Youtube

Very good instructions. Really like the flange binding.
LikeLike
a flange lifts the quilt to a higher level thanks for the video
LikeLiked by 1 person
Keen to try the flange method, does it work for right angle corners? Also how do you make the curved corners as shown please?
LikeLike
Sallie, what do you mean by right angle corner? A mitered corner. To make round corners I just used a glass to draw the corners, and then cut the quilt along the curves. Then I just stitched the regular binding along the edge. It’s easier than doing corners.
LikeLike
Would you need bias binding for the curve to work?
LikeLiked by 1 person
I didn’t use bias binding though for a very pronounced curve bias tape would work better.
LikeLike
Hmm yes I guess I mean a mitred corner – new to quilting 🙂
Using a glass sounds interesting, do you measure where you place the glass so that you have all the corners the same?
Thank you
LikeLiked by 1 person
Hi Sallie, I don’t measure anything. You should be able to see it. Alternatively you can cut the first corner and use it as a template for the other 3.
LikeLike