
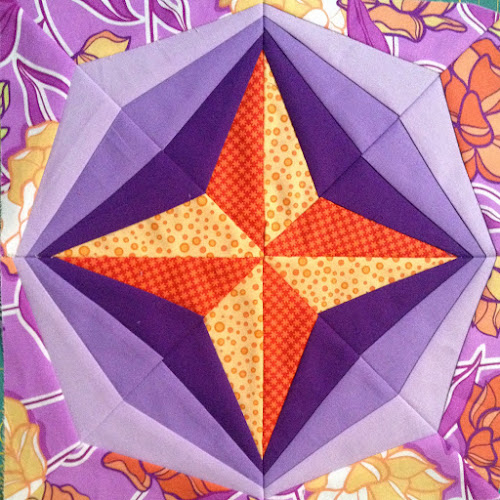
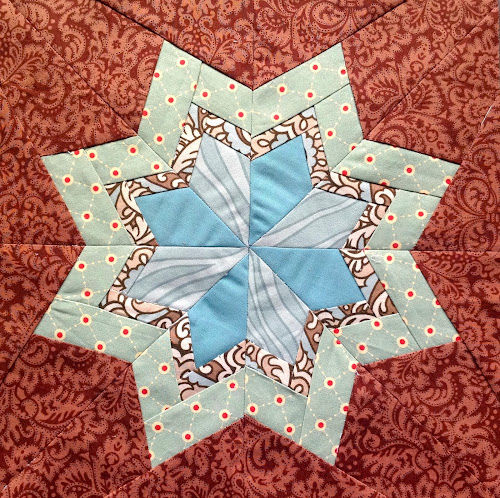
This block has a step by step tutorial that demonstrates how to make the block above but before I go ahead, if you’re new to foundation piecing maybe you want to start with some other simpler blocks. If not, just scroll down until you find the tutorial for this block.
Learning foundation piecing
Start with easy and simple blocks like this one: 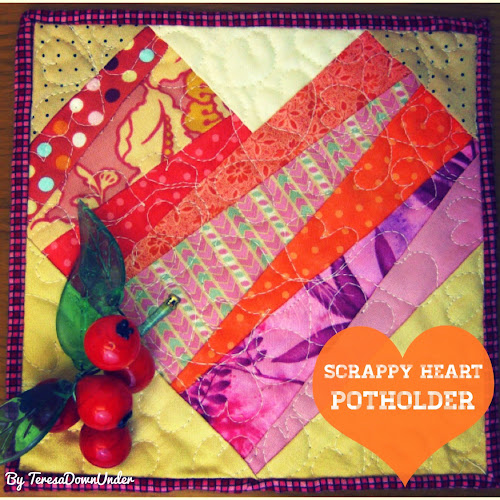
Scrappy heart potholder tutorial: this was my first encounter with this technique. Easy but confusing. Then build a bit more of complexity into it but not too much. Keep it simple. 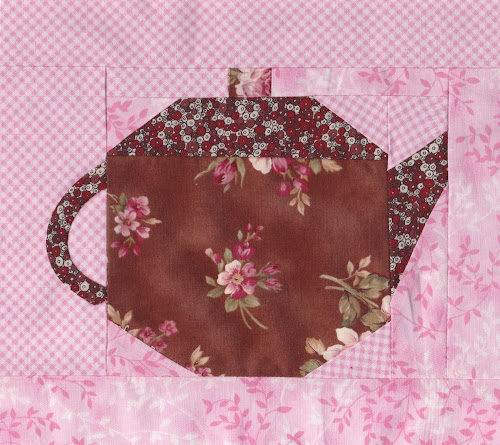
Foundation piecing teapot potholder pattern: this was my second foundation piecing work. Gradually select more challenging blocks like this one: 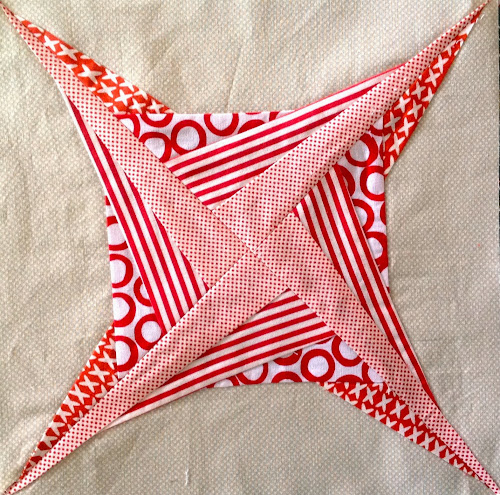
Foundation piecing step by step: this is when I started to get serious about properly learning foundation piecing.
So I also made the Caldonia pattern (pdf). 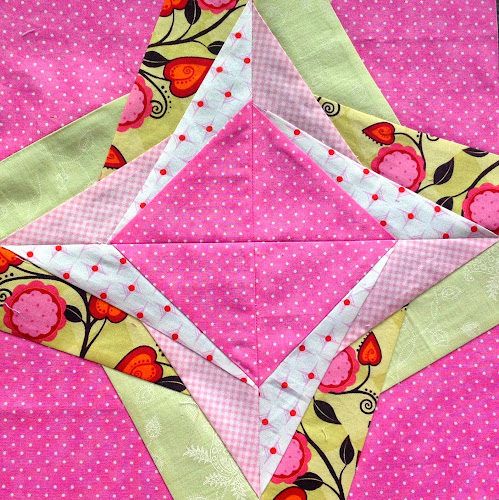
And the Icky Thump pattern (pdf). If you want more of a challenge by now, just use small blocks. 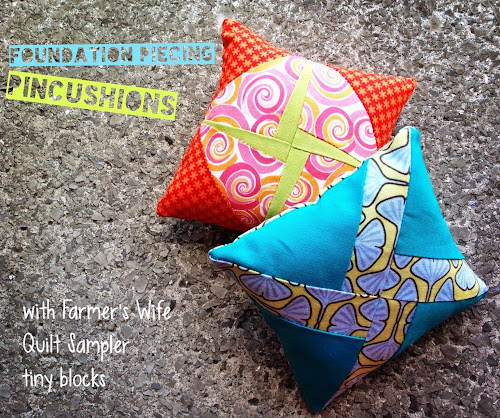
The challenge in these two blocks is in their size, particularly the orange one: Tiny foundation piecing pincushions with free template.
After these exercises, I embarked into a far more challenging paper foundation piecing: a Dear Jane quilt.
How to do foundation paper piecing
You can learn the principles of foundation piecing on this 2 minute video. These principles can be applied to any foundation piecing blocks no matter how complex they are.
Step by step foundation piecing tutorial
The block, by six two seven handworks, is called Global Concepts (pdf) and it’s free.
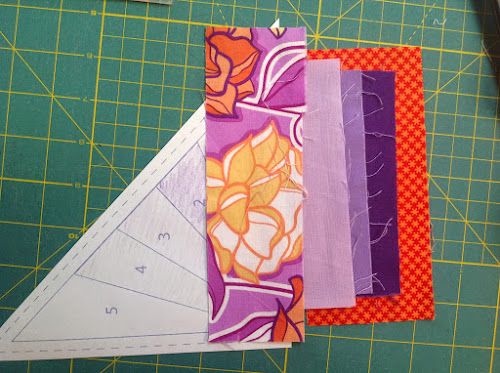
Print the template. You will need to print the pdf 4 times. Cut roughly the pieces like below. I don’t cut all the way down to the line because I like to trim the paper and fabric together at the end. I coloured in the pieces beforehand so I wouldn’t not make any mistakes. Also you can also experiment with colour placement. For instance I decided to highlight the star in the centre giving it a 3D look whereas on the pdf pattern the focus is not so much on the centre star but the surrounding pieces. If you’re not quite sure about colours, a safe bet is using complementary colours. In brief, in a colour wheel complementary colours are opposites. 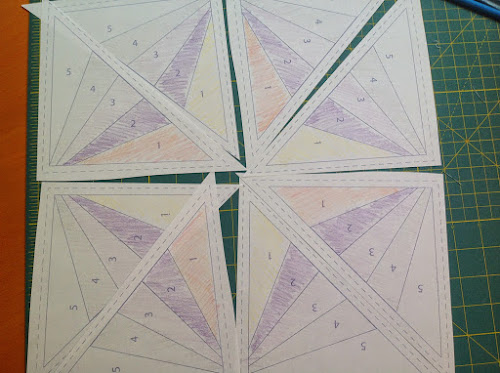
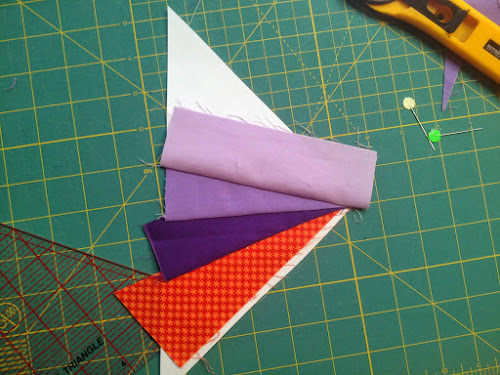
Now cut your fabric. To cut the fabric measure the widest part of the area to cover and the height, including seam allowances. Add 1/4 in for good measure. I came up with the following:
- Piece 1 – 3in x 6 1/2 in – cut 4 pieces in colour 1 and 4 pieces in colour 2. This is for the star in the centre.
- Piece 2 – 2in x 5 1/4 in – cut 8 pieces
- Piece 3 – 2 x 5 1/4 in – cut 8 pieces
- Piece 4 – 2 x 5 3/4 in – cut 8 pieces
- Piece 5 – 2 1/4 x 7 in – cut 8 pieces (if you’re careful placing this piece you may be able to use one piece to cover 2 triangles)
Now fold along each line as per picture below.
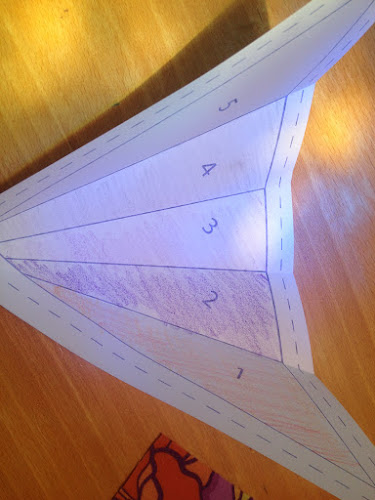
The easiest way to do this is to use a thin piece of cardboard as your guide. The fold will help you to trim off excess fabric at each step.
So let’s start. Three things to remember:
- all pieces are placed at the back of the paper
- all pieces are stitched from the front of the paper
- the first piece of fabric you place goes right side up and all the others go wrong side up
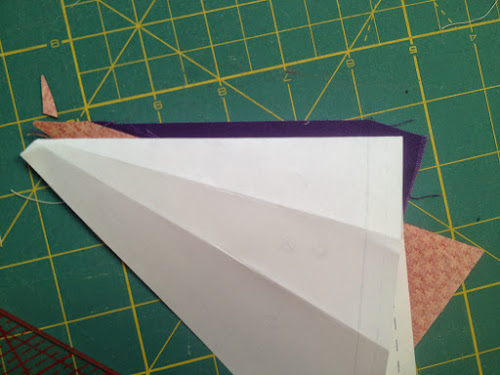
First piece Place the piece on the back of the paper, right side of the fabric up, making sure the whole surface of piece 1 is covered including the seam allowance. Pin so the piece doesn’t move. 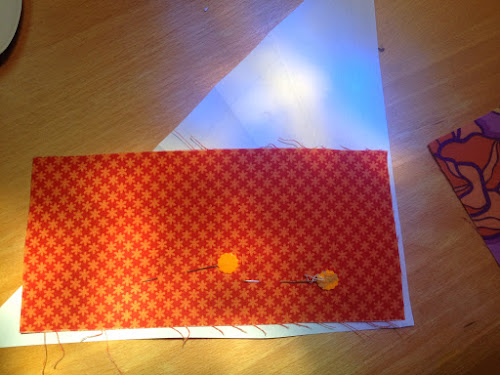
Turn around.

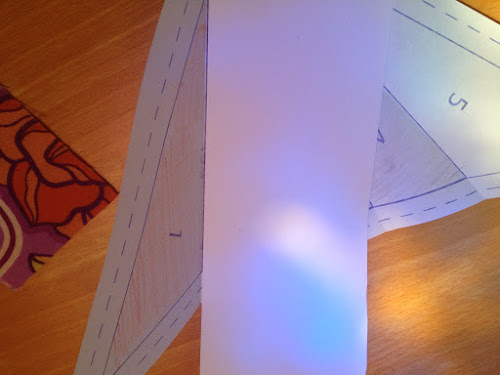
Now fold the paper along fold 1. This is what the folds are for! You could do this as you go but it’s a lot easier to do all the folds before you start. So we’re going to trim off excess fabric. 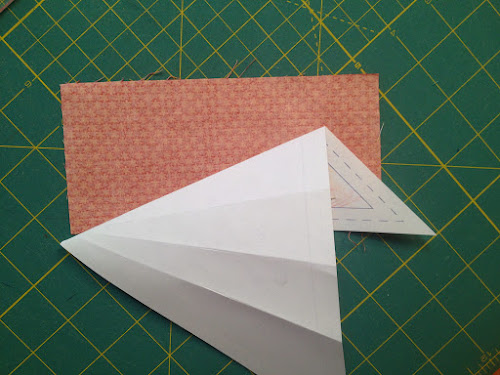
Place your ruler as per picture leaving 1/4 in seam allowance. 
Cut excess fabric and unfold. Turn over. 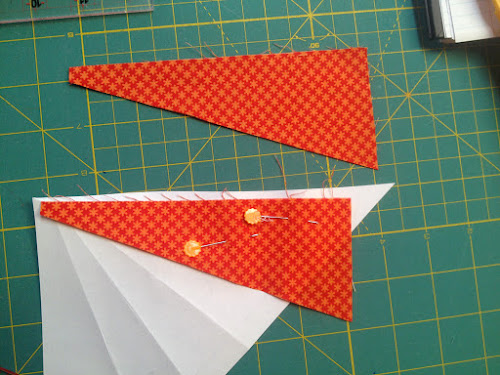
Piece number 2 Now, take the next rectangle and place it on top of piece number 1 as per picture with right sides of the fabric facing together. Make sure the edges are aligned and that when turned over the piece will cover all of area 2 including seam allowances. 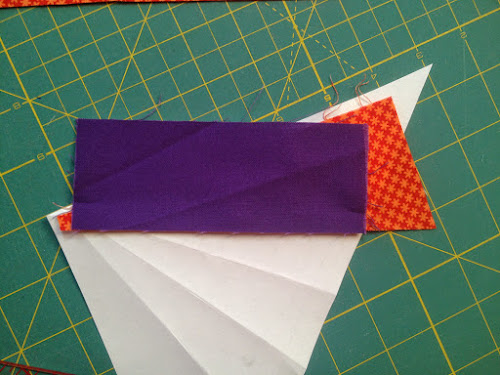 Pin.
Pin. 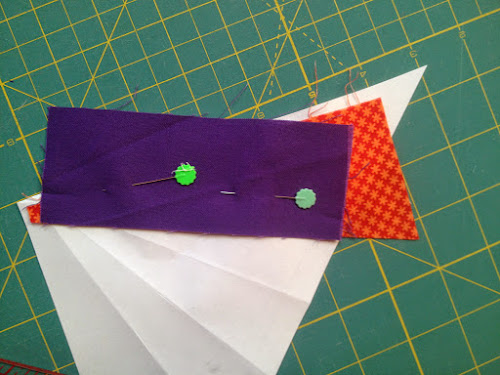
Turn piece over and stitch along the line between 1 and 2. 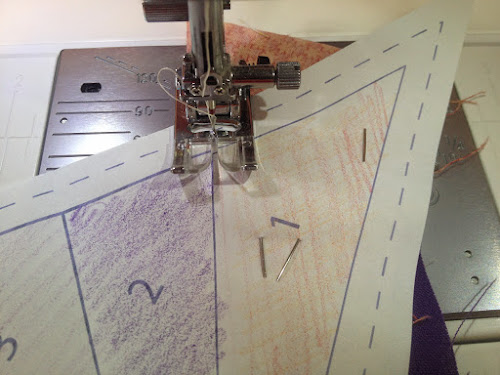
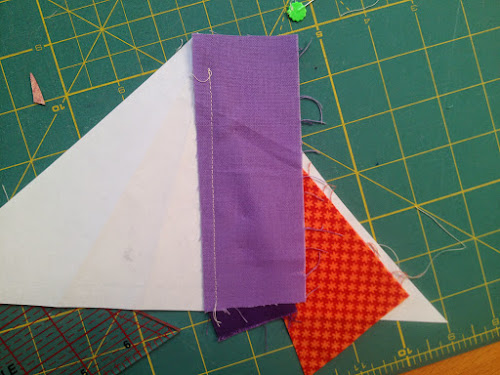
First two pieces are stitched together. 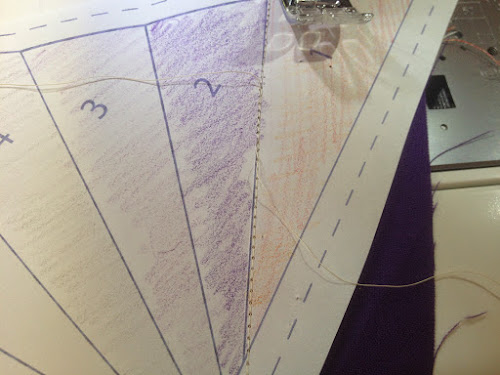
Turn over and voilà!
Now piece number 2 needs trimming. Turn piece over. 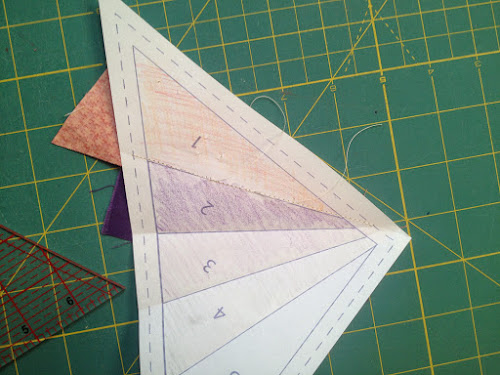
And fold the paper back on fold 2. 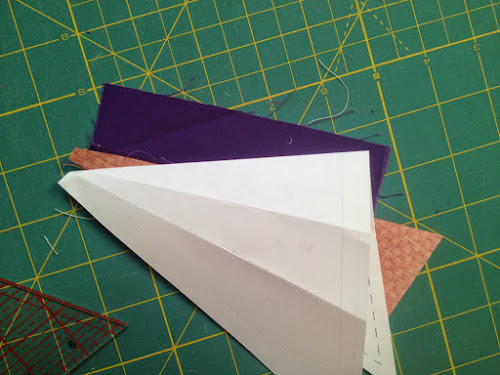
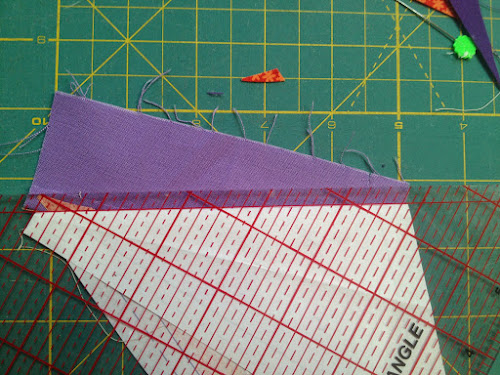
Again, place the ruler leaving 1/4 in seam allowance as per picture. 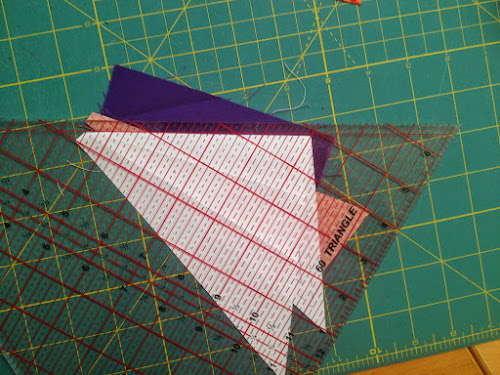
Trim off excess fabric.
And piece 2 is done! Piece number 3 Place the piece on top of piece 2 right sides facing together and pin. 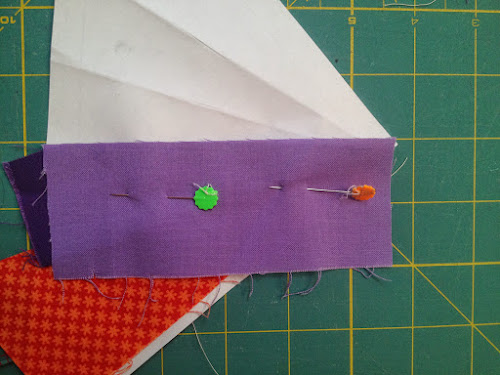
Turn over and stitch along the line. 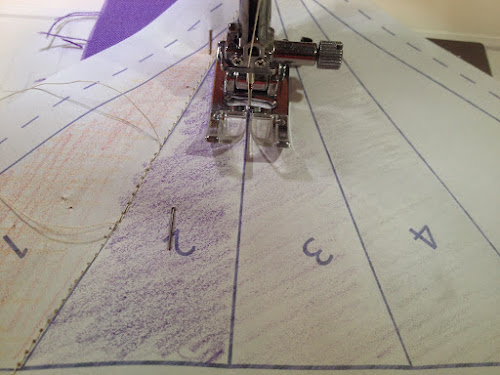
Turn over and fold paper back. 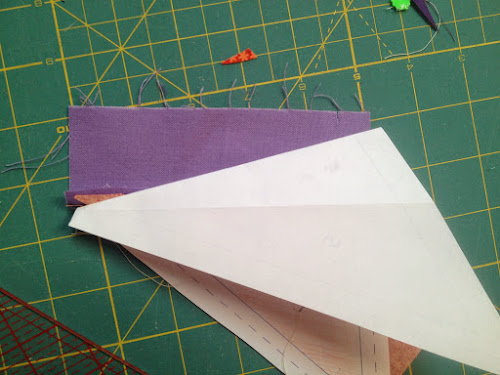
Trim off excess fabric.
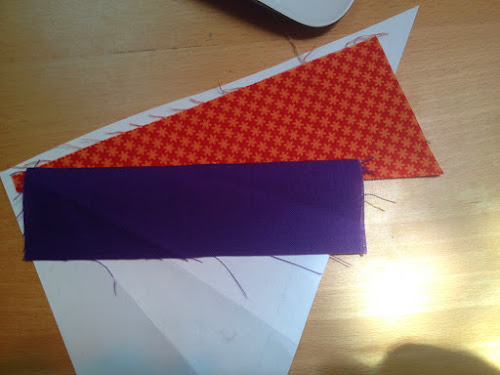
Piece number 4 Let’s do it again. Place piece 4 aligned with piece 3, wrong side of fabric 3 up. Pin. 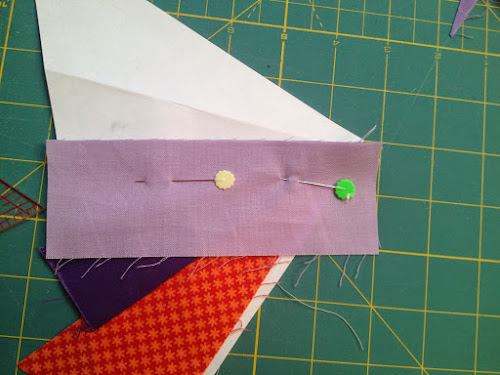
Stitch along the line.
Turn piece over and fold paper back. 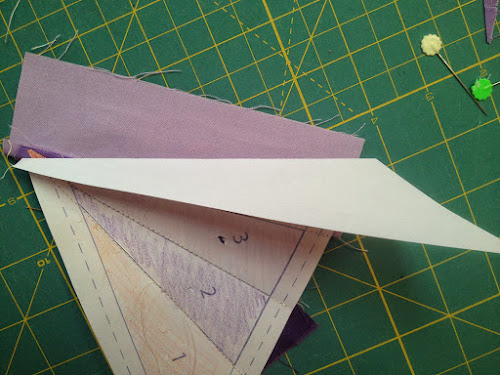
Trim off excess fabric.

Piece number 5 You can see with piece number 5 the fabric is placed with wrong side up. 
Stitch along the line.

Trim off fabric around the three edges on the dashed line. 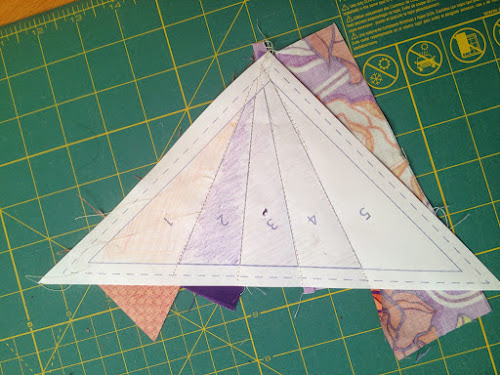
First piece out of 8 is done.


Stitch all pieces together to make this 12 1/4 in block. 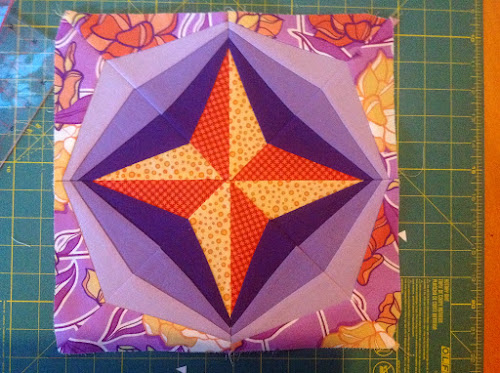
I’ll be making this block into a pot holder. It makes a very nice gift for any occasion.

Thanks for the tutorial and the photos. Love the red print star…and the aqua star…and the pincushions–love them all! A very handy ruler for trimming excess seam allowance is the Add-a-Quarter ruler. It comes in both 6″ and 12″ lengths. There is a 1/4″ ledge along the underside. It will catch that folded paper and allow trimming the seam exactly 1/4″ with no possibility of slippage. It works as slick as a quarter-inch foot works on your machine! It is also useful when cutting pieces using templates. Simply cut the template to the FINISHED size, pin the template on your fabric, hold the Add-a-Quarter ruler against each edge of the template, and rotary cut. You will be automatically adding the 1/4″ seam allowance with each cut. I once cut a charm quilt, 180 different fabrics, 20 different templates, in only two days! As far as positioning fabric before sewing, mark the middle of each sewing line (I do this before I copy all the multiples of the paper foundations, so I need to do this only once.) then crease each piece of fabric in half. Simply line up the crease with the middle of the sewing line. Works every time! No flipping, no checking with a lightbox, and (best of all) no ripping and redoing. Keep on Quiltin’–I look forward to every one of your posts. Carol
Sent from my iPad
>
LikeLiked by 1 person
Thanks for the tip Carol. I’d never heard about that very handy ruler. I’ll check it ou!
LikeLike