I have made a number of Christmas trees over the past couple of years like my Patchwork Christmas softie, an old version of the tree softie and even a no sew Christmas tree.
For these ones I have used embroidery as the main technique.
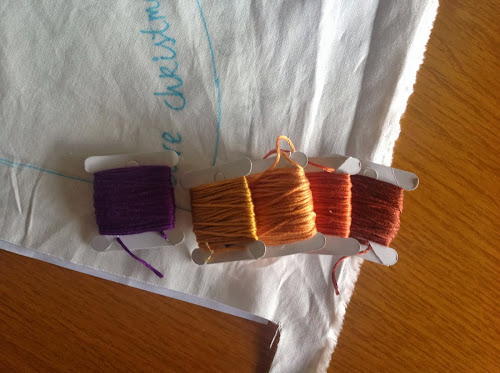
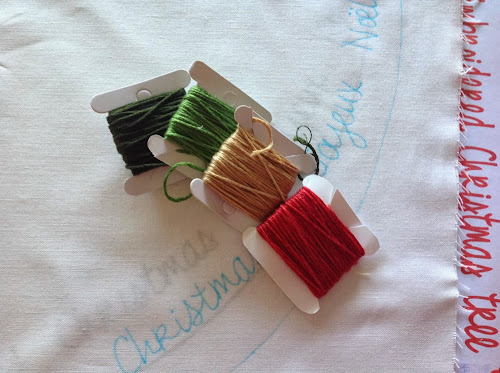
You will need some white scrap fabric, stranded cotton in your colours of choice, some felt for the base and polyfill or batting scraps for the filling.
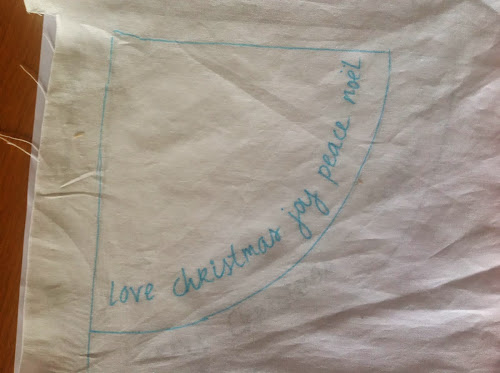
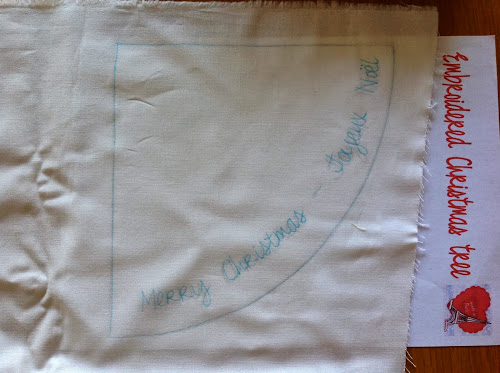
You will also need to download the tree softie template (pdf) which contains both tree sizes. Alternatively, if you would like a different size you can draw your own template by using a compass as the cone is just a quarter of a full circle.
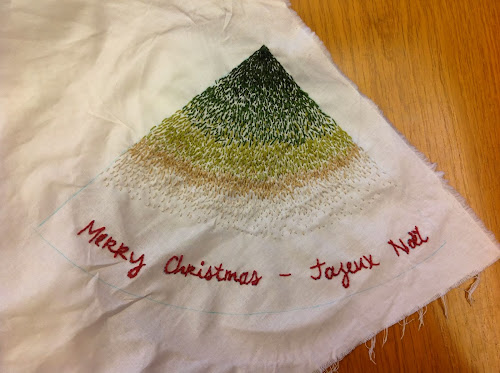
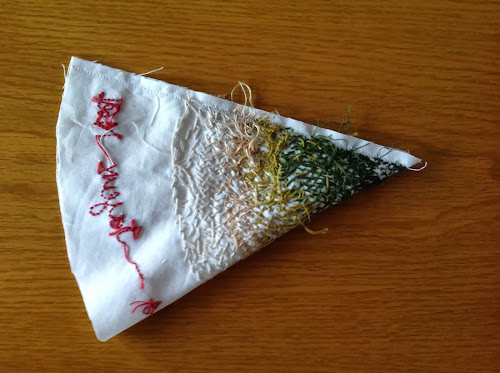
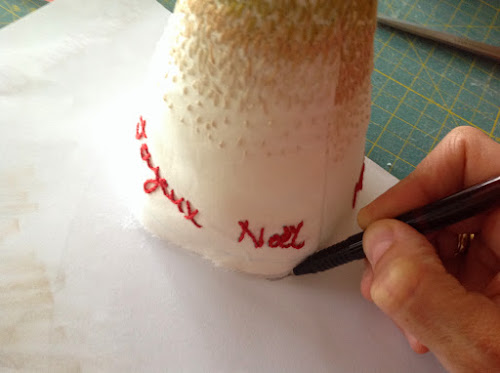
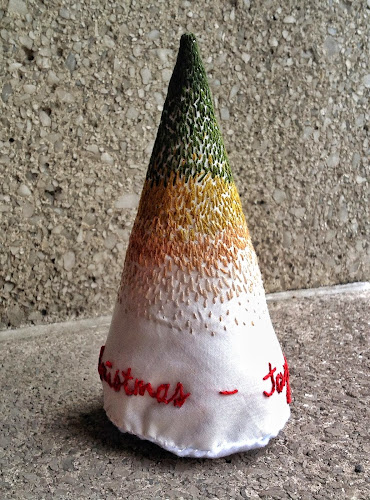
Pick any number of thread colours to produce a gradient down the tree.
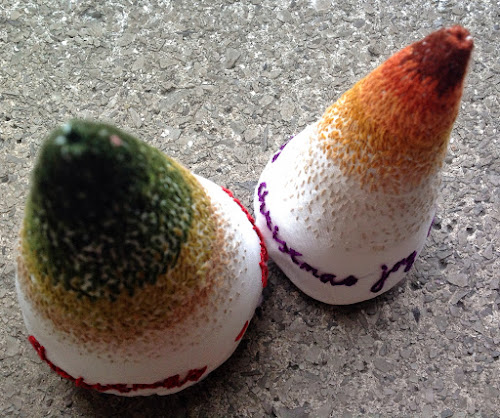
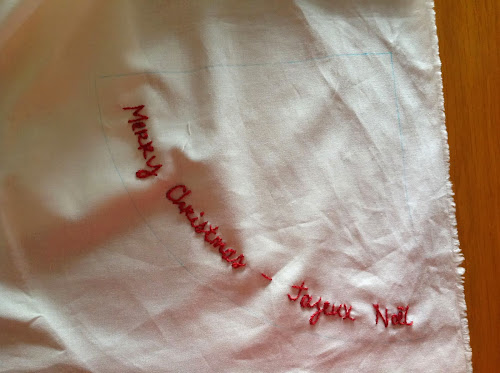
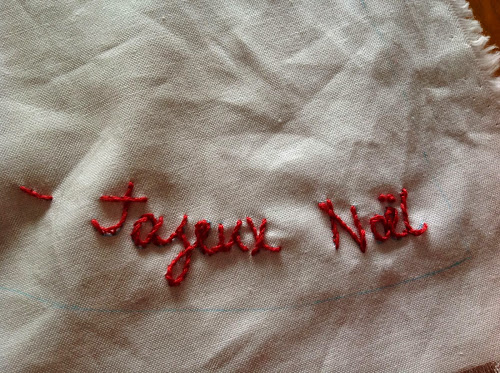
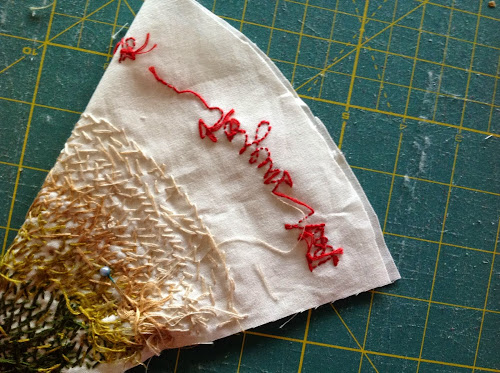
For the lettering I used stem stitch.
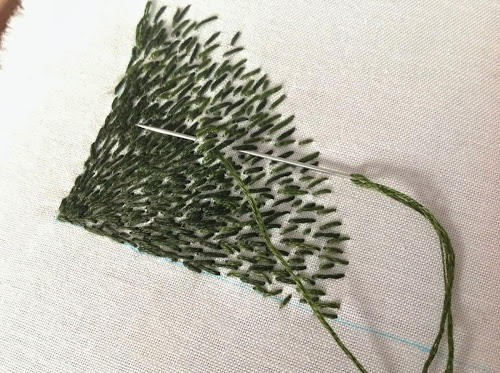
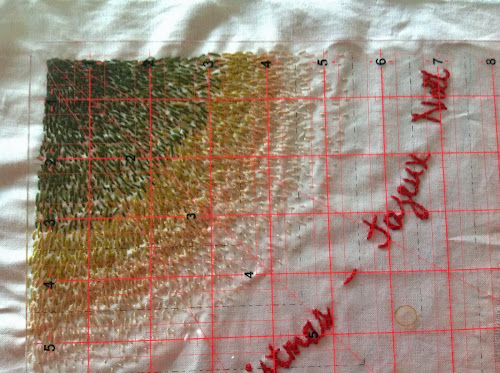
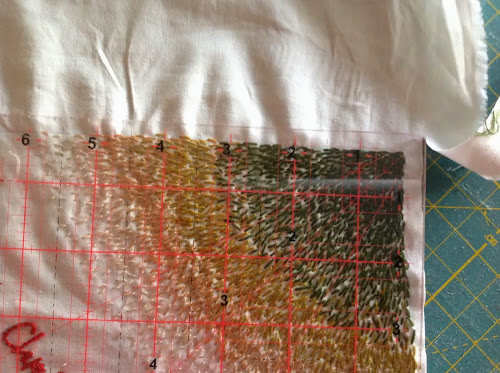
For the gradient I used a long and short stitch.
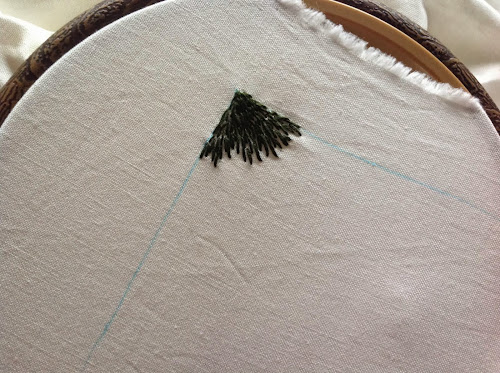
Just draw the cone onto the fabric using a water soluble pen.
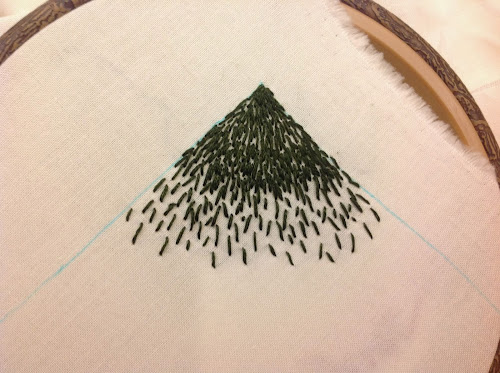
Stitch from the top down using darker colours at the top. Alternatively you could start with a snowed top and then do a gradient between the whites and the next colour.
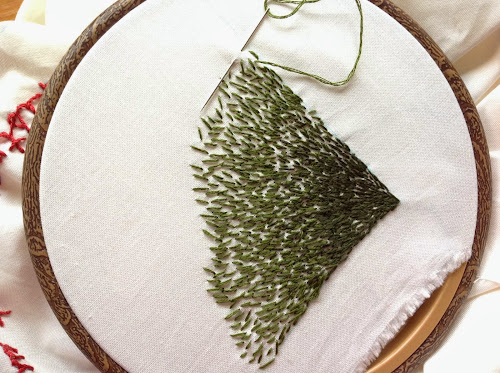
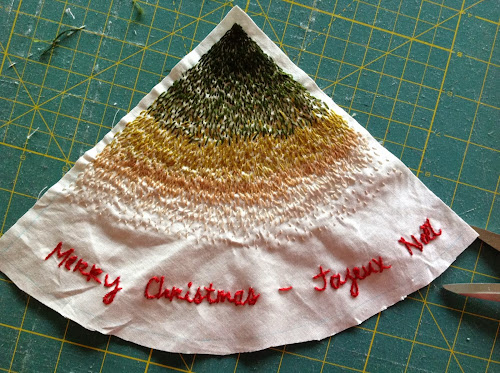
The embroidery is done.
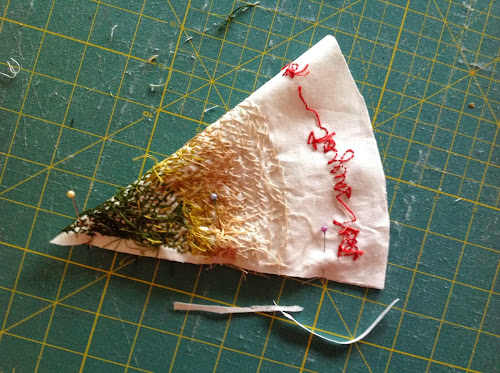
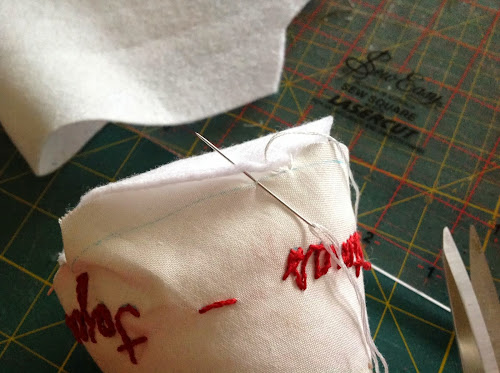
Now trim the fabric leaving a 1/4 in seam all around the cone.
The piece is ready to stitch.
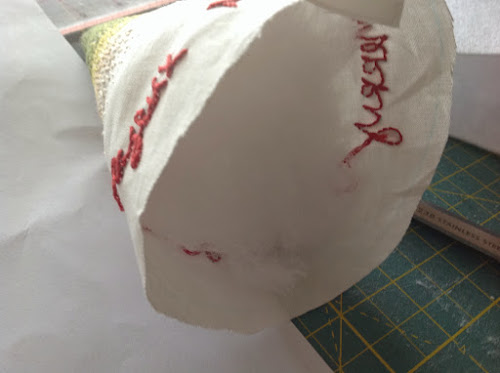
Fold it in half as per picture.
When using a hoop the embroidery tends to stretch the fabric so your sides may not be the same size.
You may need to trim the bottom for the sides to align.
Stitch along the long side making sure no white gap is visible on the other side.
Trim the top to remove bulk.
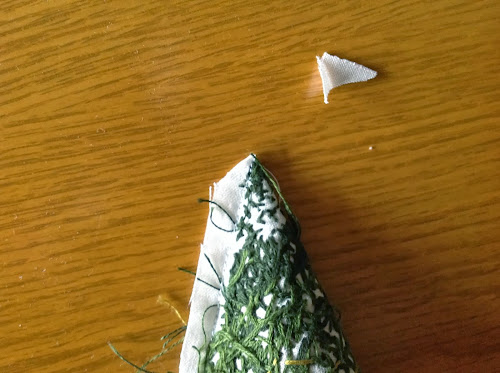
Turn inside out.

Now fill it with polyfill or batting scraps.
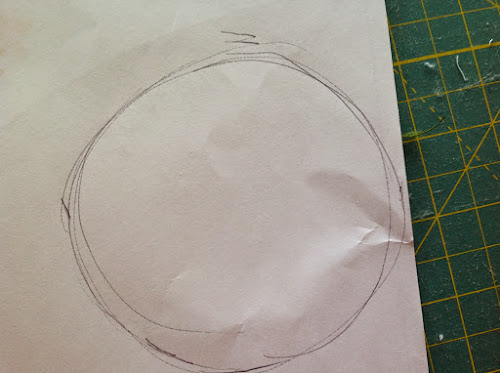
For the base, place the cone on a piece of paper and draw around it.
It doesn’t matter if it’s not perfectly round.
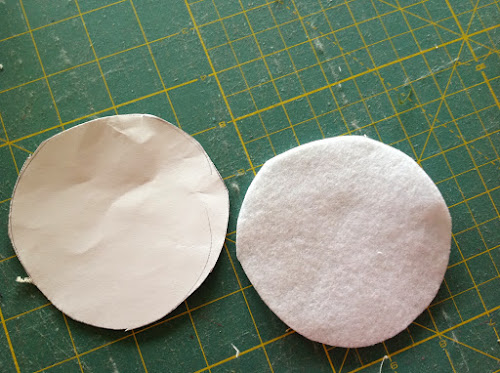
Place the circle of paper on a piece of white felt and cut around the drawn line.

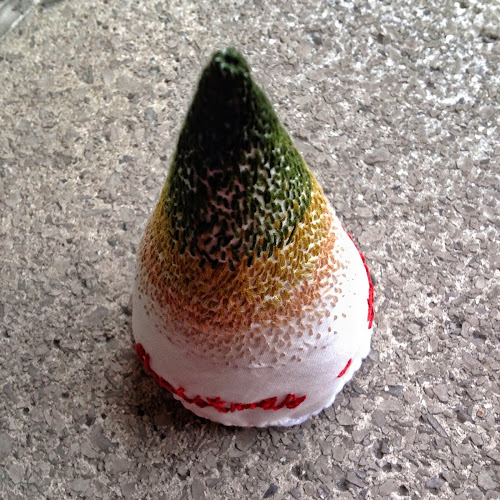
Now that you have the base it is time to stitch to the cone.
Using 1/4 in seam allowance stitch the base to the cone using a slip stitch.
If you wish you can pin the base to the cone first.
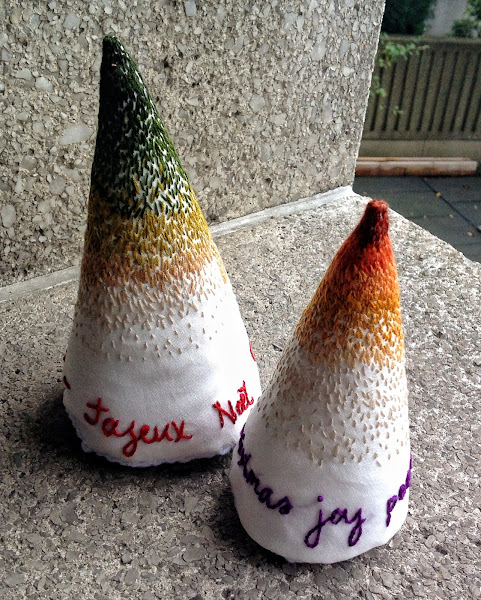
The larger cone is done.
Now do the same for the smaller cone.