
Materials
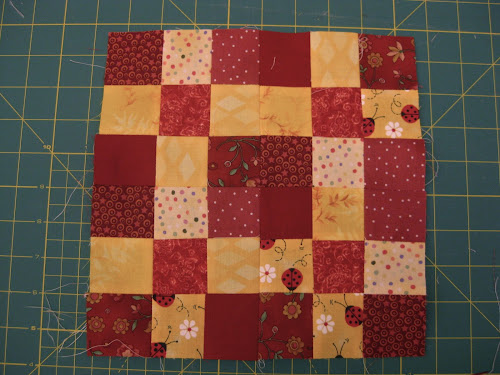
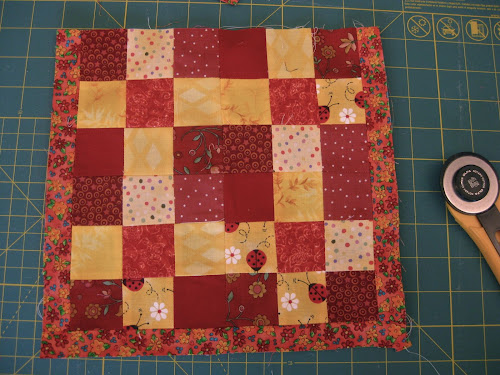
- 36 2 inch squares in red tones
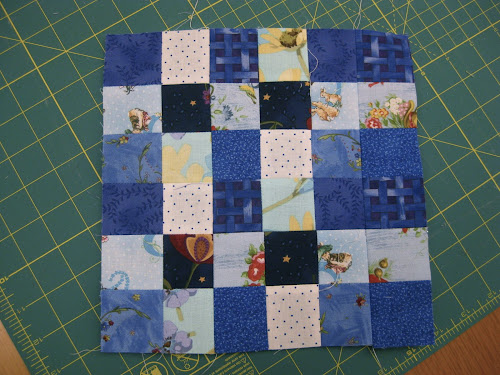
- 36 2 inch squares in blue tones
- Coordinating scrap fabrics
- Lining fabric
- Batting
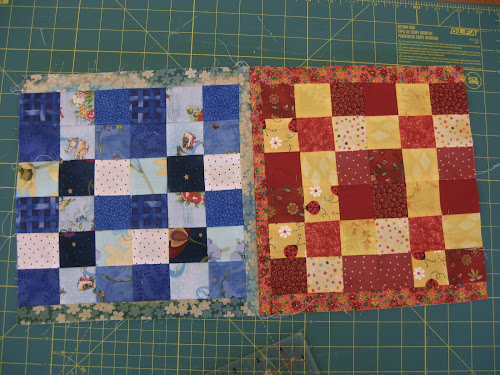
Do the same with the blue squares.
Now cut
- 2 strips 1 in x 9 in
- 1 strip 1 in x 10 1/4 in for the bottom
 h
h
Cut the same pieces in the red tone contrasting fabric.
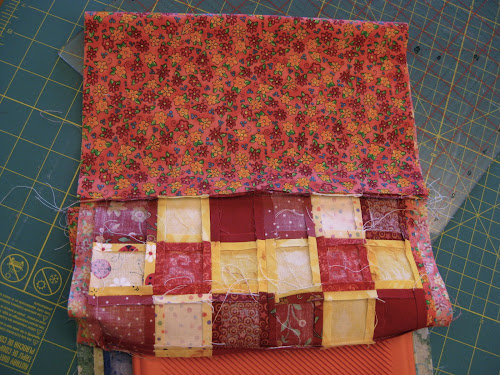
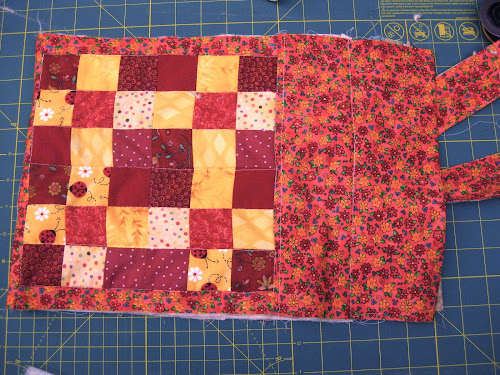
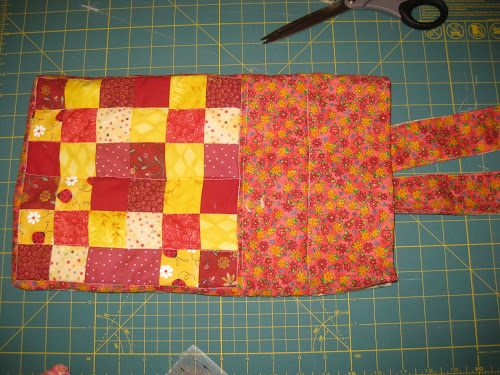
Place both panels right sides facing together and pin the bottom of the square as per photo and stitch along the pinned seam.
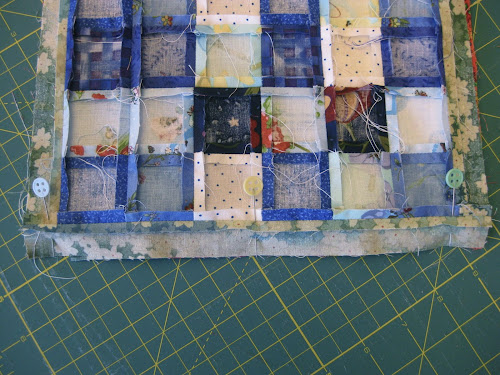
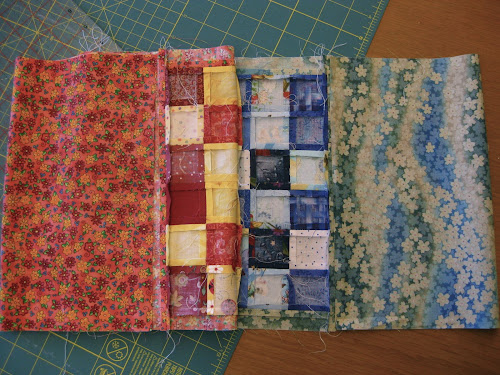
You will end up with one single piece as per photo below.
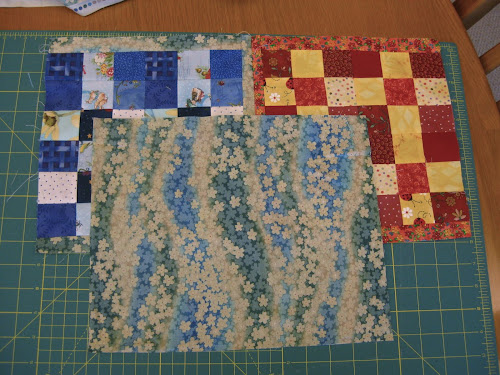
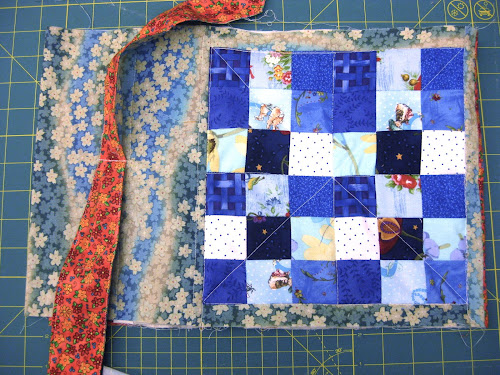
Cut a rectangle 10 1/4 in x 12 1/2 in in a blue tones fabric.
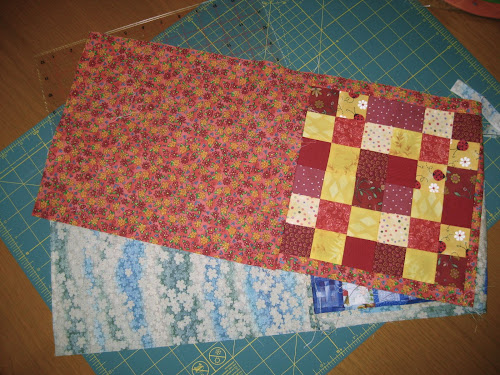
Pin to the blue side panel and stitch.

Do the same with the other panel.
Now fold in half and pin to the panel on the inside as per photo.
Stitch along the pinned line. Do the same with the other side.
Tie
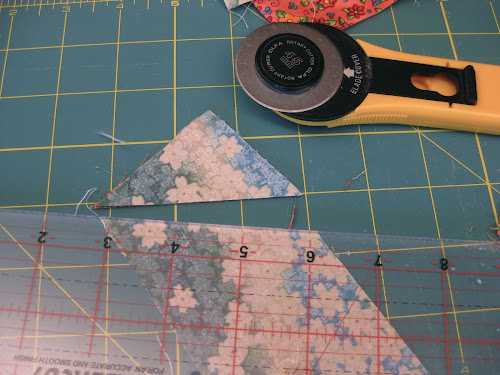
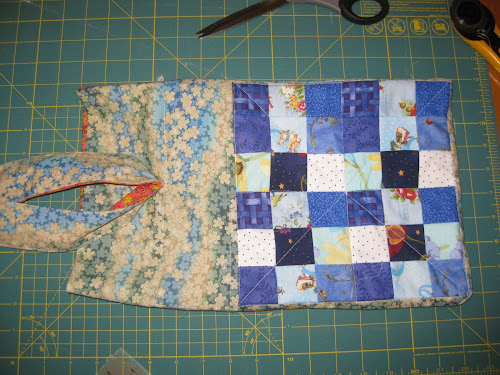
Cut one long strip 29 in x 5 in. Fold in half right side together. Pin and make a cut on each ending as per picture.
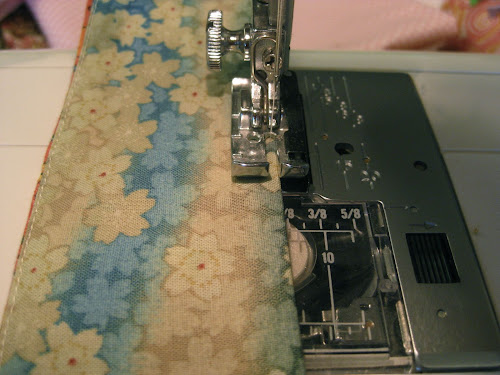
Stitch along the edge leaving a 3 in opening to turn inside out. Turn inside out and top stitch along all sides of the tie.
Attach tie to the bag
Fold tie in half to find the middle of the tie and place a pin on it. Then find the middle of the top rectangle sidewise and longwise as per photo.
Pin tie in place making a small fold as per picture. Sew through the fold a couple of times.
Adding batting and lining
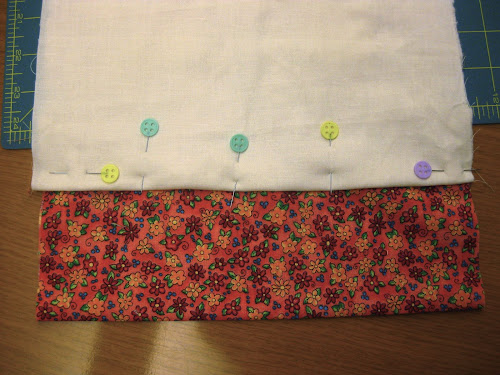
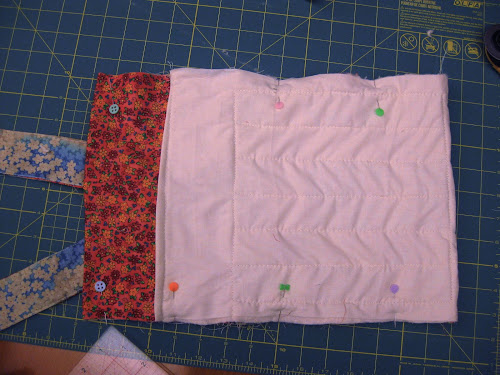
Cut a piece of batting 10 1/4 x 25 inches and a piece of lining 10 1/4 x 26 inches.
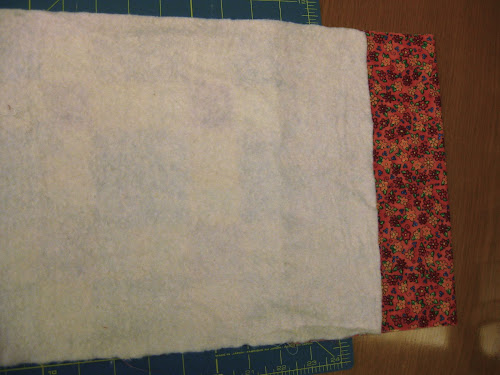
Place batting on top of the rectangle and add the lining on top. On the edges, cover the batting with the lining as per picture and pin in place.
Quilting
You are ready to quilt the triangle now.

I quilted both sides in a different way using diagonal lines on the blue side.
And straight lines on the red side.
Fold the rectangle in half right sides together and pin the sides as per picture.
Stitch both sides.
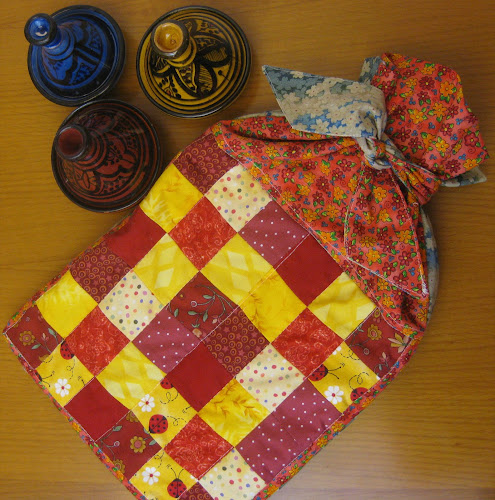
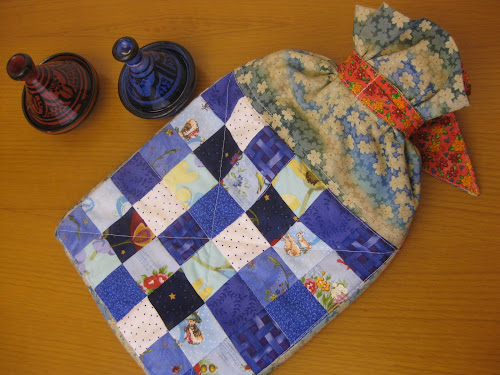
The bag is done.
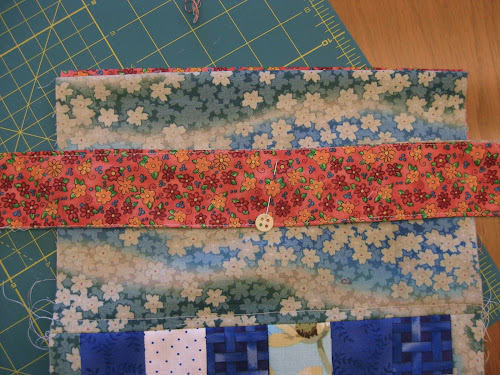
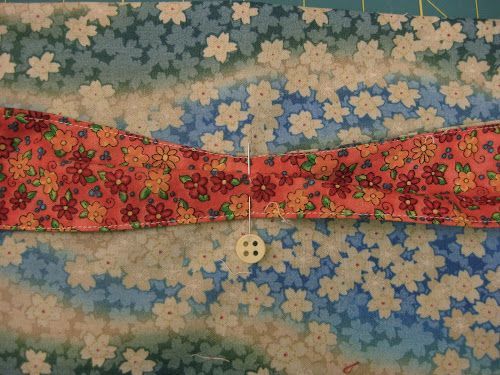
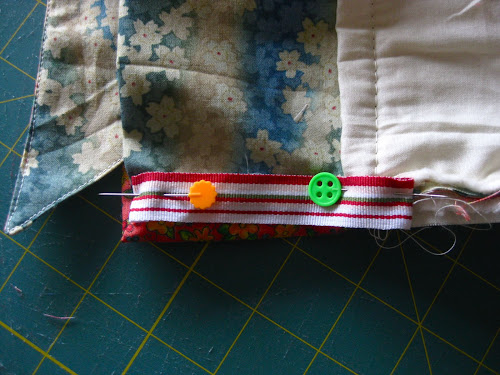
To hide the seams that may be visible on the top part of the bag, choose a ribbon and place over the seam. Stitch ribbon to the fabric.
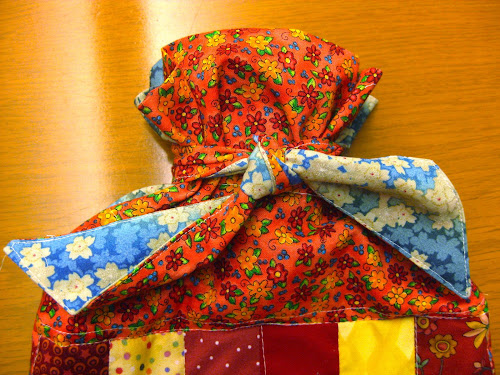
Detail of tie. The tie is tied around the neck of the bottle.

briliiant…thank you! Will make lovely presents!
LikeLike
Super tute! I have a hot water bottle with a hideous cover, so think I may have to make a new one for it like this.
LikeLike