
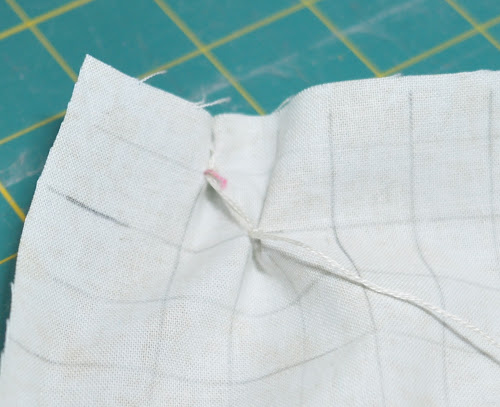
Close up
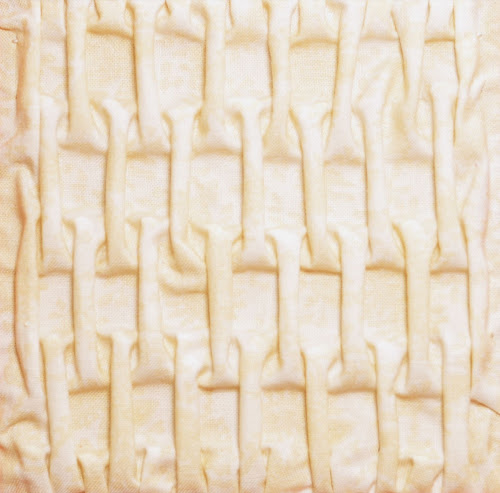
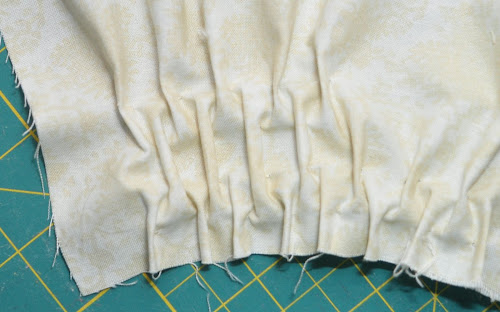
The spacing determines the size of the tube. For a more subtle finish use spacing which is closer.
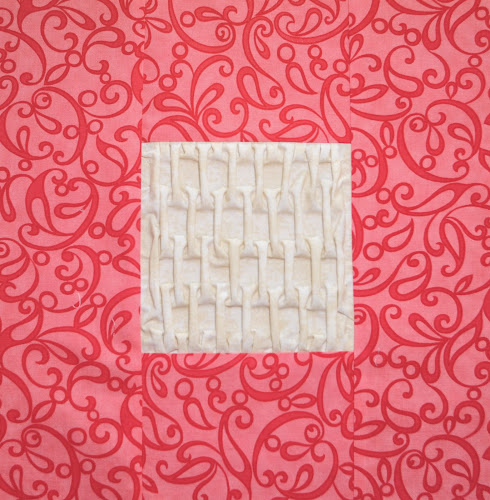
Block type: log cabin
Block size: 11 inches
Colour scheme: reds and neutrals
Texture/fabric manipulation: lozenge smocking
Quilt size: The finished quilt is 52 1/2 x 52 1/2.
Needs:
- a 10 1/2 inch x 6 inches rectangle in cream tones for the centre square
- two 5 in x 3 1/2 in rectangles and two 11 in x 3 1/2 in rectangles for the border
Making the lozenge smocking
Watch a short video tutorial:
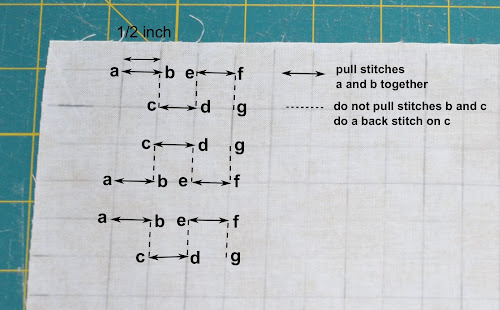
Smocking diagram
There are two kinds of stitching for this pattern. They alternate along each row of smocking. The first type is when you pull two stitches together as per a and b on the diagram. The next stitch is when you go from b to c but do not pull the stitches. In this case you double stitch on c so that there is no pulling.
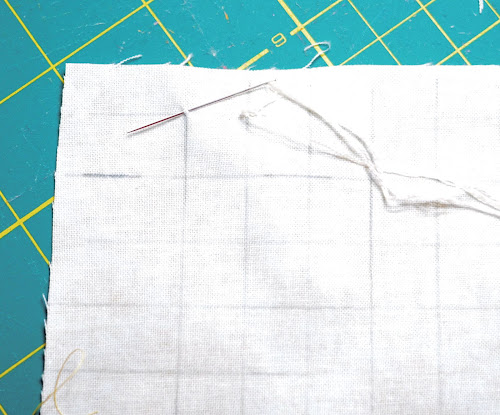
This is the first example where you pick up a and b and pull together.
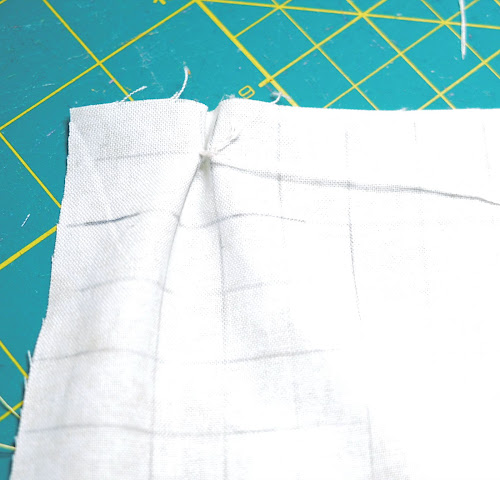
After pulling the stitches together, do a double stitch before moving on to c.
With your needle pick up c without pulling.
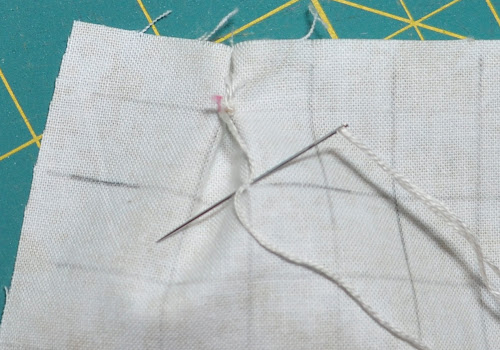
Double stitch at c.
And so on following the diagram above.
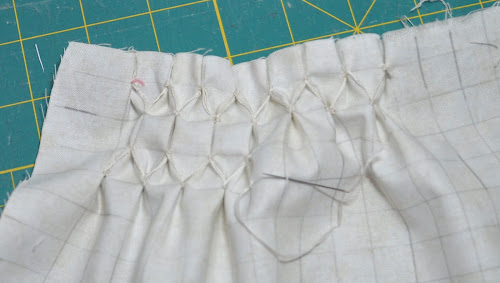
As you go you will see the pattern emerge.
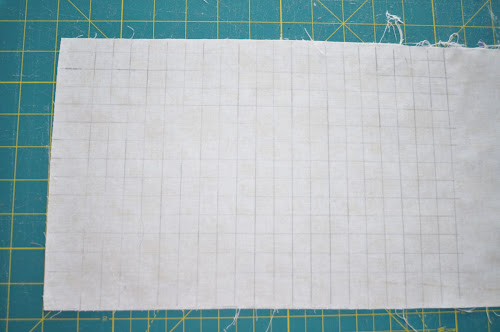
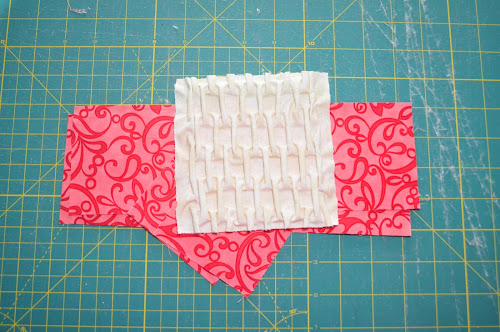
When finished, stretch the rectangle on a padded surface and pin well. Slightly crush the tubes with your fingers to obtain a more rounded shape.
Apply steam with the iron touching the tubes but without pressing.
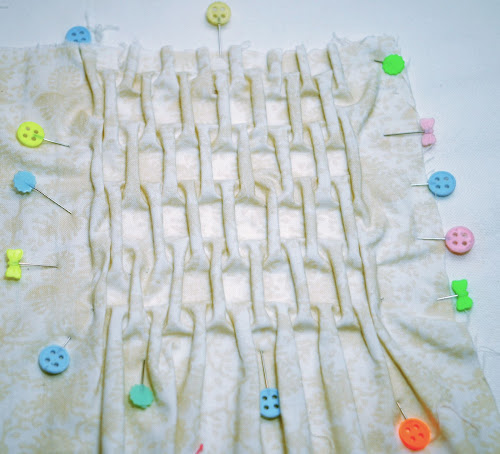
Let it dry. When dry trim to 5 inch squares.
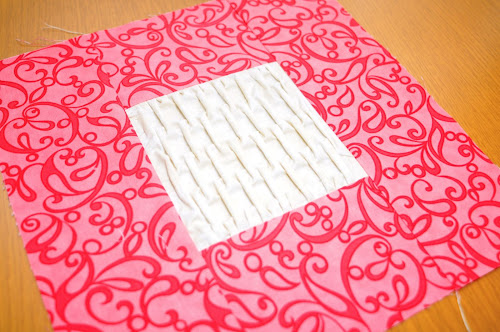
Cut two 5 in x 3 1/2 in rectangles and two 11 in x 3 1/2 in rectangles for the border.
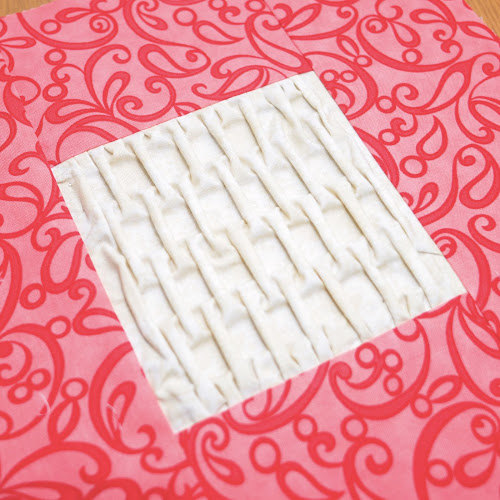
Stitch and the block is done.
Textured blocks tutorials
This is the 21th block in a series of 25 exploring texture in fabric.
Each block is made out of a centre 5 inch square featuring some fabric texture such as pin tucks, smocking, shirring and the like. Then a 3 1/2 wide border encloses each centre square.
The colour scheme is red and white/cream alternating reds and white/cream for the centre square and border.
Some of the textures show better on plain colours than on heavily patterned fabric.
See all Textured quilt sampler tutorials for this quilt.
Share your pictures
Are you making this quilt? Share your pictures on Flickr’s TeresaDownUnder group.

The Lozenge smocking is my favorite technique so far…….Thank you
LikeLike
This is just as exciting to see as the others you’ve worked. I’m so impressed by the thought that went into the creation of these lovely textural quilting blocks. Cant wait to see the whole front panel.
Will you make this again?
LikeLike
Thanks. Make another quilt like this one? Maybe not. For me the purpose of this quilt was to try a few sewing techniques that I’d never done before and that I may use in other projects individually.
LikeLike