

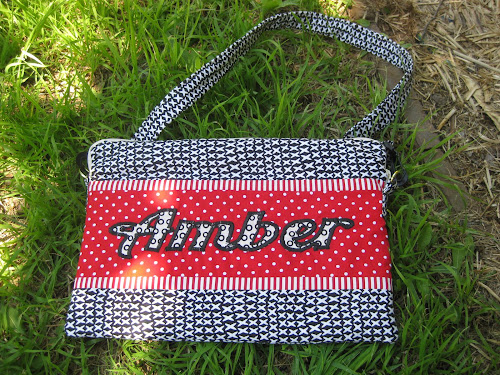
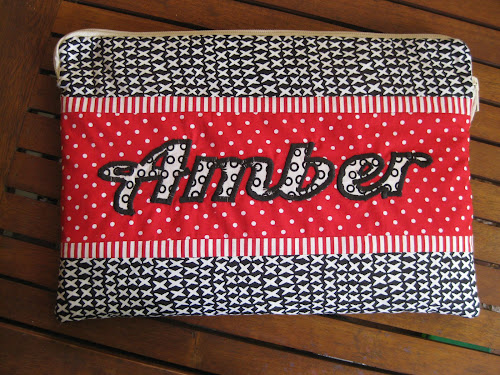
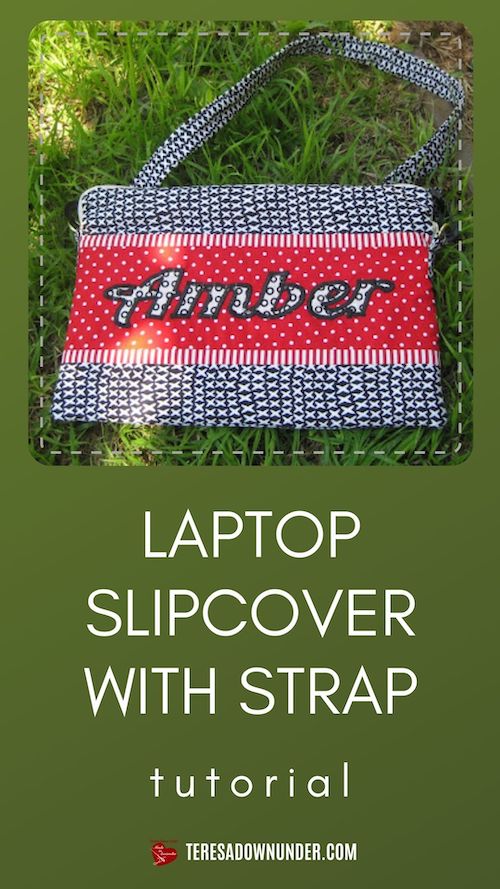
This slipcover is for an 11-inch MacBook Air. To adapt this tutorial to your laptop, measure your laptop around for height and width and divide each measurement by 2 and add one more inch to allow for seams. The resulting figure is the front and back rectangles.
For example my laptop is 11.8 inches x 7.56 inches. If I add about an inch, and I square the measurements, I get 2 rectangles of about 9 in x 13 1/4 in.
Fabric needs
Front
- 2 x 2 1/2 in strips in black and white
- 2 x 1 in strip in red stripes
- 1 x 4 1/4 in strip in red with white spots
Back and lining
- one 9 in x 13 1/4 in rectangle in matching black fabric
- two 9 in x 13 1/4 in rectangles for the lining
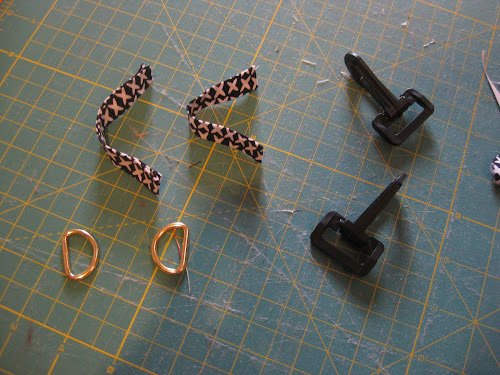
Other
- Cotton quilting batting
- 2 x 1 in D rings
- 2 x 1 in swivel hooks
- 1 x 18 in zipper in cream
- Extra black fabric for the strap
- Double sided iron-on interfacing for the letters
- Fusible interfacing for the strap
- Embroidery stabiliser for the applique
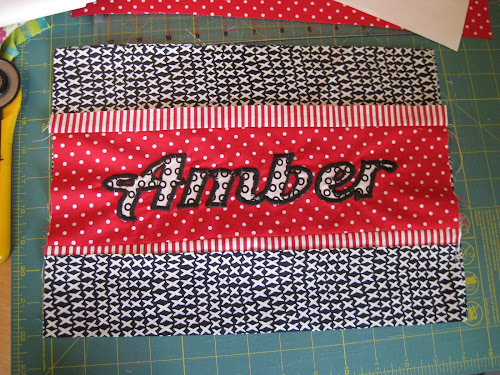
Lettering
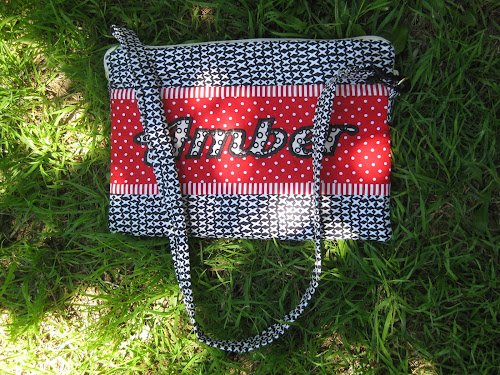
Assemble the front as per photo.
Follow the tutorial* How to make a lined zippered pouch for instructions on how to attach the zipper and the lining.
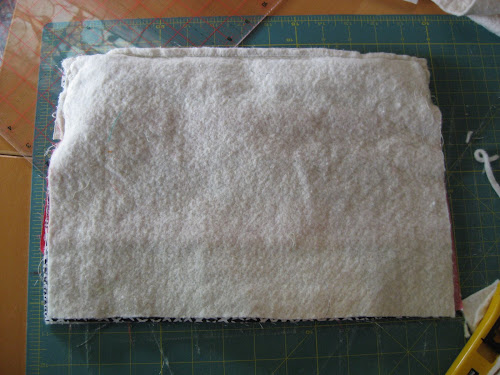
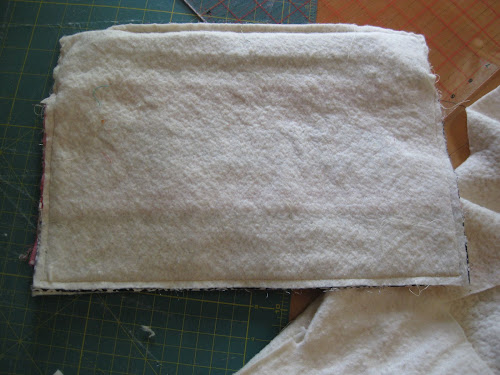
* The pouch in the tutorial does not have any batting in it. Insert this step before stitching all around the lining:
- add a layer of batting to each side between the lining and the outside and stitch to the wrong side of the outside fabric.
The bag is finished.
Now let’s add a strap.
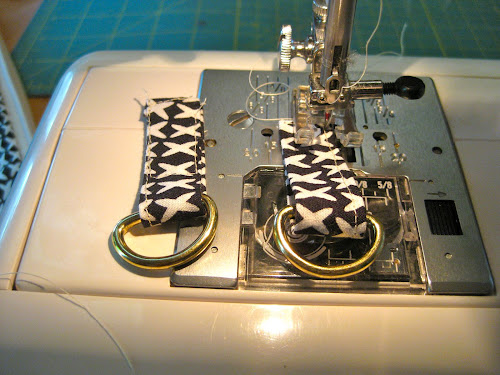
You will need to make 2 small tabs to hold the D rings.
Cut 2 rectangles of 2in x 8in from the black fabric and the fusible interfacing. Iron the fusible interfacing to the wrong side of the fabric, then fold 1/4 inch from each side to the inside and told in half again. Top stitch along the sides of the tab tucking in the raw endings. Put the tab through the D-ring and stitch the facing sides of the tabs together as per photo below.
For the strap, cut a 2 1/2 in x 34 in stripe of fabric and fusible interfacing. Iron the interfacing to the wrong side of the fabric. Do as you did for the tabs ironing 1/4 inch to the inside of the strap on each side and then fold the strap in half. Top stitch strap and tuck both endings to the inside.
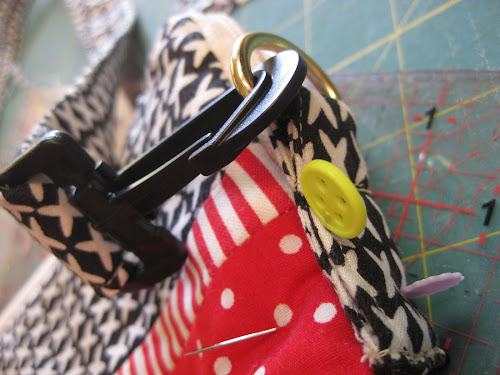
Pass the strap through the swivel hook and stitch across to hold the swivel hook in place.
Attach the tabs to the slipcover. I stitched them by hand because my machine couldn’t take that many fabric layers and batting.
Done.
Join my Patreon page

Get a new video tutorial every week plus other exclusive perks with 3 membership tiers.
Stay connected
Subscribe to my blog, follow me on YouTube , Instagram or join my Facebook group and Facebook page.
My book and other publications
You can now purchase individual chapters from my book as bundles of 4 unique quilt patterns.
If you prefer to own the complete book, Turnabout Patchwork, please note it is currently out of print. However, you might still be fortunate enough to find a copy on Amazon.
Explore all the quilts from the book in real-life projects!

This post has affiliate links.
