
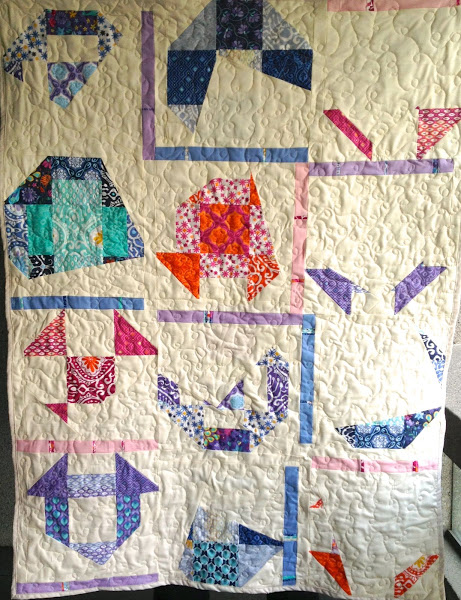

This is my semi improv nine patch quilt.
Tutorial
I’ve published individual tutorials for each of the blocks and below you’ll have the instructions to finish it:
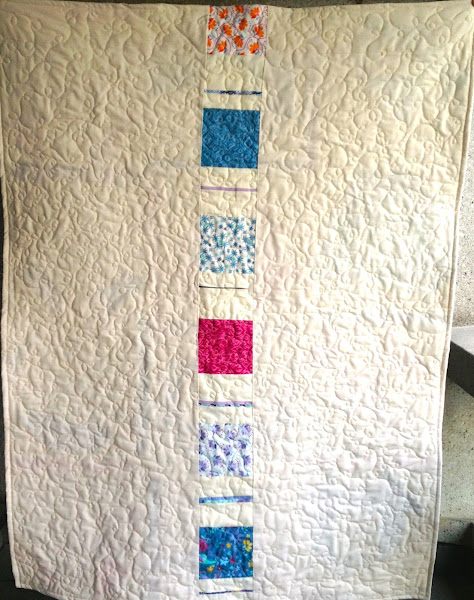
And the quilt back.
Quilt top
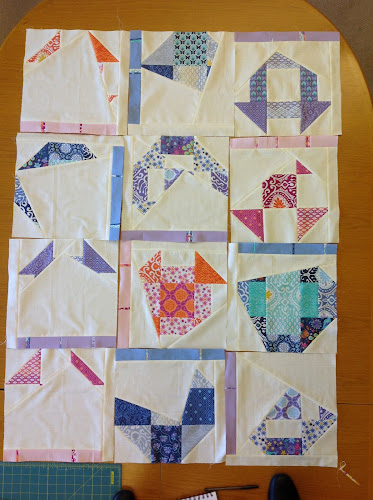
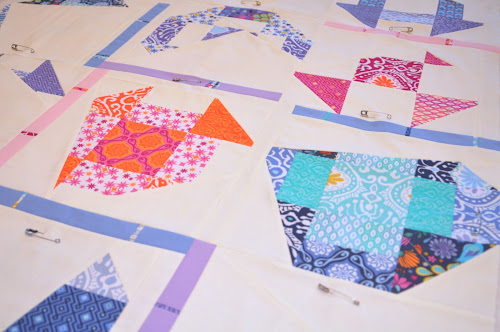
Now you have completed all blocks it’s time to arrange them.
Lay them on the floor and place them in a way that is pleasing to you.
Stitch together in rows.
Back of the quilt
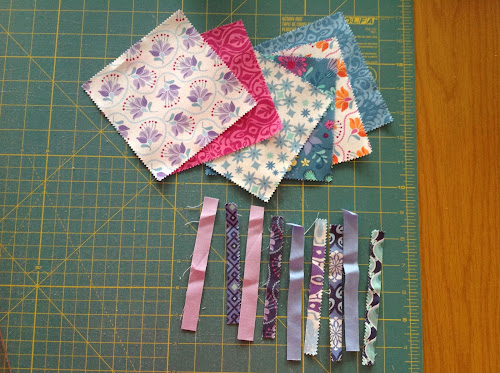
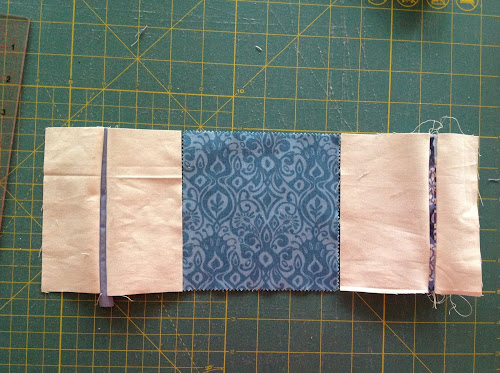
Get 6 charm squares and the little strips of fabric left from the trimming of the charm squares we used for the top. Cut a few extra trimmings in the strip colours.
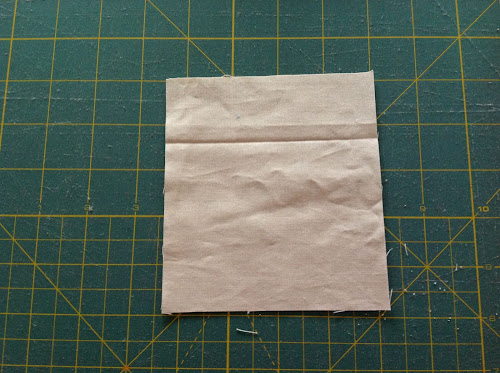
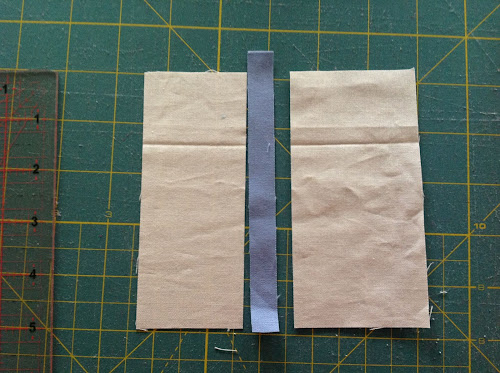
Cut seven 4 1/2 in x 5 in rectangles in the background fabric.
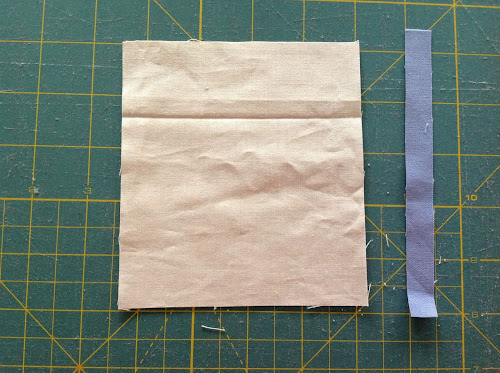
Now take one or more trimmings.
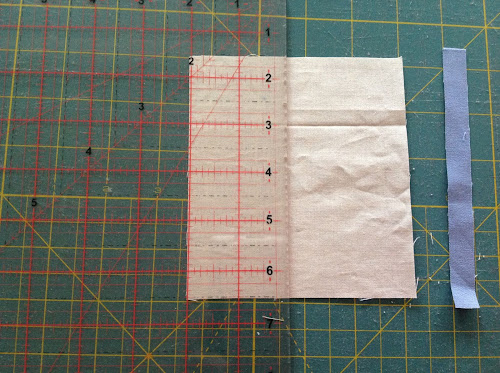
Cut the cream rectangle in two. Choose a random spot where to split the rectangle each time.
Place the trimming in between.
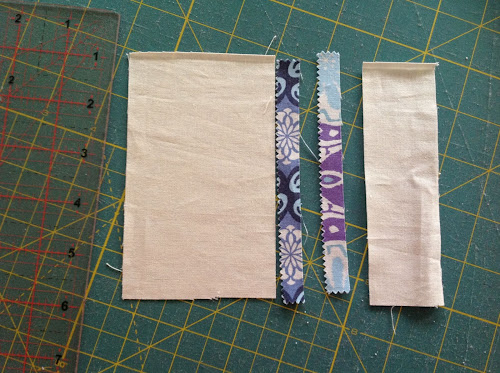
Do this for each of the 7 inserts. Then stitch the trimmings.
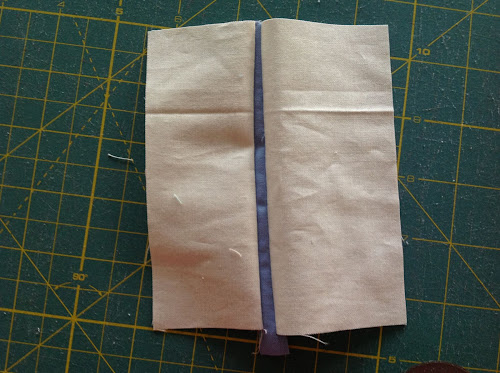
You can add more than one trimming.
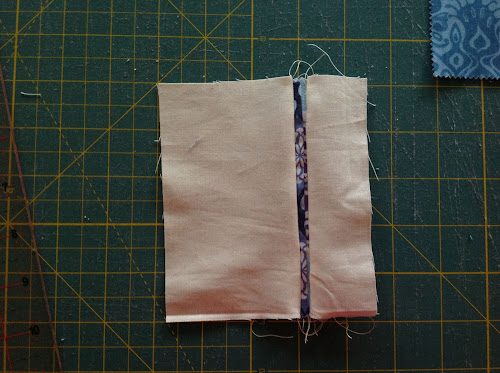
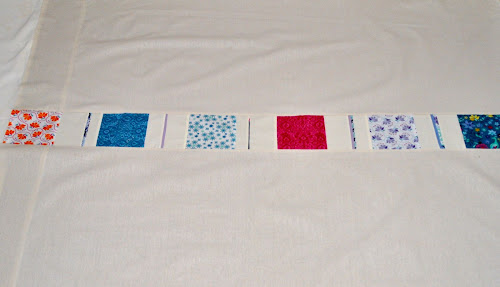
Now stitch charm squares and inserts in a row. Iron flat.
Now cut two pieces to stitch to each side of the strip. Each piece should be 19 3/4 in x 52 in. Stitch and iron.
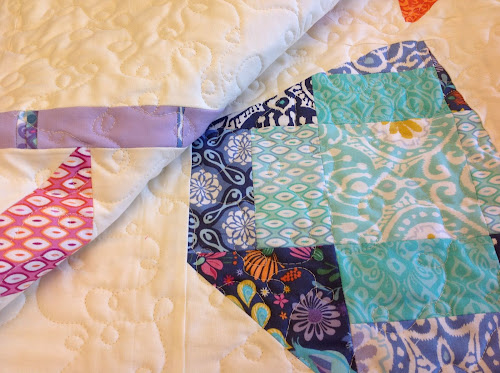
Assemble the quilt sandwich and quilt using your preferred method.
I used free motion.
I also used a very quick way to make the binding by machine.
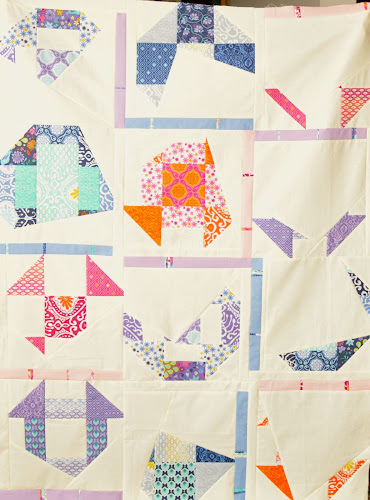
Detail of quilt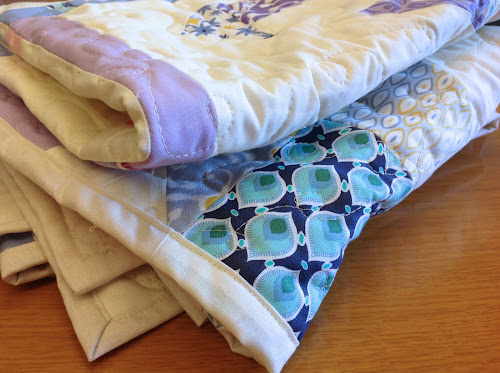
Join my Patreon page

Get a new video tutorial every week plus other exclusive perks with 3 membership tiers.
Stay connected
Subscribe to my blog, follow me on YouTube , Instagram or join my Facebook group and Facebook page.
My book and other publications
You can now purchase individual chapters from my book as bundles of 4 unique quilt patterns.
If you prefer to own the complete book, Turnabout Patchwork, please note it is currently out of print. However, you might still be fortunate enough to find a copy on Amazon.
Explore all the quilts from the book in real-life projects!

