

Materials
- 16 squares, 5” x 5”
- 1/3 yard matching fabric for the top of the bag
- 1/4 yard of matching fabric for the gathered strip, handles and loop closure
- 1/2 yard of matching fabric for the lining
- scrap fabrics for the inside pockets
- 1 button
- batting
- medium weight fusible interfacing for bag body and handles (optional)
- ribbon
- 1 key holder
Seam allowance is 1/4”.
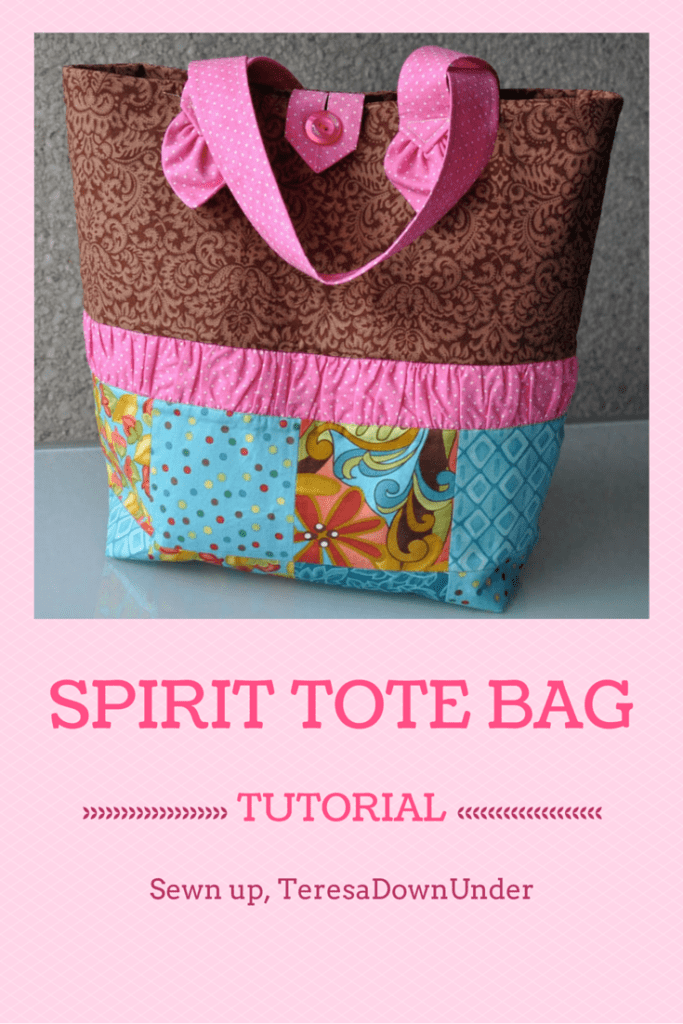
The bag is 14 1/2” high and 15” wide.
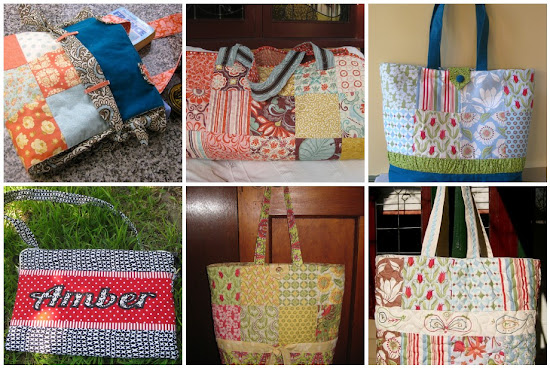
This patchwork tote bag has a set of pockets and key holder sewn into the lining.
You can watch a video demo for a similar bag below.
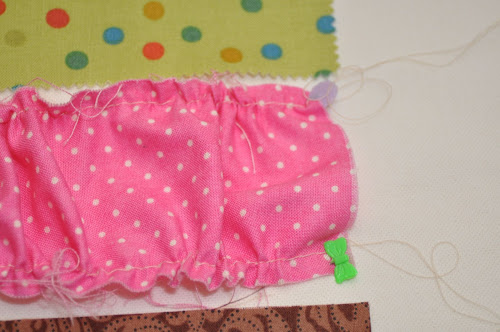
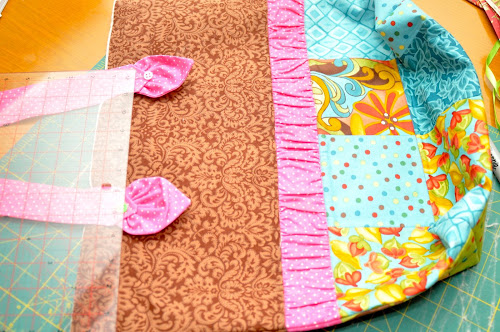
Gathered strip
Cut 2 strips of fabric measuring 2.5 in x 36 inches.
Using a basting stitch, sew along both sides of each strip.
Pull from the bottom thread while you hold the strip of fabric.

Pull from both sides and distribute the folds equally along the whole strip. Try to align the folds vertically.
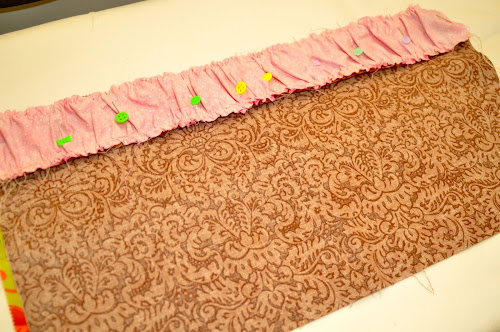
When the folds have been evenly distributed, place the gathered strip on an ironing board and stretch it pinning both ends of the strip to the board. Placing both panels of the bag on the ironing board while you’re gathering the strip helps deciding when the strip has reached the right width.
Press the folds lightly as if you were combing them. Don’t press hard.
Press the seam allowance so that it is easier to stitch to the bag.
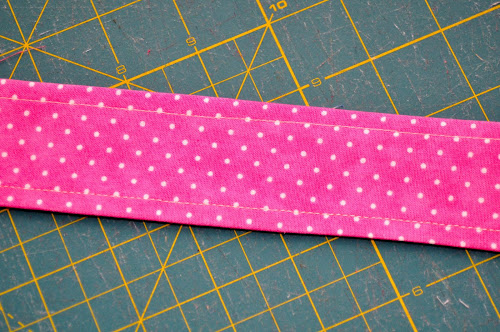
Handles
Cut 2 pieces of 24” x 4” for the handles.
If you want stronger handles, use fusible interfacing. I used medium weight. Anything heavier will make it very hard to turn handles inside out.
Cut 2 pieces of fusible interfacing slightly smaller than the handles and iron to each piece of fabric as per manufacturer’s instructions.

Fold the rectangle along the long side with the right sides of the fabric together making a tube and pin along the seam.
Stitch along the long side.
Turn tube inside out.
Press flat and top stitch along each side with a 1/4” seam allowance.
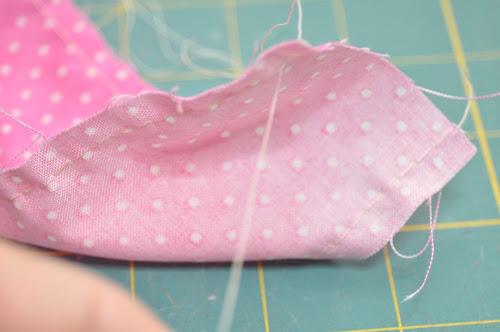
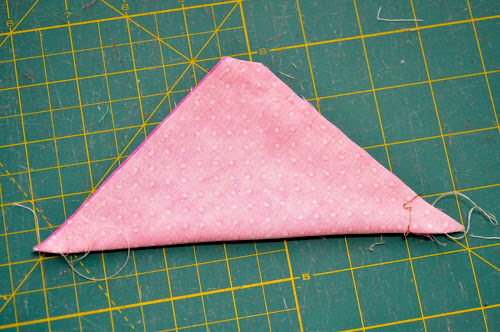
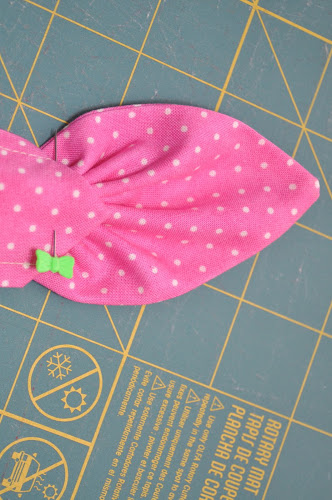
Making the ears for the handles
Cut four 5” squares from the handles fabric.
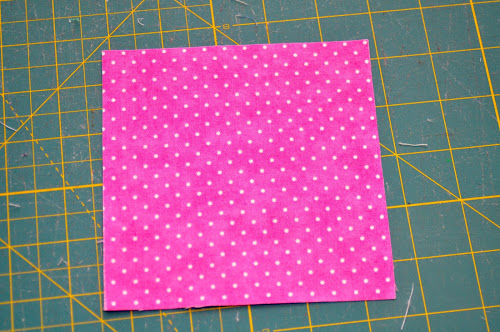
Fold in half wrong side of the fabric together.
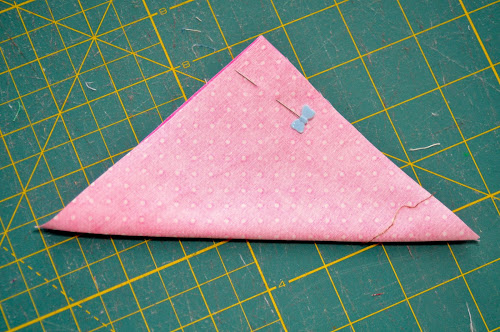
Stitch around the 2 raw edges.
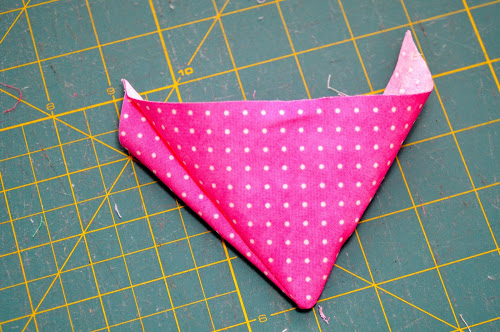
On the long side of the triangle make a cut as close to the edge as you can.
Turn inside out and press well.
With a strong thread gather the fabric along the triangle open side
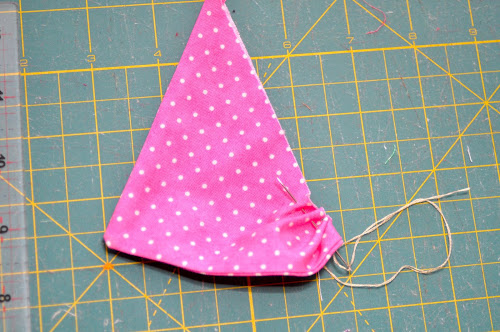
Pull so that the two edges of the triangle will join in the center.

Tie a knot to keep edges together.
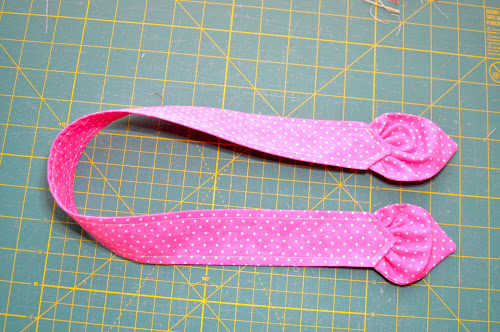
Attaching ears to handles
Fold end of handle in and press.
Then make a triangle as per picture and press.

Place handle over ears and pin.
Sew in an arrow shape.

This is the finished handle.
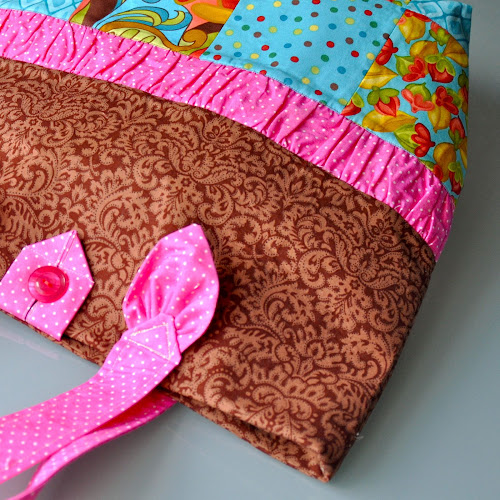
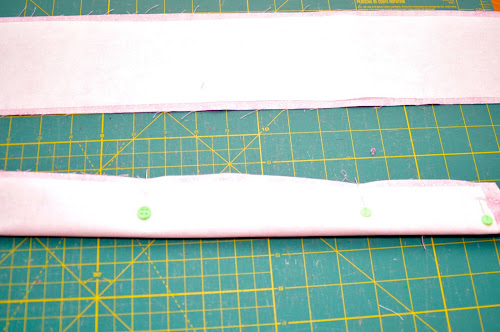
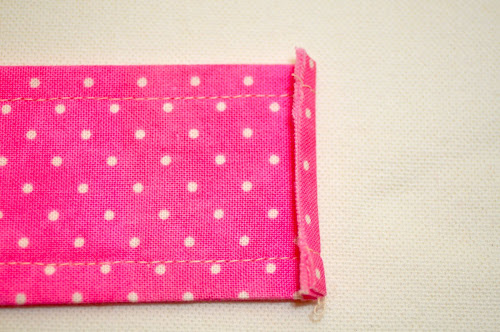
Make loop closure
Cut a rectangle measuring 6.5in x 4in for the loop closure.

Fold one side to the middle point.

Fold the other side in the same way.
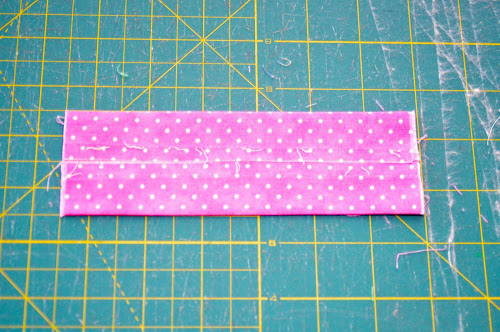
Fold and stitch as per picture and stitch on the side.
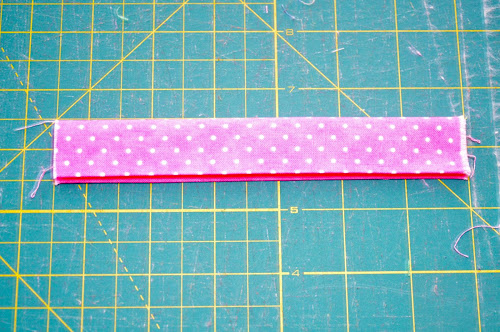
Then fold as per pictures.
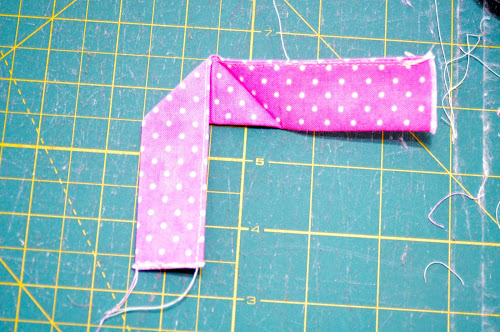

Stitch close to the edge as per picture below.

Making the bag
For each side of the bag, stitch 2 rows of 4 charm squares each and then stitch both rows together.
Iron with seams open to get a flatter look.
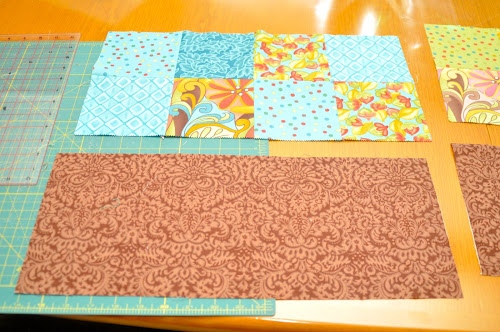
You will end up with 2 rectangles measuring measuring 18.5in x 9.5in.
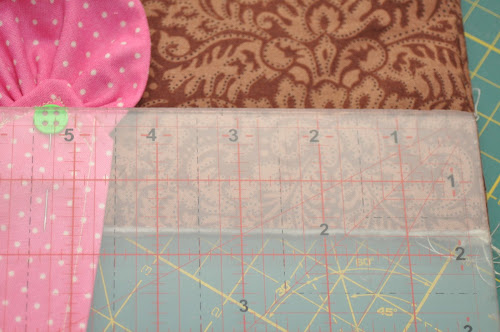
Note: Measure the width of your final rectangles well after sewing and before you cut the rectangles that make the top of the bag so that the width is the same.

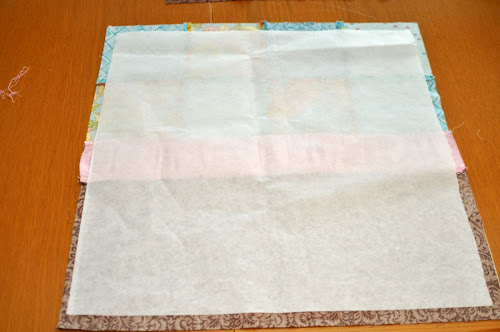
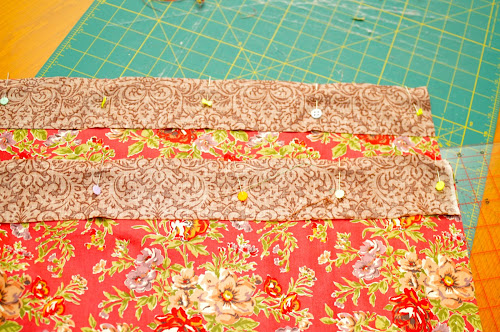
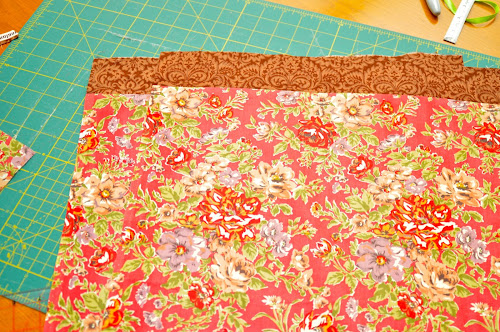
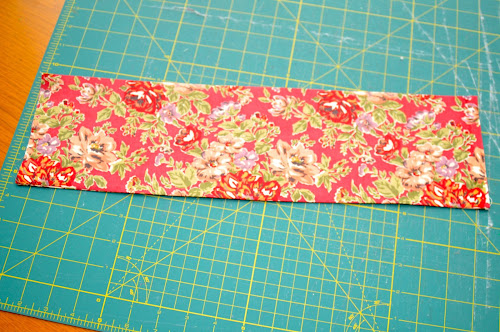
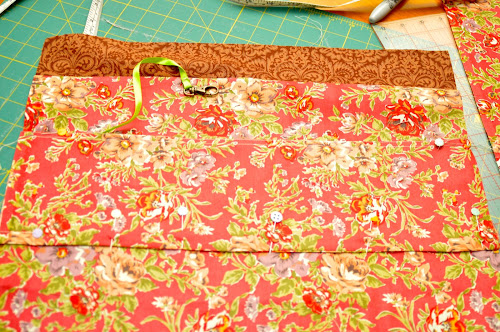
From the matching fabric cut two 8in x 18.5in rectangles, or the width of the stitched charm squares.
Place the pieced rectangles on top of the matching fabric to make sure the width is the same (see picture).
You are now ready to piece the bag.
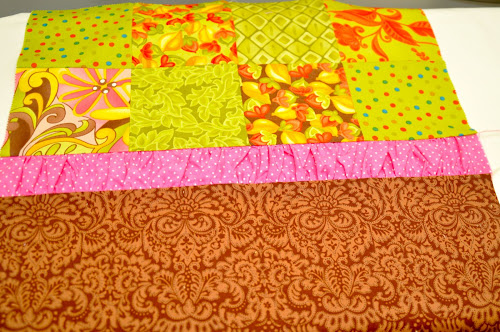
Time to stitch the gathered strip you made earlier.

Pin the gathered strip of fabric to the top piece (see picture below).
Make sure the ruffled seam allowance is flat. Pay special attention when sewing in order to avoid the ruffles raw edge showing on the right side of the bag.
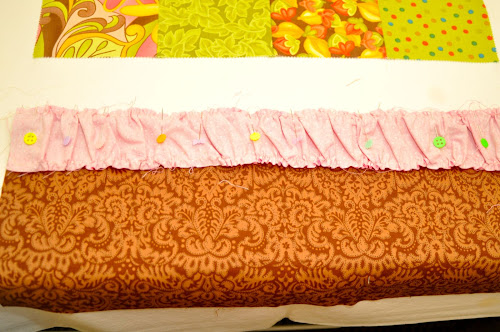
Pin the other side of the gathered fabric to the bottom panel and stitch in the same way.
Now you have one side completed.
Press well.
Do the same with the other side.
Stiffening the bag sides
Interfacing
Adding interfacing is optional. I have made other bags without using interfacing but the end result is a bit soft. I like my bags to stand up when I put them on the floor.
Cut a piece of fusible interfacing (medium to heavy) 1/2 inch smaller than the sides of the bag. Iron to the back of each side of the bag as per manufacturer’s instructions.
Batting
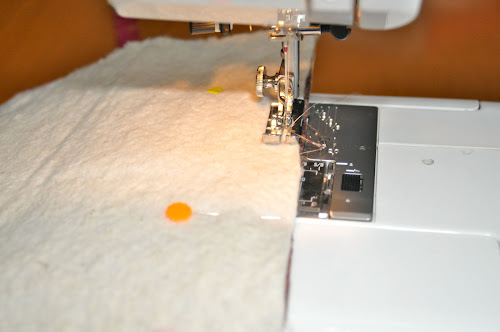
Cut a piece of batting slightly larger than the sides of the bag and pin.

To attach the batting to the bag, stitch across the sewing lines on each side of the gathered strip.
Then stitch along the pieced lines on the bottom of the bag.

Trim excess batting.
Assembling the bag exterior
Put both sides together with right sides facing together and stitch around 3 sides leaving the brown side up open.
The bag is done.

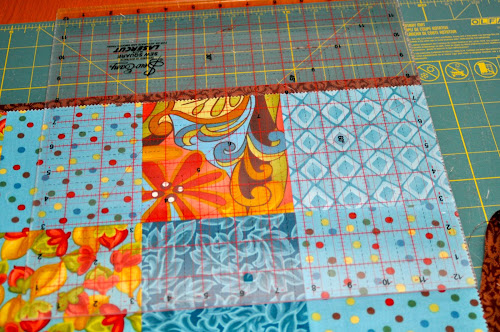
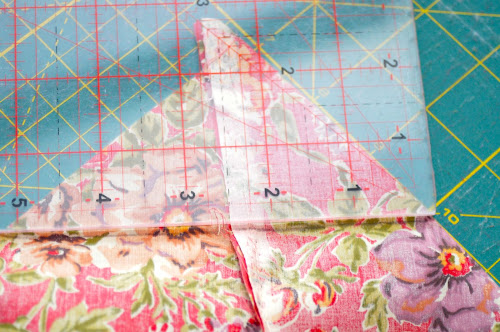
Squaring the bottom of the bag
Turn bag inside out.
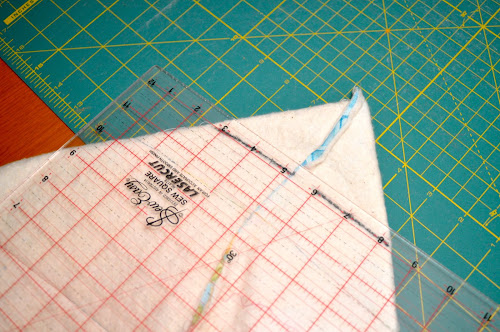
Fold the bag as per picture below.
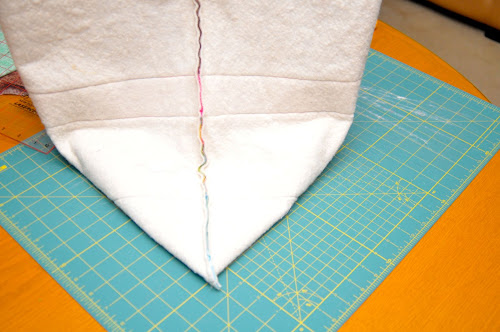
Trace a line at 2.5 inches from the corner.

Stitch along the line.
And then cut corner off leaving a 1/4 inch allowance
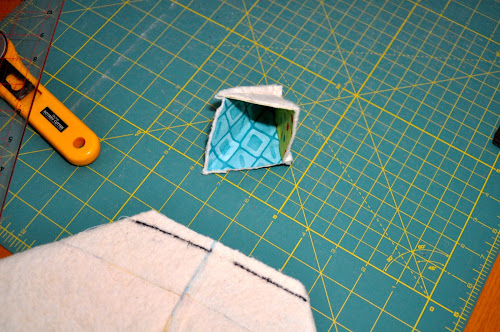
Turn inside out.

The bag has now got a bottom.

Attach the handles
Place the handles 4 1/2 inches from the side.
And 2 inches from the triangle corner up to the edge of the bag.
Stitch in a triangular shape twice around the bottom of the handle.


Attach loop
Place loop between handles as per picture. We’ll stitch it when we attach the lining.

Making the lining of the bag
The bag has a set of pockets and a key holder.
Cut two strips 2.5 x 18 inches for the top of the lining.
Cut two 16.5 x 18 inches for the bottom of the lining.

Pin strip and rectangle together (see picture below).
Stitch and iron flat.
Pockets
Cut a rectangle 18 x 10.5 inches.
Fold in half right sides of the fabric together to make a tube.
Stitch tube.
Turn inside out.
Top stitch very close to the edge and then again 1/4 from the edge on the top of the pocket.

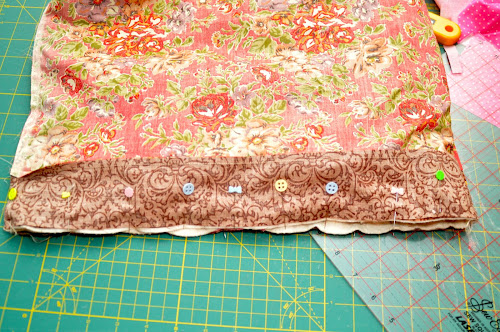
Attach the pocket and the key holder
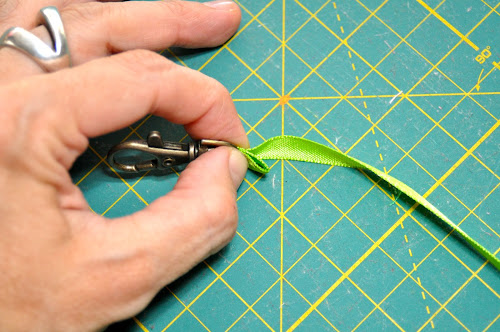
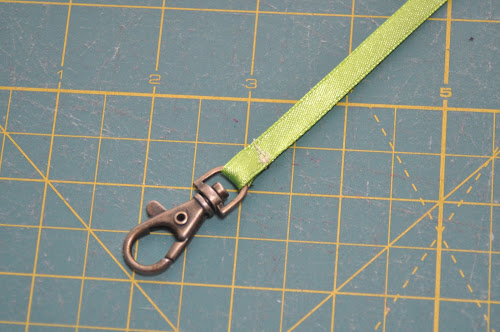
Cut a piece of ribbon around 10 inches long and stitch to a key holder.

Place the ribbon edge at around 5.5 inches from the top of the bag on the side and pin.
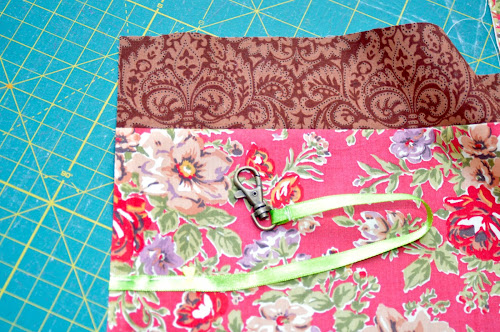
Place the rectangle for the pockets over one panel of the lining with the top of the rectangle at around 5 1/4 inches from the top and pin.
Stitch along the sides and bottom of the pocket.
Hide the key holder in one of the pockets to avoid stitching other than the edge of the ribbon accidentally.
Then make several pockets by stitching vertically several times. The first pocket will hold the key so you can make it 2.5 inches wide.

You can adapt the width of the pockets to suit your needs.
Assembling the lining bag
Place both pieces of lining right side together and sew around the sides and bottom. Leave a 4 inch opening on one of the sides to turn bag inside out one we stitch the lining to it.

Then do as for the outside bag: cut across the corner 2.5 inches as per picture and stitch again.

Attaching the lining to the bag
Place the lining, inside out, over the outside bag as in the photo and pin along the top edge well. Just in case it is not clear in the photo, the right side of the fabric for bag and lining should be facing together.
The opening showing is the photo is about 4inches wide and will be used to turn the bag inside out once the lining and the outside a sewn together.

Stitch lining and bag together along the top edge.
Turn bag inside out through the opening in the lining.

Stitch the lining opening.

Stitch a button in between handles.

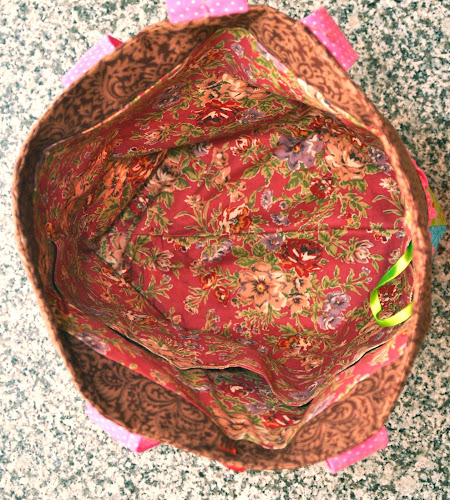
The bag is finished.
View of the inside
Back of the bag 

Other free bag tutorials
Here is a list of bags I have made over the last couple of years:

Beautiful tote. I only have about 15 but always need a new one! Excellent instructions, particularly for newbies. Thank you!
LikeLike
Sent from the all-new AOL app for iOS
LikeLike