

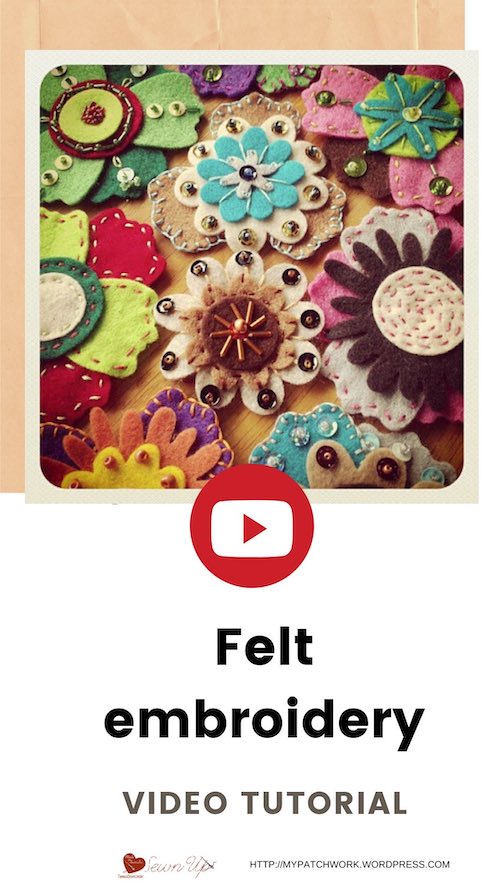
Using felt die cuts and embroidery is a lot of fun. It’s a perfect project to make with your kids or grand kids.
Here’s a basic demonstration of how to embroider a basic felt flower.
Tutorial
Materials
- Felt die cuts in assorted colours. You can buy the die cuts here, here and here.
- Sequins (optional)
- Beads (optional)
- Stranded cotton in matching colours
You can either plan ahead the final design or just improvise like I do.
The following are just recommendations rather than a tutorial on how to embellish a felt flower.
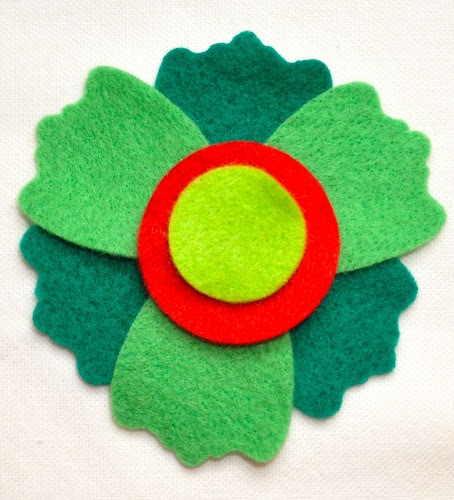
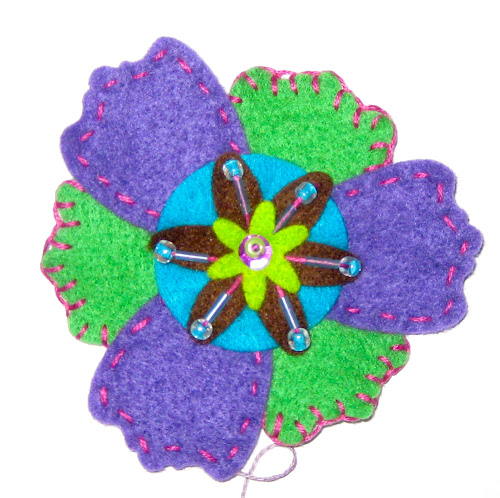
Start with a collection of die cuts in felt. My die cuts are store bought but this can be done with hand cut felt shapes just as well.
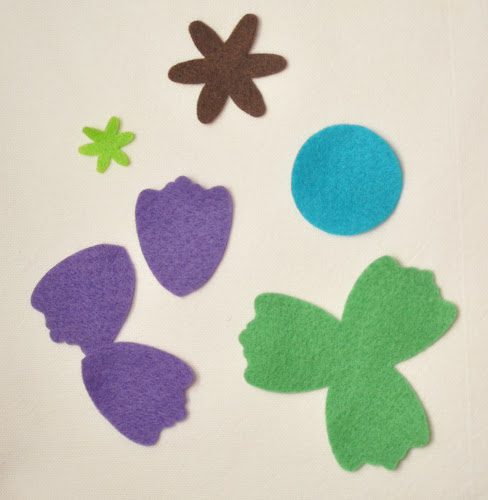
Before stitching the felt shapes together, arrange them in any way you feel fit.
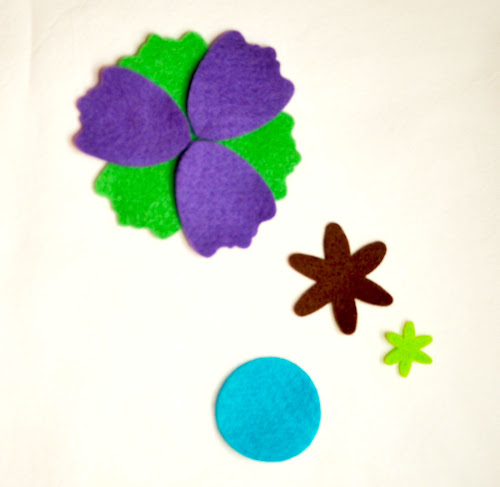
Place layer after layer.
At this stage we’re only working out which design works best.
Another combination.
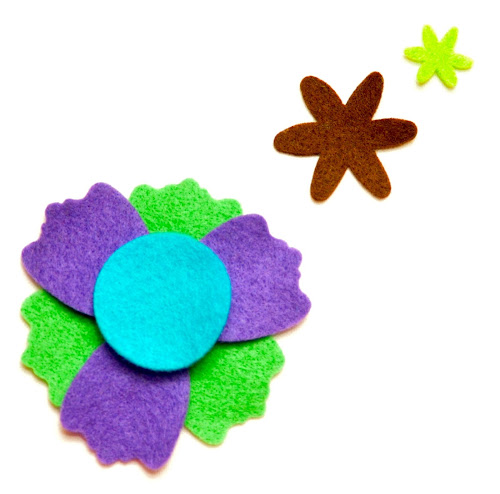
Once you are done you’ve chosen your petal combination you are ready to add sequins, beads and embroidery stitches.
Embellishing the flowers
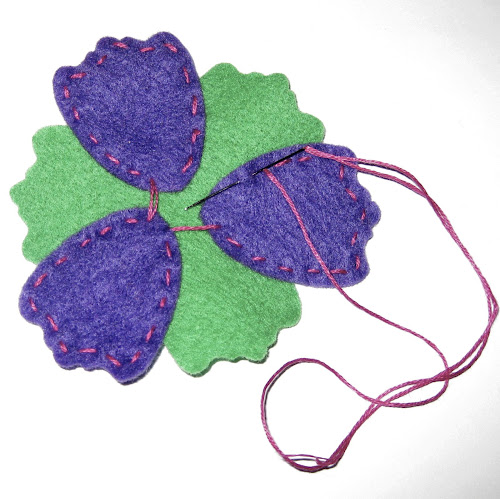
If you work with several shapes pin them to the previous layer.

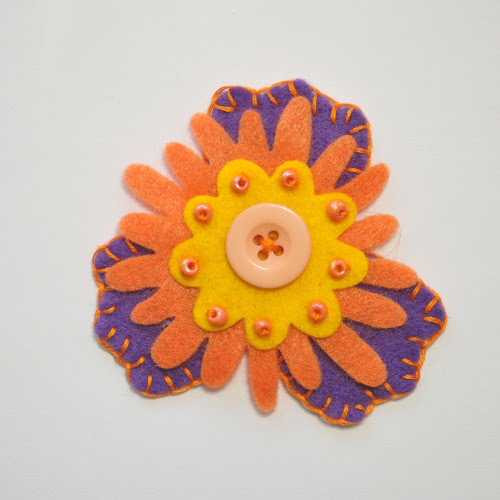
Then, stitch the top layer to the base using decorative stitches.
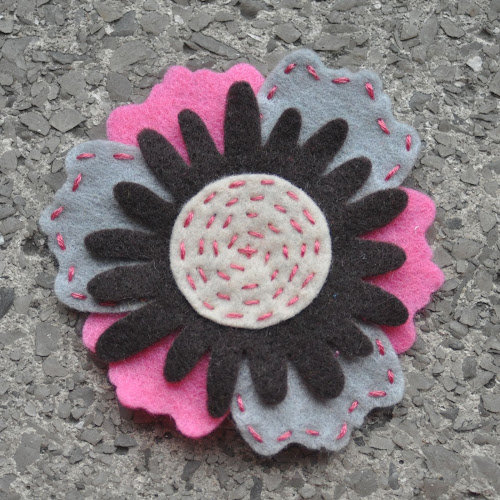
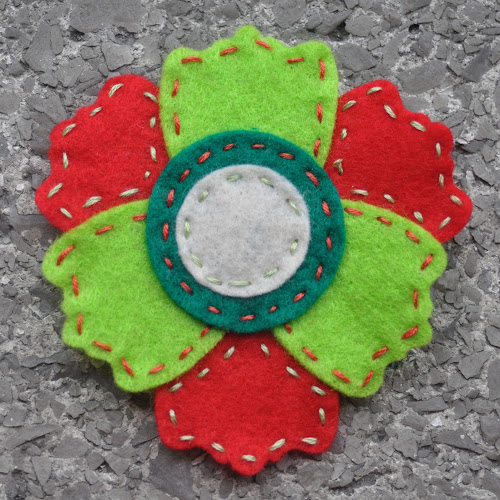
There are a number of stitches you can use for the outline of the petals. My favourites are running stitch or blanket stitch.
I used running stitch for the darker petals.
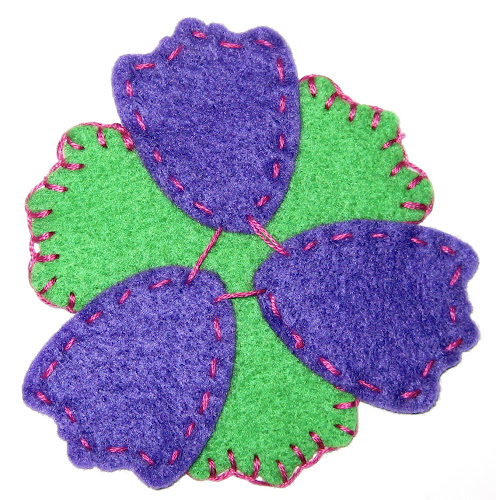
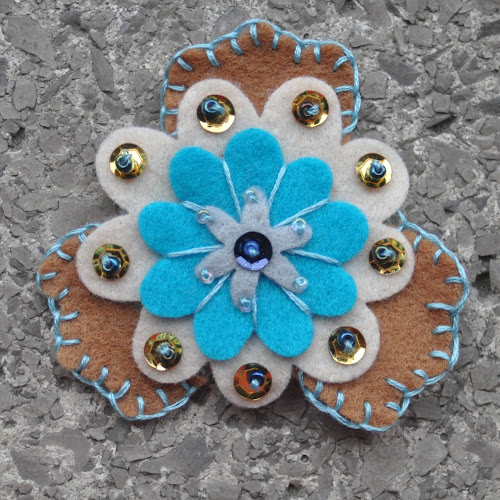
And blanket stitch for the green petals.
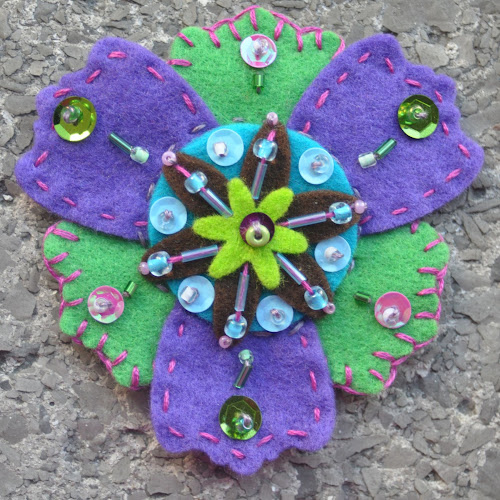
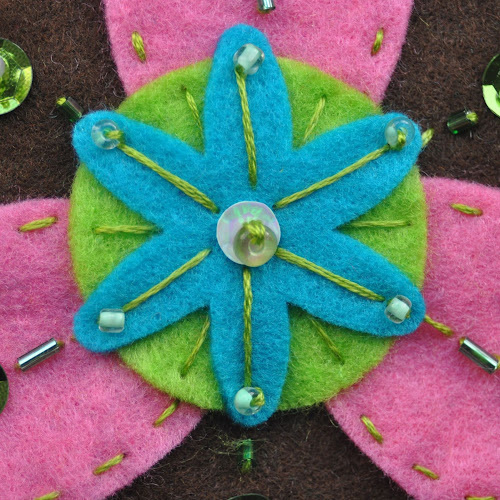
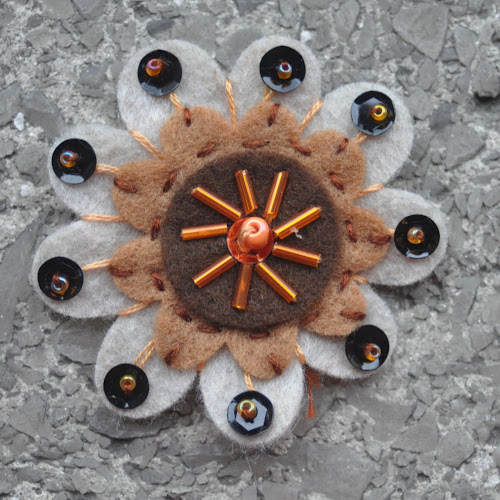
Now attach the next layer, and the next. In this case I stitch layer 3 and 4 at the same time by adding some long stitches and attaching beads on each petal on the top flower.
When stitching each layer you can decide if you will embellish each layer completely separately or at the end or you’ll do a mix. I find it is easier to embellish during and after all layers are stitched together.
Sometimes it’s best to wait to place the top layers to know how much space will be left for certain embellishments. For instance you can add a small bead about anywhere but a sequin requires more space.
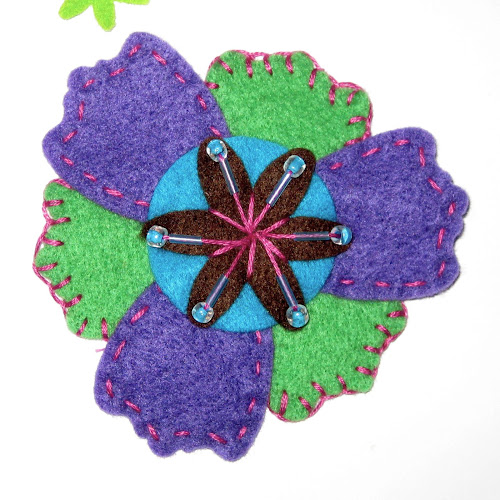
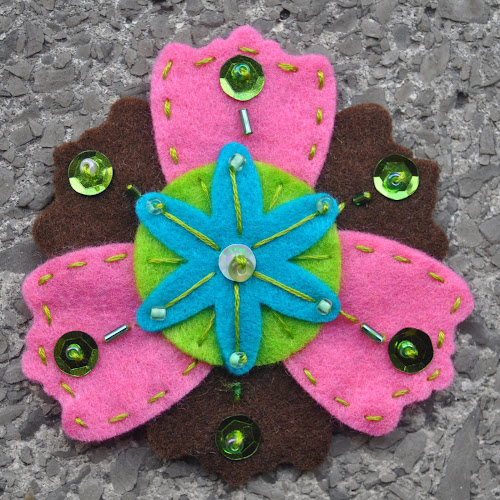
For instance I embellished the second last layer first because I wanted to use long stitches that would be visible under the petals of the green top flower.
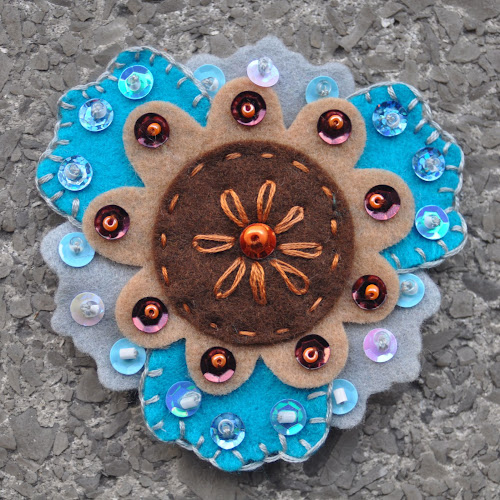
I added sequins and beads to layers 1, 2 and 3 after all layers had been stitched together.
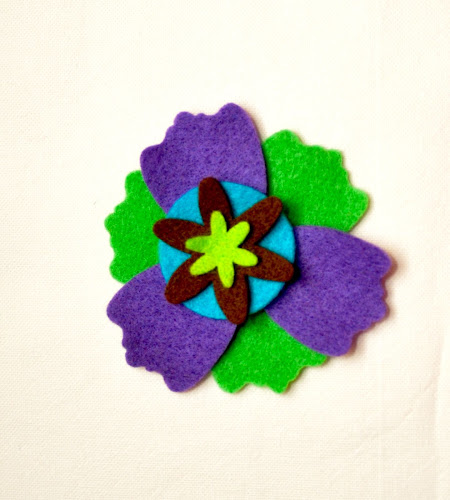
Close up.

Use more or fewer sequins/beads or embroidery as required.
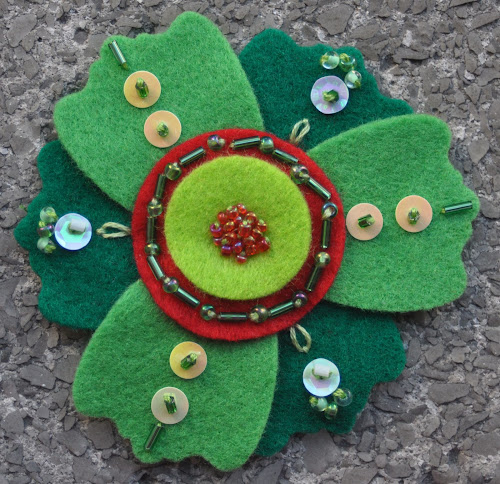
Use interesting colour combinations.
Now I just to have to figure out what to do with all the flowers! Any suggestions?

Hi I tried to view your video but it won’t let me. I really love your projects and have used some of them in my works. Thank you.
LikeLiked by 1 person
Same here YouTube lists the video as private.
Looking forward to doing these charming flowers please let us know when video is up
Cheers
LikeLiked by 1 person
The same happened to me. Looking to enjoying your valuable video and trying a new type of applique. Thanks.
LikeLiked by 1 person
Thank you, I loved the felt flowers video. I’m looking forward to the next one. Love all your sewing videos as well.
LikeLiked by 1 person
Thank you 🙂
LikeLike