


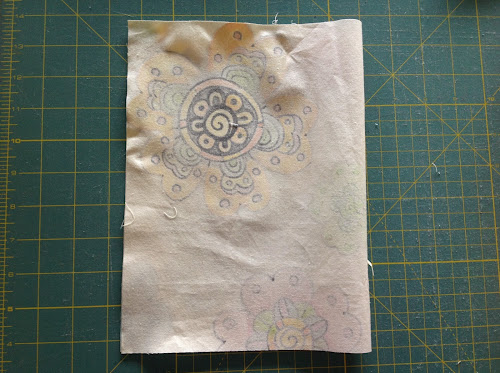
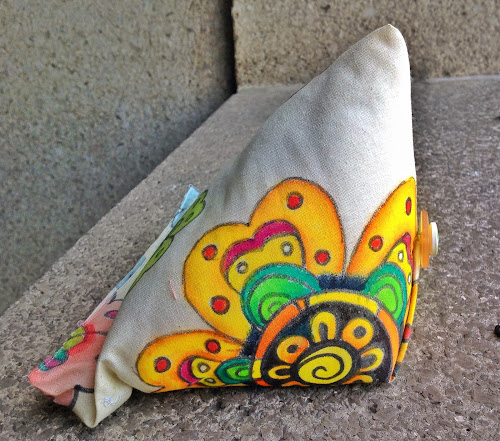
Back view
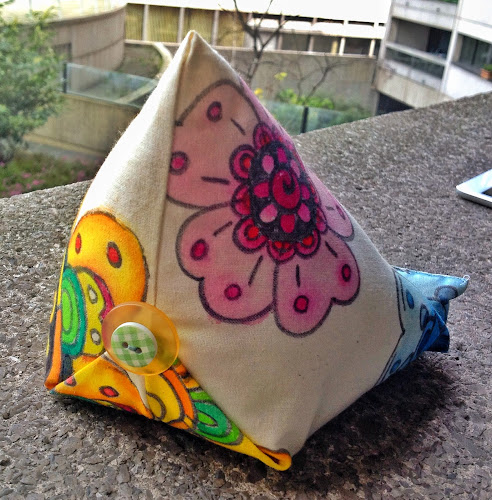
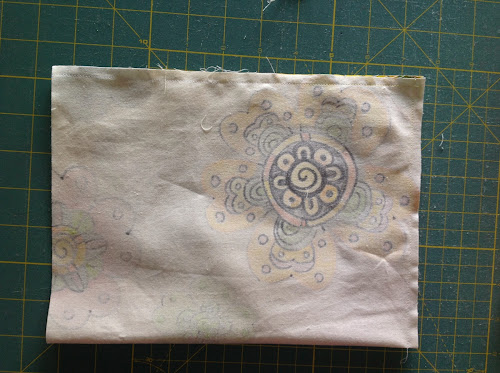
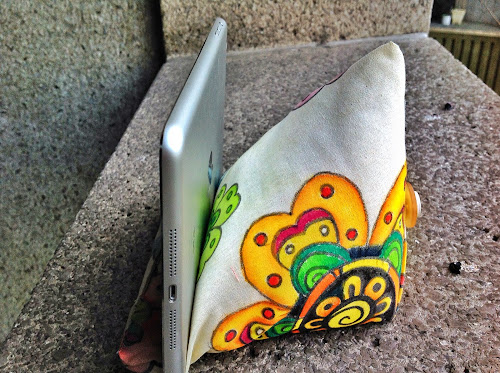
Side view

NOTE: This tutorial is for an iPad mini. If you have an iPad you can use my iPad stand tutorial or my patchwork iPad beanbag tutorial.
Video: How to make an iPad stand or beanbag
Make a tablet stand using the leg of a pair of jeans instead
Materials
- a 16in x 10in piece of white/cream fabric if you intend to paint it, or any other fabric you’d like to use if not painting it
- fabric markers or other textile paints such as Inktense
- buttons
- polyfill or quilt batting scraps
- piece of carboard measuring 3 3/4 in for the top, 3 1/4 in for the sides, and 5 3/4 in for the base
- a stone or other weight or even some rice
Instructions
This project is kind of special because I used hand painted fabric. I did not paint the fabric myself, my daughter did and she used Inktense blocks and a black permanent marker.
Apparently Inktense paints are colour fast once dried though my fingers were slightly stained by handling the beanbag while I was filling it. It could be the marker which was just a normal permanent marker but there was a bit of yellow in it too. In any case I’m not planning to wash the beanbag.
To paint your fabric you can place the fabric directly on to a piece of carboard. I used a stretcher frame I use for silk painting.
I marked the area to be painted and my daughter made the painting.
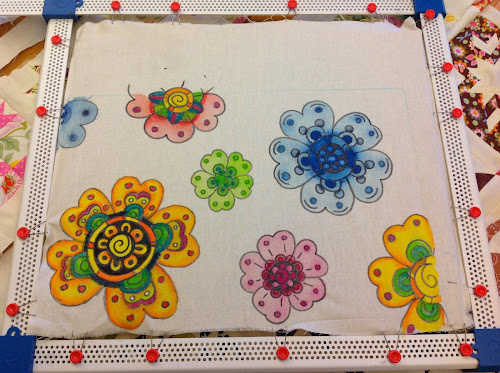
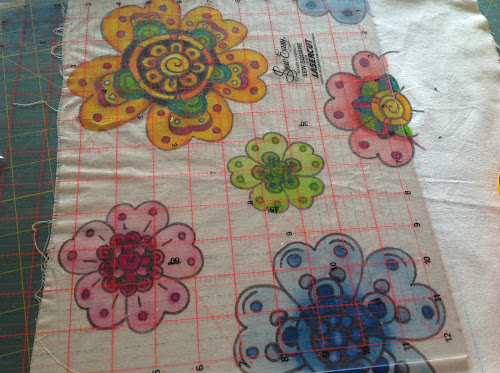
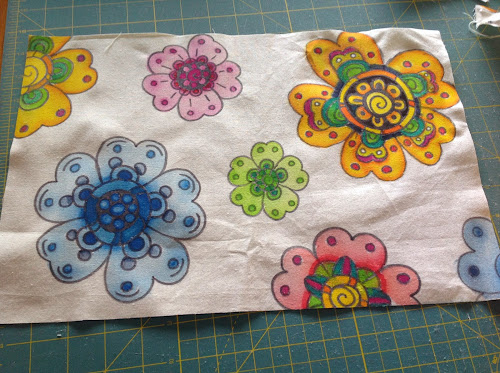
After it dried, I trimmed the piece to 16in x 10in.
I like the large flowers and the colours my daughter used.
Now fold the rectangular piece in half on the LONG side. I’m using caps because I know this part has been confusing to some people in my previous iPad beanbag tutorial.
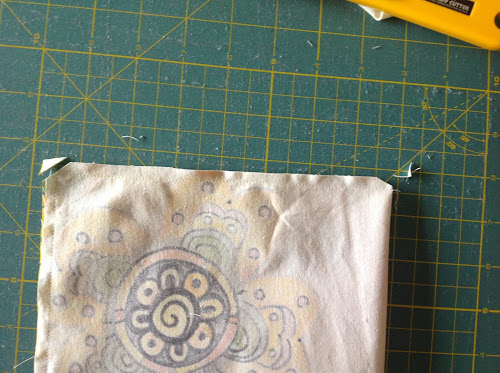
Stitch along the long side and one short side as per picture.
Trim the corners to reduce bulk when turning inside out.
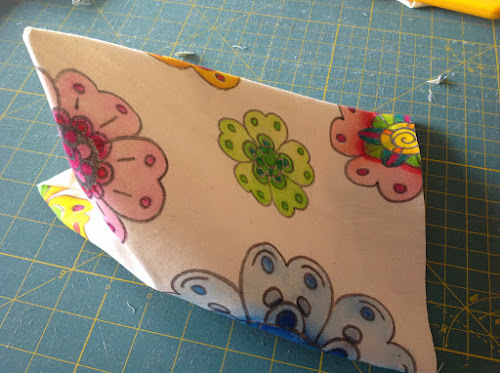
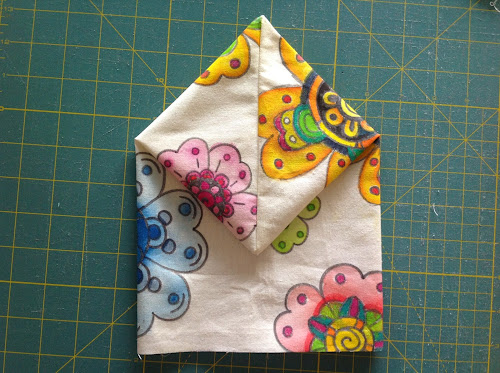
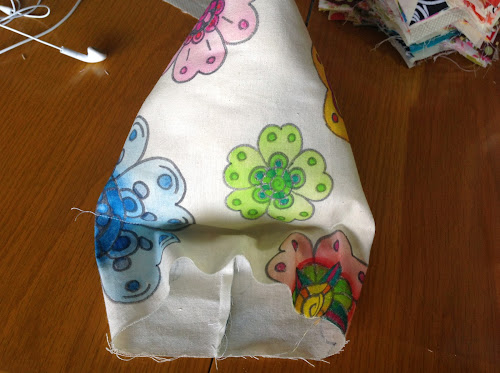
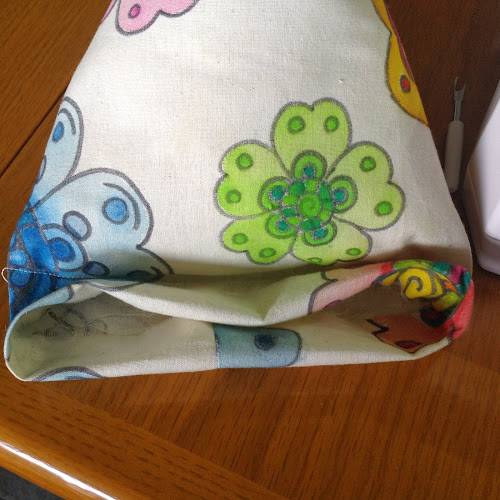
Turn inside out and place the bag as per picture, with seam on the bottom.
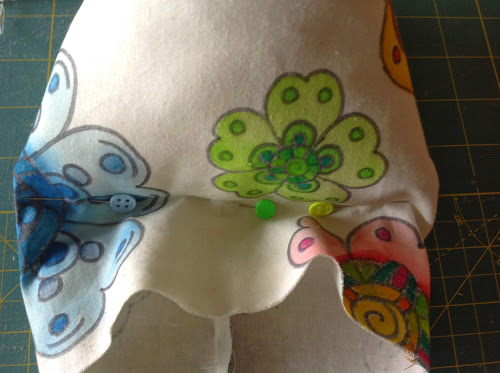
Fold as per picture below.
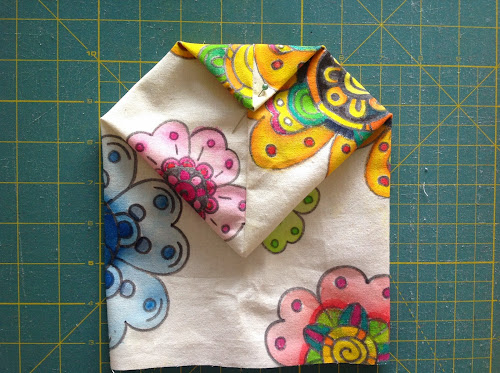
Now fold the bottom up to align with the middle point as per picture.
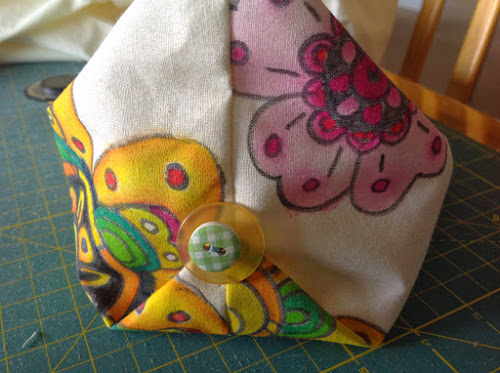
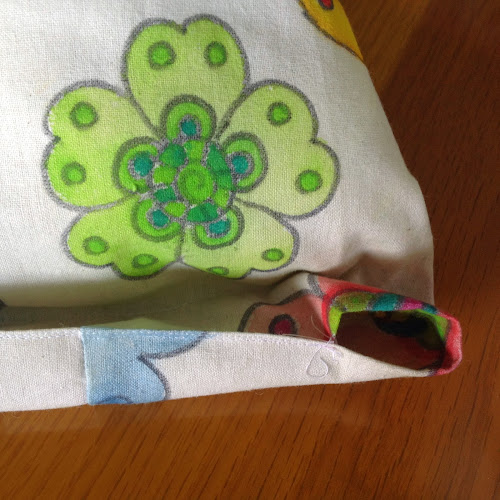
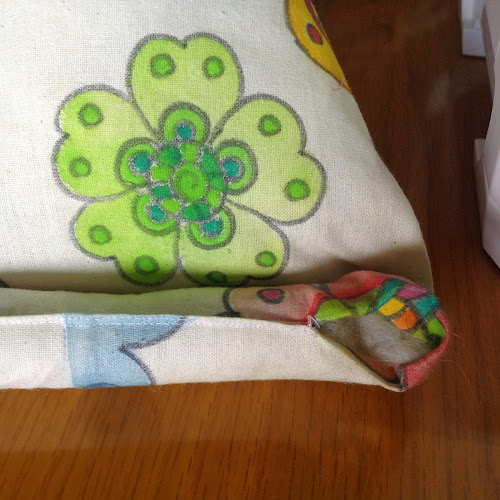
This is where you stitch the buttons.
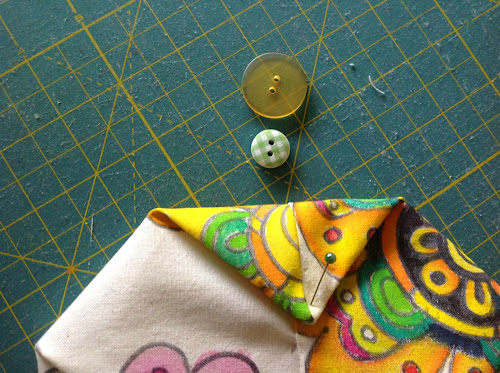
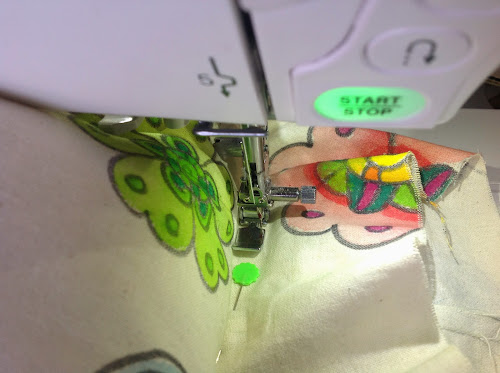
Make a few stitches in the corner.
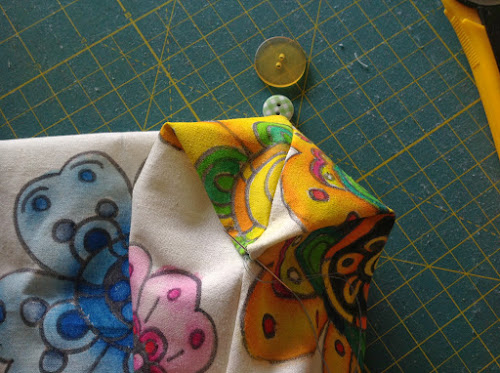
Then stitch the buttons on the same point.
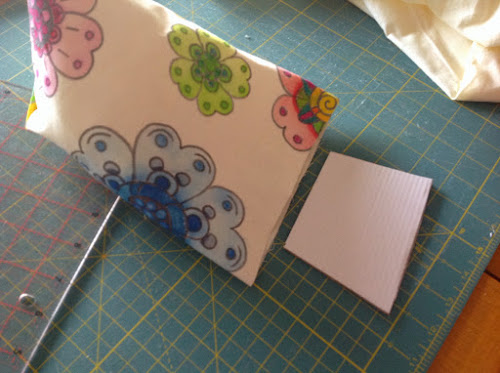
Making the cardboard base
To make the cardboard base you can either use the measurements I gave you earlier or you can do what I did which was to do some markings on a piece of cardboard using the still lightly filled bag as a guide.
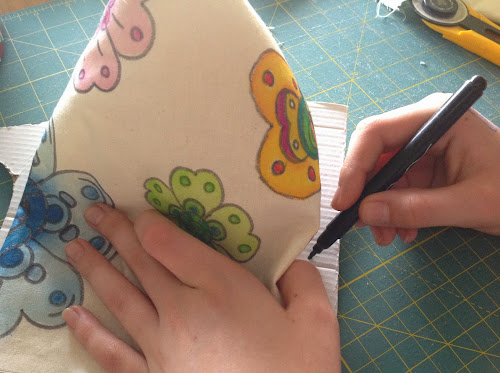
Then I just cut from dot to.
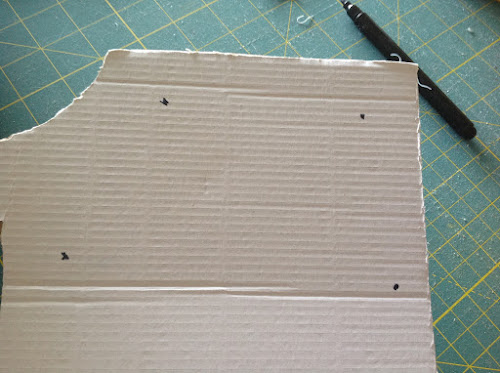
I had to even it out a bit as the markings were a bit off.
Filling the stand
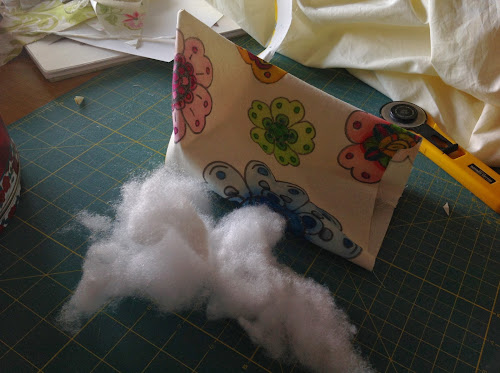
Time to fill the bag. I used batting scraps for this project. Pull the batting apart first and then start filling the bag little by little.
I also used an old clay figurine as weight. You could use rice instead or a stone. Weight will give the bag some stability.

Once you have filled the bag to your liking, pin along the sewing line. This particular bag is very well stuffed because my daughter wanted to have her iPad mini very upright. This also means that the opening of the bag is a bit uneven as you can see in the photo.
Stitch through the line. This can be hard so you could stitch before you fill the bag completely leaving a small opening on on side and then when well stuffed stitch the little opening.
As you can see there’s quite a bit of fabric left and it looks like it’s wrong. I thought so too but it didn’t turn to be a problem at all. If your bag is not so full the distorsion will be smaller.
Now fold the endings in as per picture.
Stitch almost to the end of the tube leaving an opening.
Fill it in and stitch the opening with a mattress stitch.
Voilà!

Thank you for your tutorial
LikeLike
Brilliant thanks, I am now the proud owner of an IPod / dreamer stand.
LikeLiked by 1 person
Fantastic Eleanor!
LikeLike