

Today is the last day in the Tulip factory QAL.
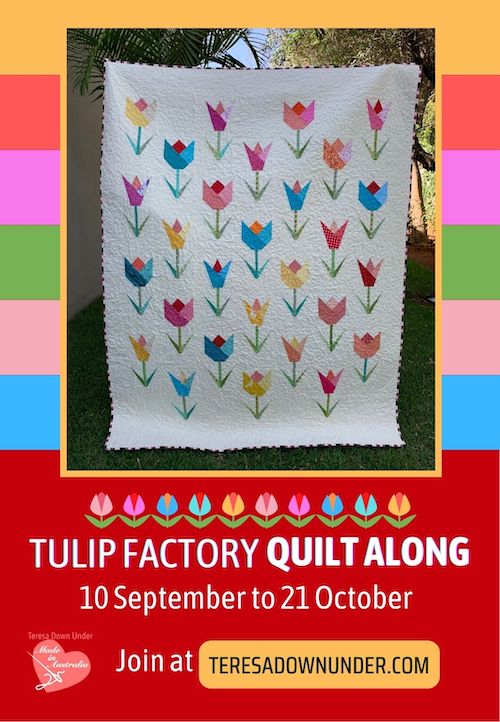
By now you’ll have all your blocks done.
Step 1 – Assembling the quilt top
On page 6 of the pattern you’ll find instructions and a diagram on how to put the top together.
Do you intend to do quilt-as-you-go?
Skip to QAYG section before you assemble the top.
Step 2 – Quilting
Free motion quilting
There are many ways to do the quilting. I usually do either free motion or straight line quilting for all my quilts.
Free motion is quick and easy once you get the hang of it.
If you wish to try, here’s how you do it:
Check out my free motion tutorial for more details.
Quilt as you go (QAYG)
This quilt can very easily be done with QAYG.
Watch a demo on how to put the quilt together with QAYG:
Notes:
You can just divide the quilt into 3 or 4 sections, quilt them and assemble them as QAYG.
If you choose to assemble the quilt as QAYG, the sashing strips need to be double the width. This video provides more details on QAYG with wide sashing:
Step 3 – Making the binding
Bias binding
This method demonstrates how to do bias tape quickly. The fabric width I use on the video is narrower than I use for a quilt but the technique remains the same.
Flange or faux piping binding
If you want to add a very special touch to your binding, check this tutorial out:
Check out my flange binding tutorial.
Step 4 – Binding the quilt
This is the final step to making a quilt. Learn to bind the quilt by machine:
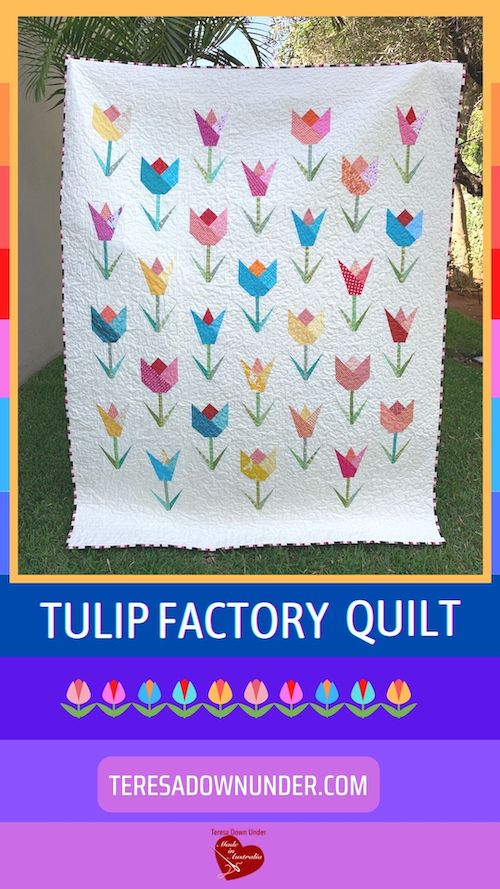
Tulip factory pattern
- Purchase the Tulip factory pattern. I will sell the pattern at half price until the end of the QAL.
Video tutorials for Tulip factory
Using freezer paper in quilting
How to make a tulip quilt block with foundation paper piecing
How to make a tulip quilt block with traditional piecing
How to make a tulip bud with foundation paper piecing
How to make a tulip bud with traditional piecing
Stem and leaves traditional piecing
Stem and leaves using foundation paper piecing
Join my Patreon page

Get a new video tutorial every week plus other exclusive perks with 3 membership tiers.
Stay connected
Subscribe to my blog, follow me on YouTube , Instagram or join my Facebook group and Facebook page.
My book and other publications
You can now purchase individual chapters from my book as bundles of 4 unique quilt patterns.
If you prefer to own the complete book, Turnabout Patchwork, please note it is currently out of print. However, you might still be fortunate enough to find a copy on Amazon.
Explore all the quilts from the book in real-life projects!

This post has affiliate links.

Really enjoyed making this quilt. Thanks for a great pattern, very good directions
LikeLike
May I ask what fabric you used? Love this.
LikeLiked by 1 person
Hi Sharon, I used a lot of old fabrics from my stash. I don’t even know the names. There’s a mix of moda, FreeSpirits and no brand fabrics.
LikeLike