
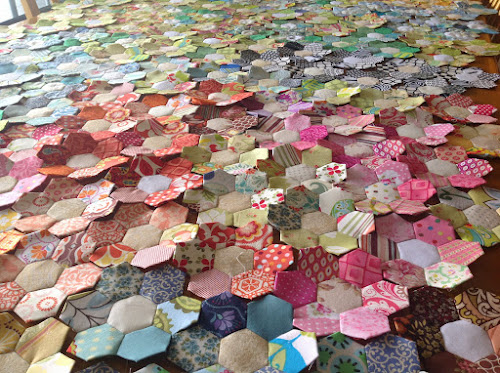
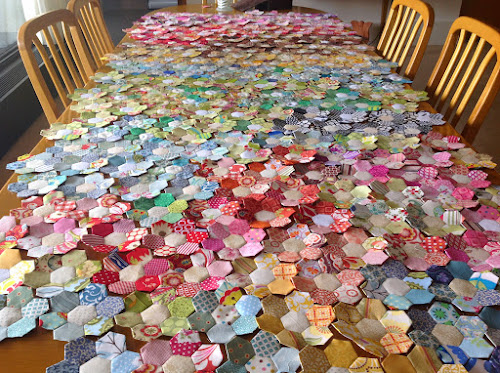
This quilt is already over two years in the making.
How to make English Paper Piecing (EEP) hexagons
I work on it when I’m watching TV or while on holidays away from my sewing machine and my current Dear Jane quilt project.
I’ve calculated the number of 1 inch hexagons I need to cover 100 in square and the figure is a whooping 3815. That is about 545 hexagon flowers at 7 hexies per flower. I have made about 360 flowers so far. So that leaves 180 more flowers to go!
There are many ways to make hexagons. Just in case you didn’t see my earlier tutorial I’m reproducing it here again.
I have chosen a hexagon size which is not too big not too small. Each side of the hexagon is 1 inch and 2 inches across the widest part.
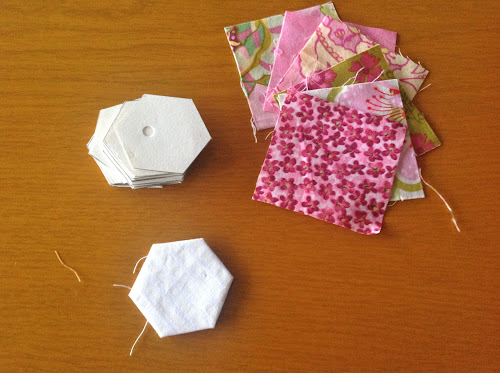
You can download the hexagon template (google doc). Print the required size (there are 4 sizes on the template, mine is 1 inch hexagon) on thick or plain paper and cut – I use plain printer paper. Then make a hole in the centre using a hole puncher so that the paper is easy to remove when no longer needed.
There are 20 hexagons per A4 sheet so print a few copies and cut a bunch of hexies in advance.
An important point to make: Before printing make sure you’re printing at 100% to avoid surprises.
Materials
- Fabric squares at least 2 1/2 inches big. 5 inch charm squares are great for this quilt as you get 4 hexies out of each charm square
- Hexagon templates
- Thread
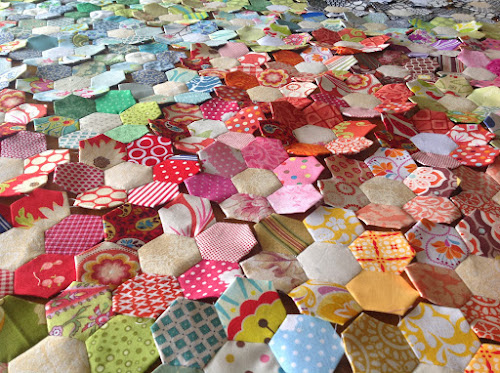
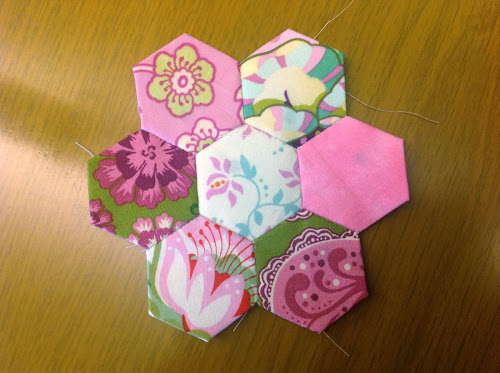
I am making hexagon flowers. Each flower is made out of 6 hexagons. The hexagon in the middle is white/cream.
Instructions
Take a hexagon template and a fabric square.
Place the template in the middle of the fabric square, on the wrong side.
Pin to hold paper and fabric together.
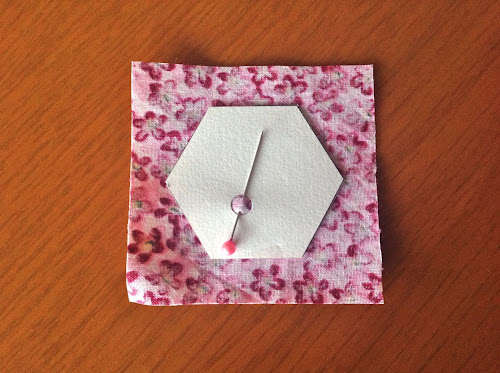
Trim the fabric to decrease the bulk.

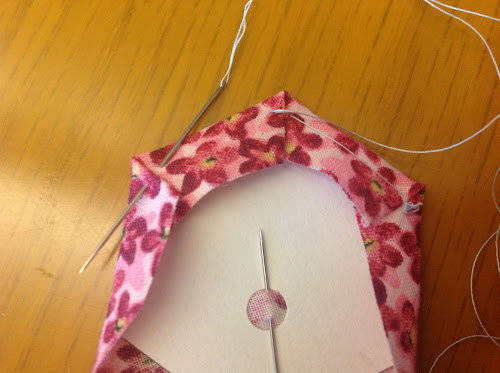
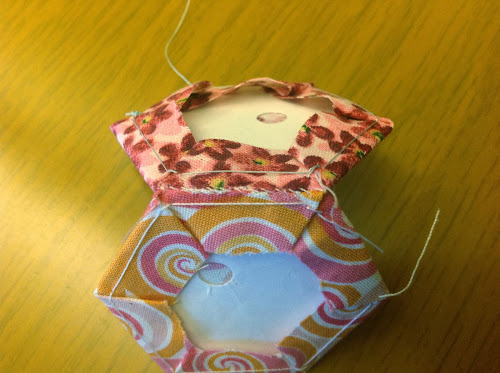
Now fold the fabric along one of the hexagon sides and press with your fingers.
Fold the next side making both sides meet in the hexagon corner as per photo below.
Do a stitch.

Do a second stitch.

Now move on to the next corner. Do as you did with the previous side.
Now move on to the next corner in the same way as before.
Once you finish the last corner cut the thread. You’re done.
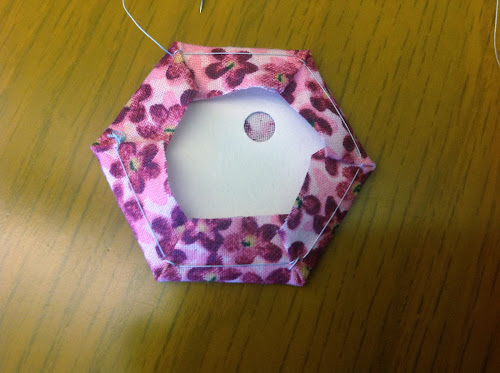
Do all hexagons in this way.

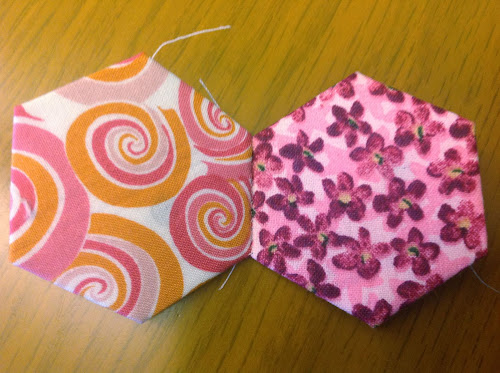
Now take two hexagons and place them side by side as per picture.
Start stitching one side together as per picture.
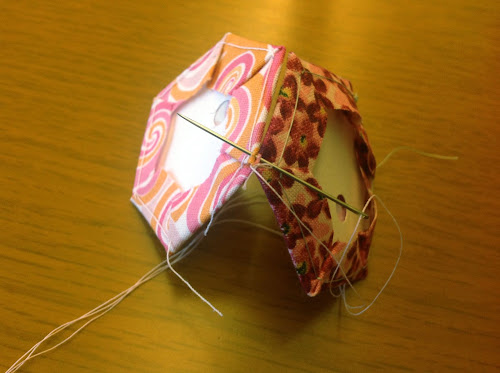
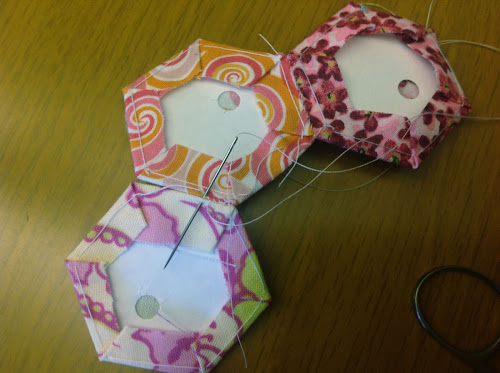
Continue to the end.
The stitches won’t be visible.
Continue to stitch each side in the same way making a ring.
When you have stitched a ring, add the middle hexagon.
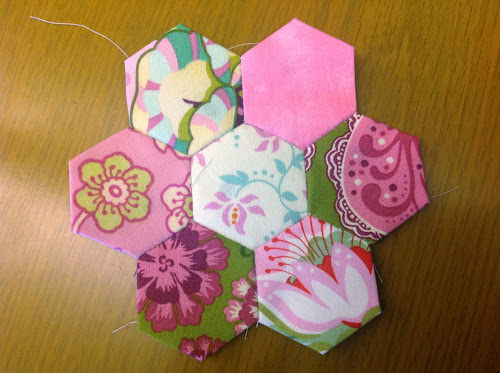
You can press the flower at this time. I used to press with the first flowers I made but I don’t do anymore as I don’t think it matters at this stage.
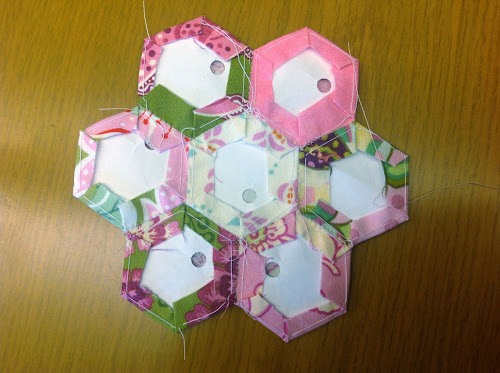
The flower is done.
Keep the paper until the quilt top is fully assembled.

This looks absolutely Fabulous!!!!Just think If you had a small baby you could use up outgrown dresses to make a “Keep-sake Memory” quilt of her clothes!!! Wow Fantastic!!! Im inspired to start making one myself now (no Babys though ha ha)
LikeLiked by 1 person
I love hexies!!!
♥greetings, Gabi
LikeLiked by 1 person
WOW! It is beautiful! My goodness! Do you ever sleep?
LikeLiked by 1 person
LOL doing hexies keeps me awake when I sit down to watch TV. Great idea about using babies clothes.
LikeLike
Very delicious. Am addicted to hexies myself.
LikeLike
Hexies are a great fallback, aren’t they?
LikeLike
Wow! Thanks for that hexagon template! I also make tutorials and offer free sewing patterns on my website, but my area of specialty is sewing doll clothes. I do like to make little quilts for my dolls from time to time though, and this hexagon quilt inspires me! Ummm… Do you mind if I pin some of your images on my Pinterest page?
LikeLike
Hi Chelly, I saw your photos in Flickr. You do a very good job with your doll dresses. It’s a skill! You can pin my images yes.
LikeLike
You have sewn so many in such a short time!
My first quilt was hand-pieced hexies. It took me FOREVER!
LikeLike
It’s probably 3 years now since I started though. They’re surprisingly quick to make. But after a while it can get a bit boring even if I only make them when I watch TV.
LikeLike
Amazing! Gorgeous! Love it and hope to do one someday as well. Beautiful work.
LikeLiked by 1 person
How do you assemble the flowers?
LikeLiked by 1 person
I’m doing it right now. I started with a flower in the centre and then I’m adding flowers all around .
LikeLike
Thank you for the hexagon templates and the great idea with the punched hole in the center!
LikeLiked by 1 person
I very often have trouble getting each hexxie the exact size. Yours seem to be so correct. I love it!
LikeLiked by 1 person
It’s probably because I’ve made so many of them 😊
LikeLike
What kind of paper do you us?
LikeLiked by 1 person
I use regular printer paper.
LikeLike
I tried to make the paper pieces, but for me the paper was too thin. I looked up paper piercing on the computer. They have every size template. The paper they use is heavier. You can use each hexi several times and they were pretty inexpensive. I make coasters from my material scraps using the hexigons. You will have to punch the hole in the middle so they are easier to take out.
LikeLiked by 1 person
Thank you for the tip
LikeLike
My problem is figuring out how to finish the uneven edges when completed. Some say cut and square it off and some say appliqué the edges onto a border. I would thing putting binding on all the uneven Rosettes all around would be a bit tricky. You would have to cut the backing even with all the Rosettes. I don’t find a lot of information on completing the edges. Can you give me a few tips.
LikeLiked by 1 person
Hi Carol, I haven’t finished my quilt yet but I’ll be cutting the uneven sides or cutting a long strip of fabric and appliqueing the edges to it. I’m undecided.
LikeLike
I use a paper punch to punch out my hexiez. I use junk mail, cards, or any junk heavy paper. I like using the cards since I would have kept them but now i can tell people that they have helped make my hexie quilt. I also ask my sewing friends to save scrap material to help my hexie addiction! I take them in the car on trips to keep busy.
LikeLiked by 1 person
Thank you for the tip Carolyn
LikeLike
Doing one at the moment from old scraps think I will appliqué border on using blanket stitch very similar to the one above only not as nice 😀😀
LikeLike
Thanks so much for your tutorial! Very clear instructions!
LikeLiked by 1 person