
Materials
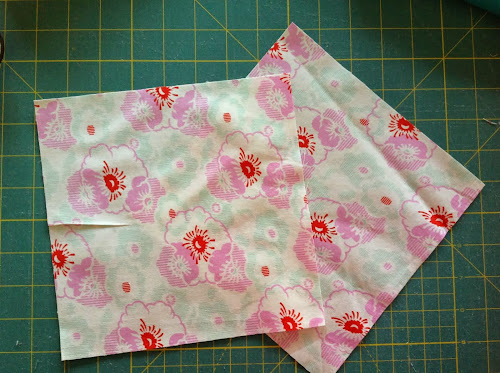
- two 8 inch squares of cotton fabric
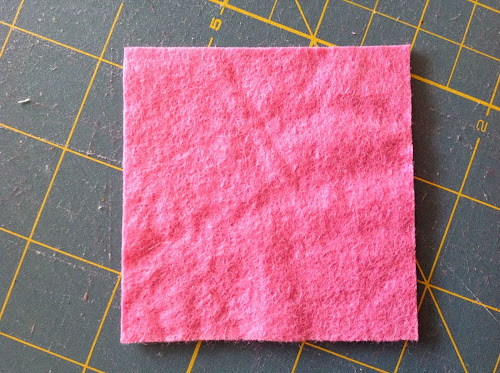
- one 3 inch square in felt
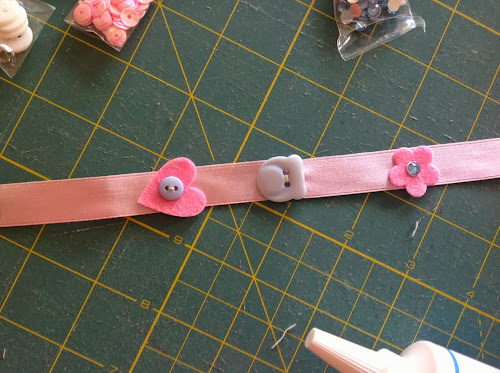
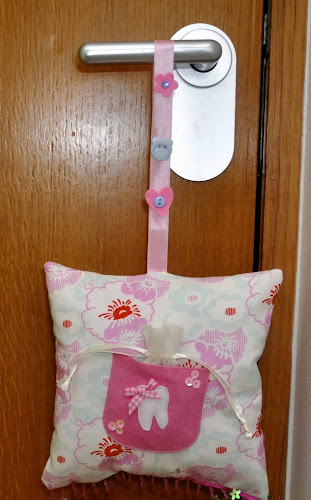
- 15 inch ribbon 1/2 in to 3/4 in wide for the hanger
- 9 inch ribbon with beads for the bottom
- a small piece of white felt for the tooth
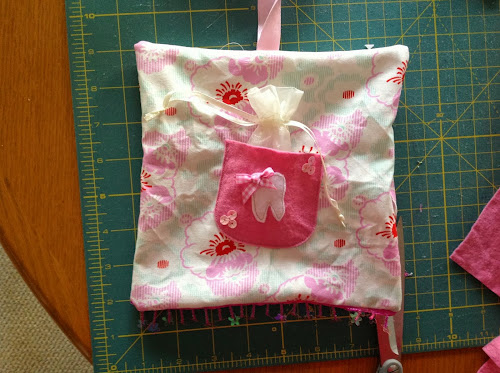
- small 3 inch store bought organza bag
- embellishments of your choice: buttons, felt cutouts, sequins, bows and the like
- download tooth template (pdf)
Instructions
Cut two 8 inch squares.
Embellish the ribbon with buttons and felt cutouts.
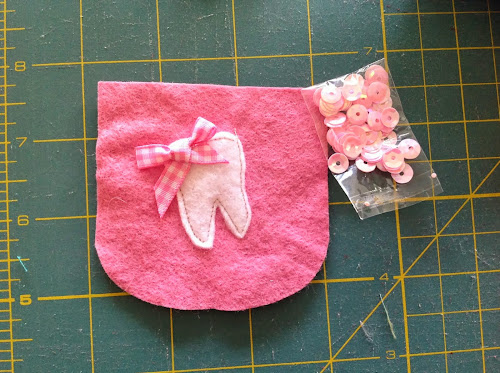
Cut a 3 inch square in felt.
Fold it in half and pin.
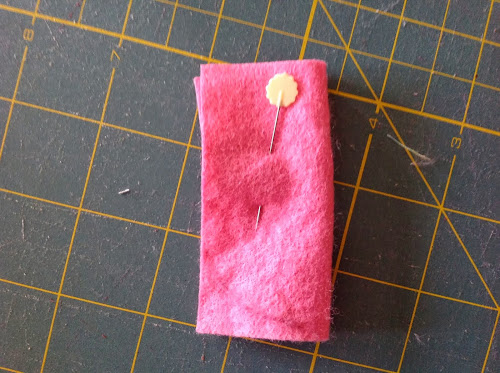
Cut out on the corners as per picture.
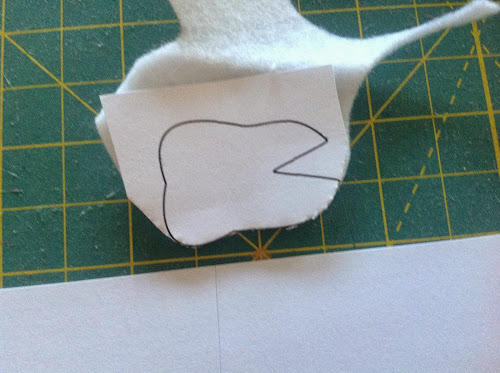
Print the tooth template (pdf).
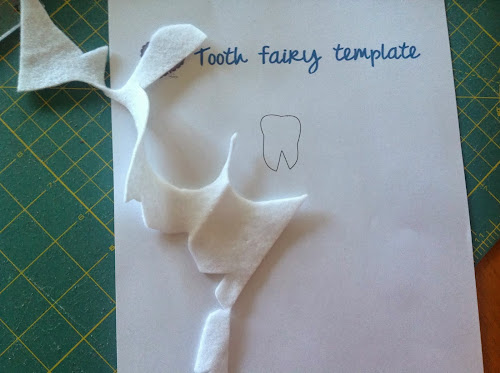
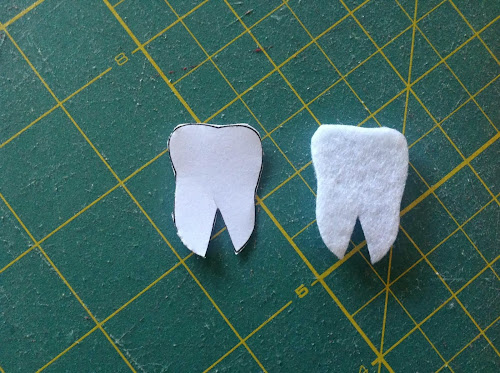
Cut the template around the tooth not too close to the line and place it over the felt. Hold tight with your fingers and start cutting along the lines.
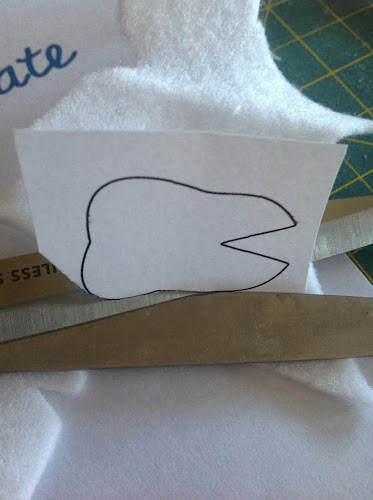
Make sure you don’t move the felt.
Your tooth is ready to be stitched.
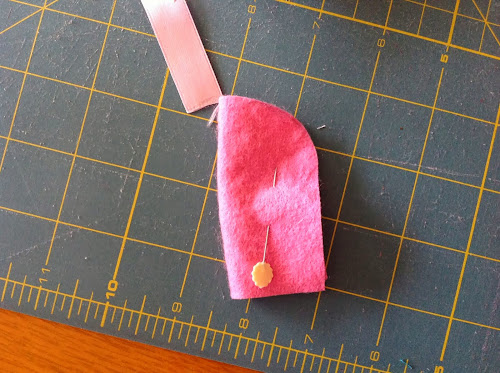
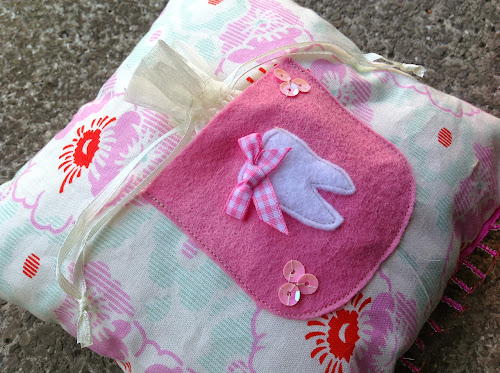
Place the tooth at an angle over the pocket.
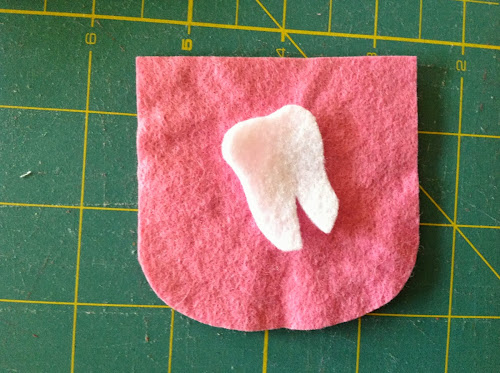
You can plan embellishments to the pocket before you stitch the tooth.
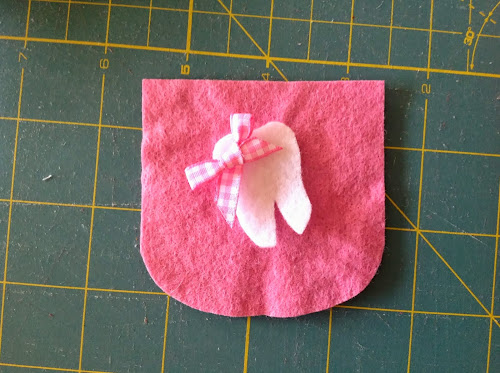
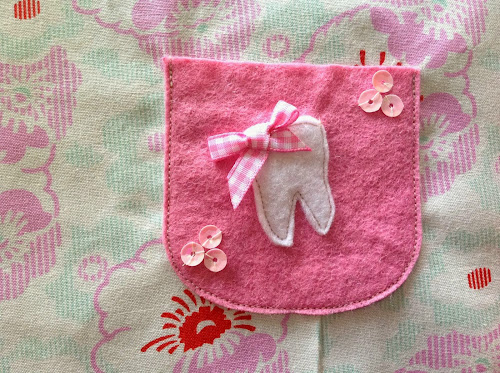
Machine stitch the tooth and hand stitch the bow.

Add a few more embellishments before stitching to the cushion.
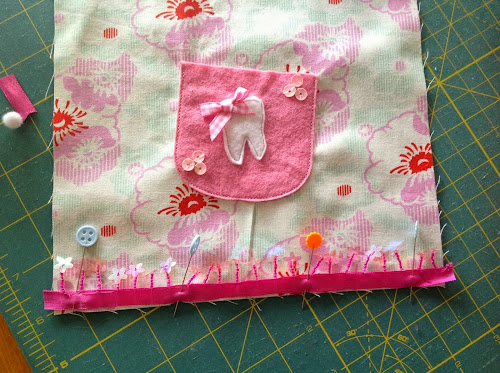
Pin and stitch to one of the squares.
Now get the beaded ribbon and place on the bottom of the square.

Pin in place.
On the opposite side, fold the ribbon you embellished earlier and fold it in half, wrong sides facing together and place in the middle of the top edge as per picture.
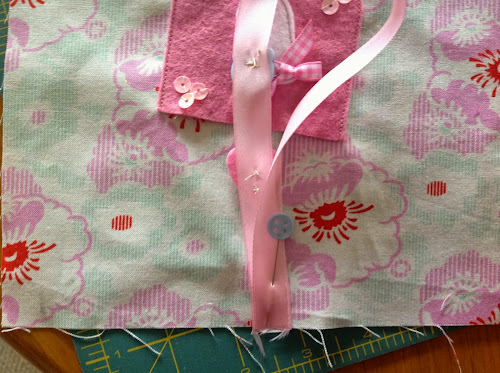
Place the other square on top with right side facing down.

Stitch all around at 1/4 in from the edge leaving 2 inches opening to turn cushion inside out.

Nearly done.
Fill in the cushion with polyfill or batting bits and pieces.
Stitch the opening closed.
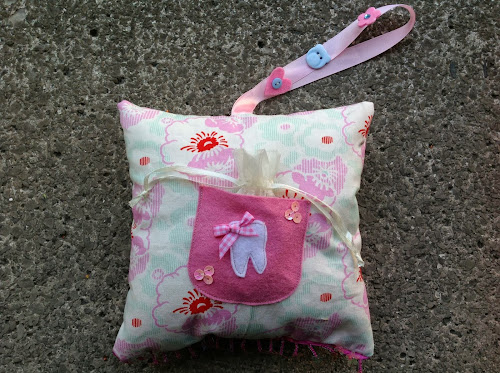
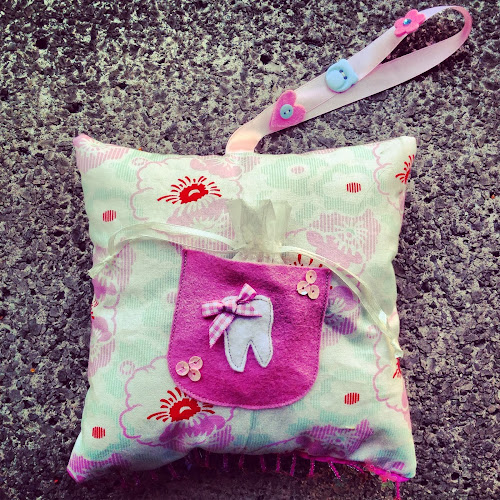
The tooth fairy pillow is done!

What a great idea!
LikeLike
Great idea! I need to make this for my grand daughter 🙂
LikeLike
What a creative lovely idea.
LikeLike