
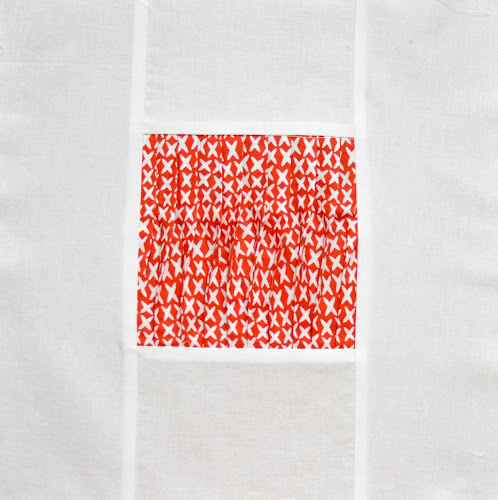
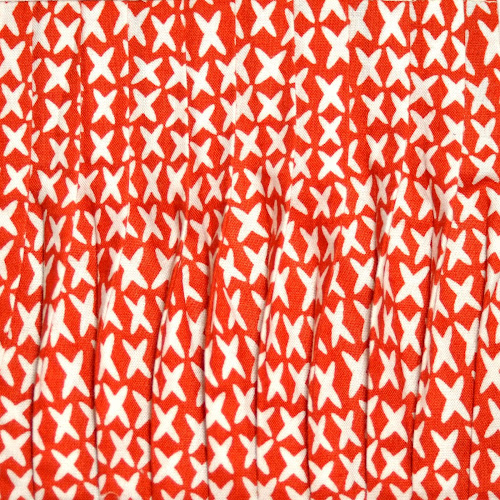
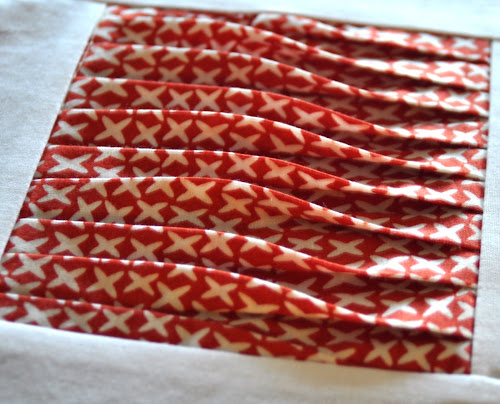
Ripples closeup
Block type: log cabin
Block size: 11 inches
Colour scheme: reds and neutrals
Texture/fabric manipulation: double controlled pleats with centre ripple effect
Quilt size: The finished quilt is 52 ½ x 52 ½.
Needs:
- one 6 in x 15 in rectangle in red tones for the textured centre square
- two 5 in x 3 1/2 in rectangles and two 11 in x 3 1/2 in rectangles for the border
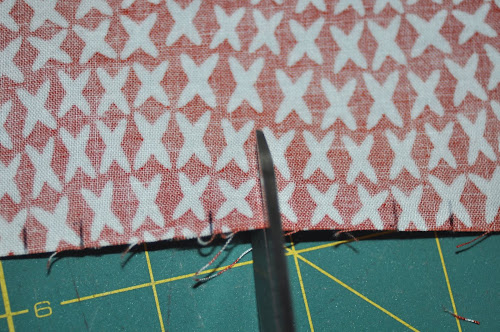
To make the pleats, mark the fabric at 7/8 and 3/8 inches intervals on both sides of the square, top and bottom.
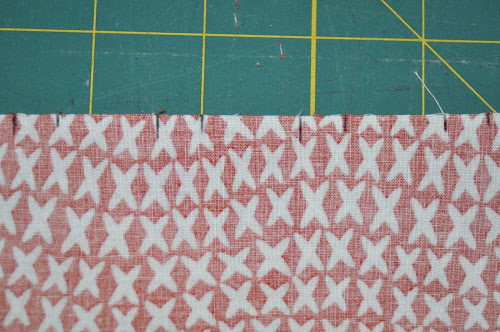
Make a small cut on each mark.
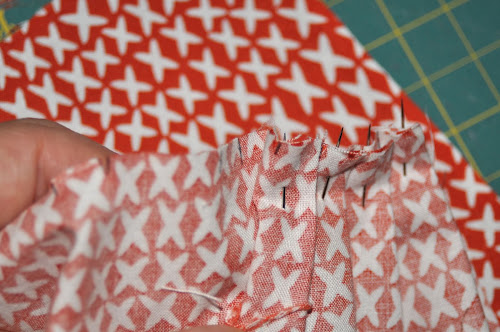
Start by folding the fabric onto the first mark/cut. The first segment is 7/8 wide (see picture below).
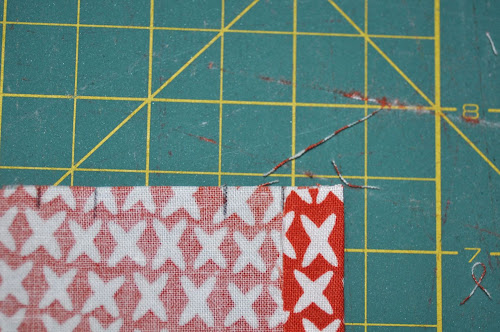
Now fold the fabric into the next fold (see picture below).
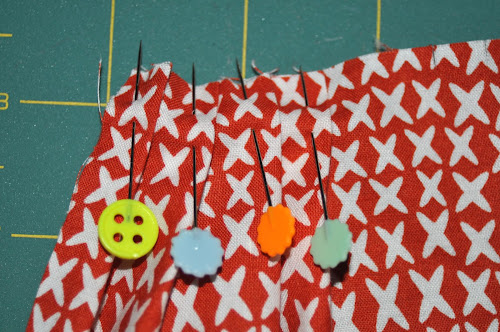
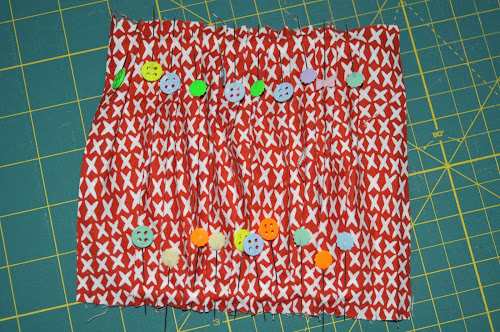
Pin each fold as you go.
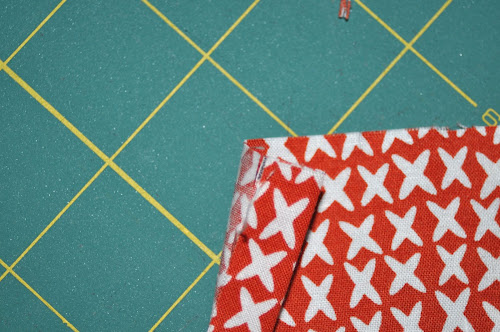
Make sure marks/cuts coincide neatly so that the folds are the same width.
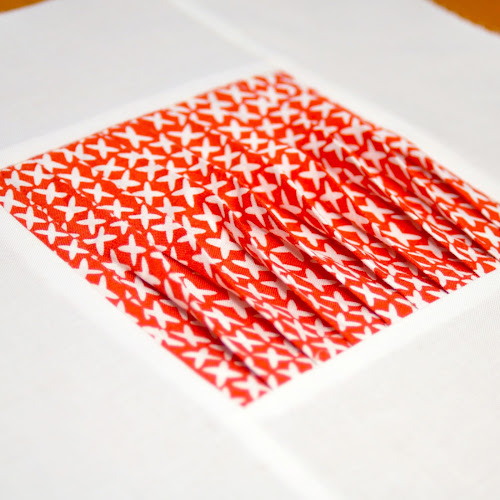
Once you finish one side, do the same thing on the other but this time make the fold in the opposite direction. This will achieve a ripple effect.
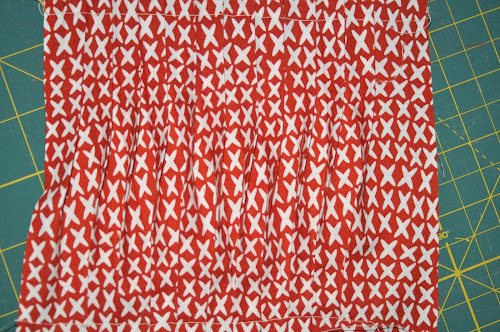
Stitch both sides leaving 3/4 inch allowance on each side.
Then trim to 5 inch square (1/2 inch from each side).
Cut two 5 in x 3 1/2 in rectangles and two 11 in x 3 1/2 in rectangles for the border and attach it to the centre square.
Now you need to iron the ripples.
To accentuate the ripple effect use the iron lightly and press to opposite sides as if you were “combing” the ripple.
Textured blocks tutorials
This is the 4th block in a series of 25 exploring texture in fabric.
Each block is made out of a centre 5 inch square featuring some fabric texture such as pin tucks, smocking, shirring and the like. Then a 3 1/2 wide border encloses each centre square.
The colour scheme is red and white/cream alternating reds and white/cream for the centre square and border.
Some of the textures show better on plain colours than on heavily patterned fabric.
See all Textured quilt sampler tutorials for this quilt.
Share your pictures
Are you making this quilt? Share your pictures on Flickr’s TeresaDownUnder group.

I’m looking forward to see the completed quilt. Thanks for sharing.
LikeLike
Hello, thank you so much for such elaborate directions. One question re: the borders though. SHouldn’t the lighter border’s longer piece be 11.5″ long and not 11″ long? Or am I calculating wrong?
LikeLike
The block is 11″ *unfinished*.
LikeLike