

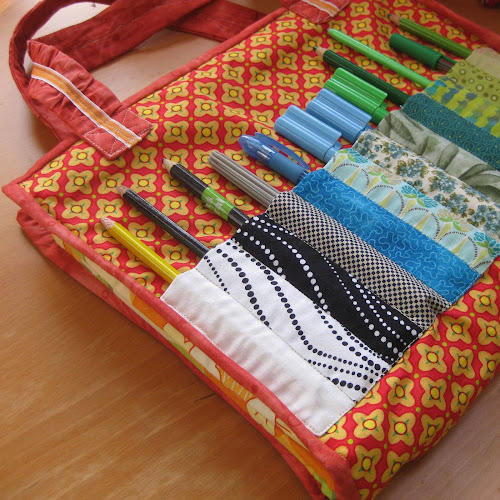
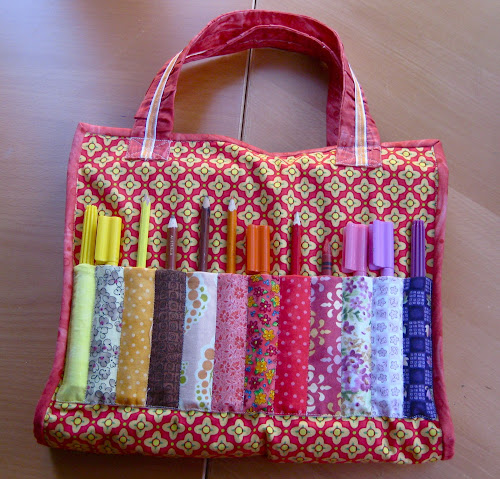
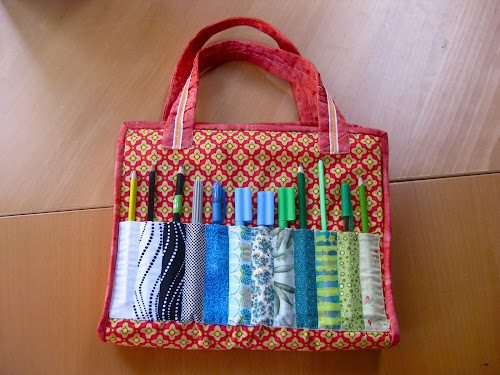
This idea was born of a need to keep drawing notebooks and colouring materials together when travelling. It holds up to 4 A4 notebooks (though really designed for only 3) and 24 pencils/texters. Easy to carry and just folds open.
Inside

Materials
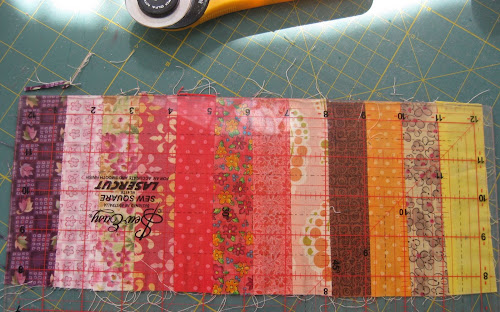
- 24 strips of fabric measuring 1.5 x 5 inches each in rainbow colours
- 4 different fabrics for the inside pockets, inside lining, outside, border and handles
- some ribbon for the handles
- calico fabric for the pencil pockets lining and the inside folder lining
- medium weight interfacing
- Outside, lining and interfacing pieces: 22 1/2 in x 12 1/2 in each
- Inside pockets:
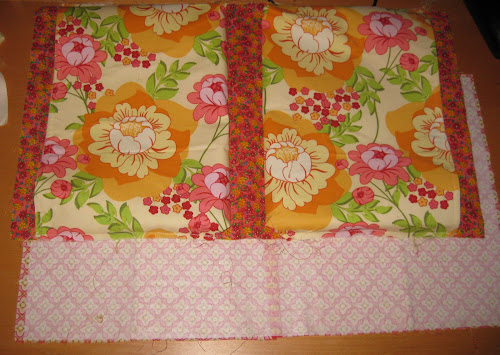
- 2 pieces in coordinating fabric measuring 9 3/4 in x 13 1/2. I added 1 extra inch on the sides to make a pocket
- 2 pieces in calico measuring 9 3/4 in x 13 1/2
- 2 pieces of interfacing of the same size as the calico.
- Rainbow pencil pockets:
- 24 strips of 1 1/2 in x 5 in in assorted colours
- 2 pieces of calico: 12 1/2 x 5 in
- Handles
- 2 pieces 2 1/2 in x 20 in of fabric
- 2 pieces 2 1/2 in x 20 in of interfacing
- 2 pieces 2 1/2 in x 24 in of fabric
- 2 pieces of ribbon 20 in long each
A while ago I made a rainbow pencil roll using the same idea.

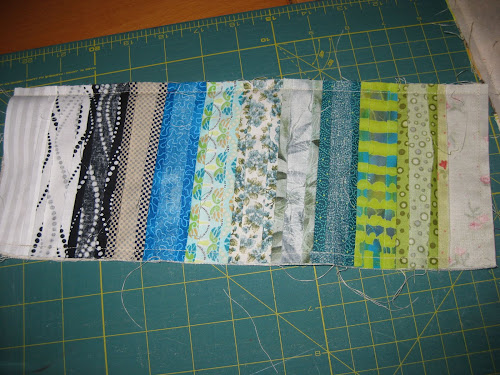
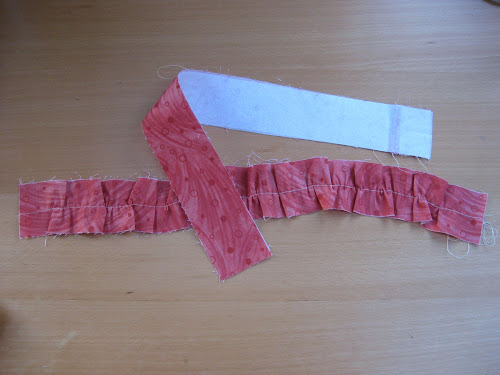
Square both strips.
 size as the stitched strips and sew on
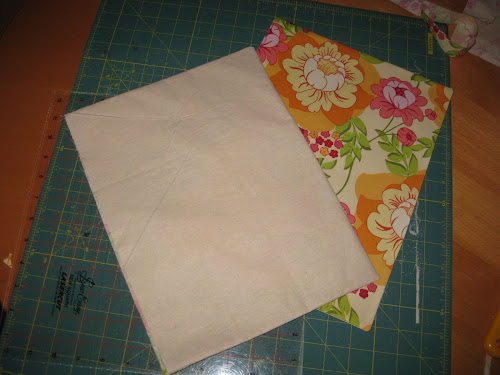
Cut 2 calico pieces of fabric the same size as the rainbow strips.

And sew together in 3 sides.
Turn inside out and iron flat. Take in the seams of the open side and pin.
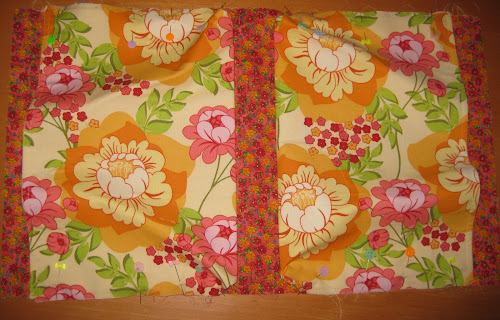
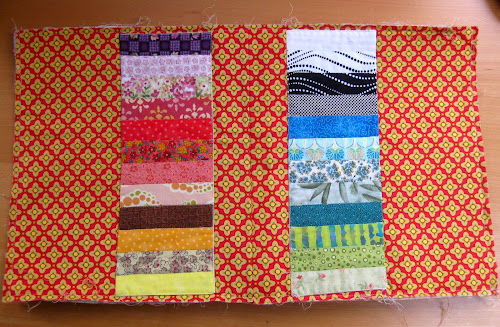
Attach rainbow pockets to the outside fabric
Fold the outside fabric in two and place the rainbow pockets about 2 inches from the fold (I made a mistake on the photo and I attached the rainbow pockets 2 inches from the top).

Stitch around the edges first leaving the part facing away from the fold open.
Stitch on each seam between colours.

Now iron the interfacing to the wrong side of the outside fabric.

After folding the pocket in half, topstitch very close to the edge and then again 1/4 away from it.

Make a fold about 3/4 in from the bottom of the pocket and iron.
Place the pocket about 1 3/4 to 2 inches from the edge of the lining fabric and pin in place as per photo below. Stitch along the bottom of the pocket.

Do the same with the other side.

Pin the sides of the pocket to the lining fabric making sure you push the corner in a small fold as per picture.
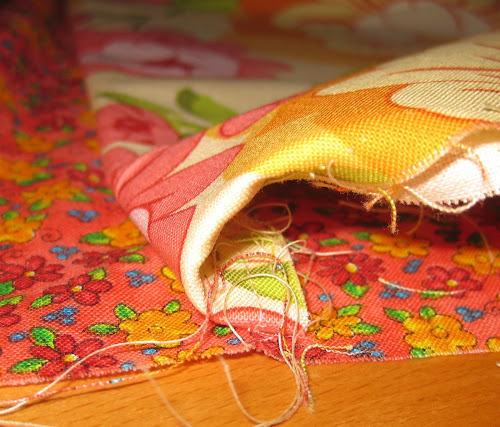
Pin the sides and stitch.
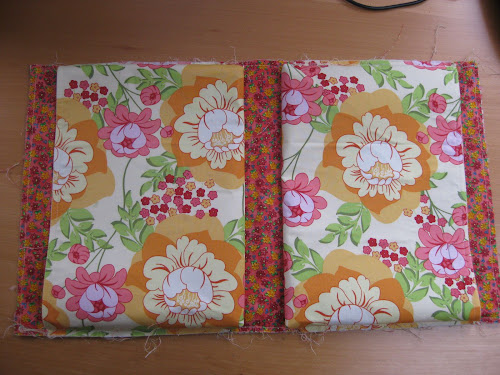
The pockets are added.
Assemble outside and lining by placing both pieces wrong sides together.
Stitch around.
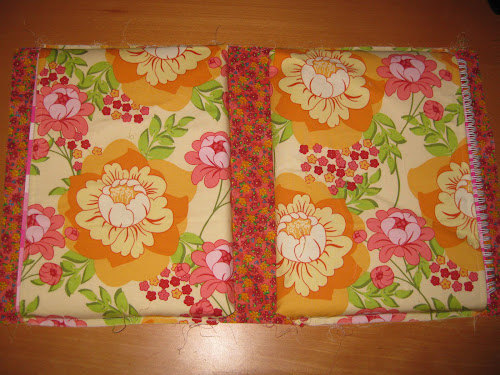
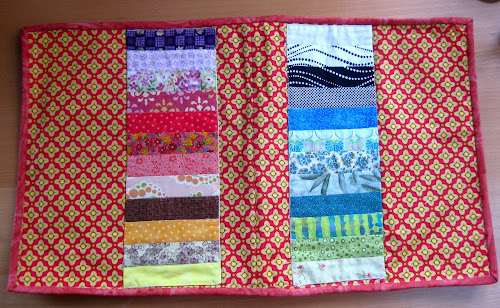
This is the front (as you can see, the mistake I made attaching the rainbow pockets made me cut the piece in half and restitch with the pockets facing in the opposite direction).
Finish binding the edges. My binding is made out of a double folded strip 2 inches wide.
Handles
I was inspired by this camera strap cover tutorial I saw though I didn’t follow the instructions.
Cut
- 2 pieces 2 1/2 in x 20 in of fabric
- 2 pieces 2 1/2 in x 20 in of interfacing
- 2 pieces 2 1/2 in x 24 in of fabric
- 2 pieces of ribbon 20 in long each
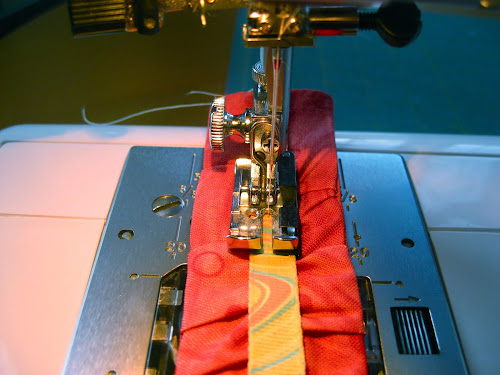
Take the longer strip and using a basting stitch sew all along the middle as per picture. When finished, pull the bottom thread holding the strip as you do it and spreading the folds along. Leave 1 1/2 in of fabric at each end flat.

Take the 20 in long strip of fusible interfacing and iron it to the 20in long strip of fabric.
Now take both strips and pin them with right side facing together and stitch along 3 sides leaving one of the short sides open for turning .

I found turning the handles very hard by the way. Once turned inside out, iron flat and sew the ribbon along the middle of the handle.
This is the finished handle (I replaced the ribbon with a different one when I realised I didn’t have enough for both handles, that’s why the next picture features a different ribbon).

Pin the handles not too wide apart, about 2 inches from the sides.

And about one inch in.
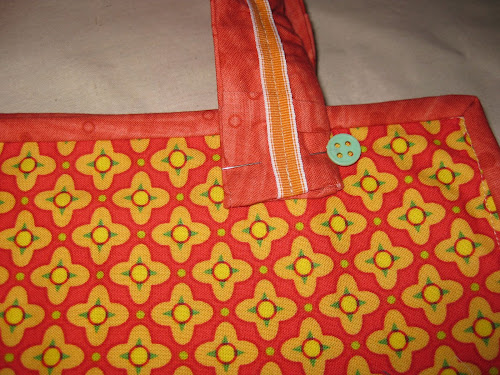
Stitch as per picture below.

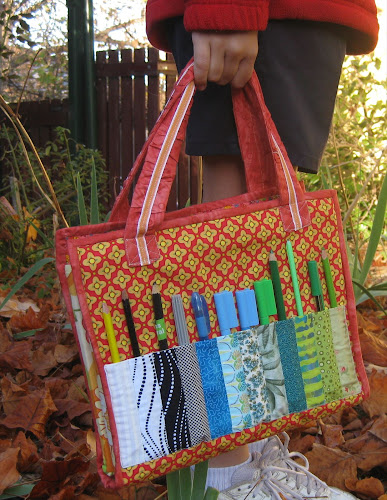
This is the finished piece.
One side.
And the other.
Closeup of handles.
Pouches.

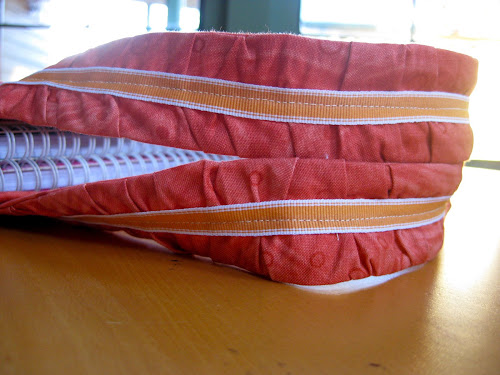
Easy open and close.
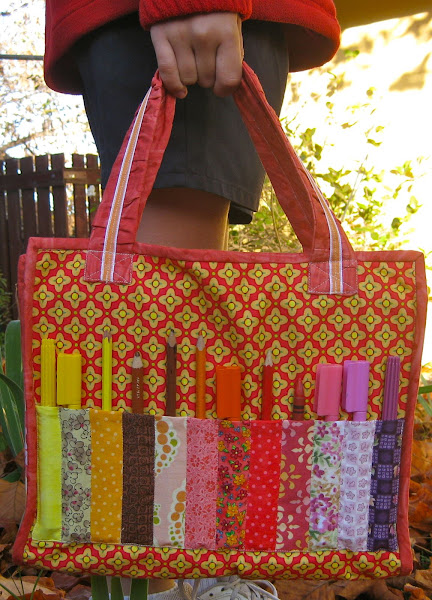
Easy carry.
Join my Patreon page

Get a new video tutorial every week plus other exclusive perks with 3 membership tiers.
Stay connected
Subscribe to my blog, follow me on YouTube , Instagram or join my Facebook group and Facebook page.
My book and other publications
You can now purchase individual chapters from my book as bundles of 4 unique quilt patterns.
If you prefer to own the complete book, Turnabout Patchwork, please note it is currently out of print. However, you might still be fortunate enough to find a copy on Amazon.
Explore all the quilts from the book in real-life projects!


this is a fabulous idea. I don’t sew too often but this actually looks like something I can do. I’m thinking of turning this into a Snail Mail bag and keep all my letter writing items in.
LikeLike
How cute are your Draughtsman Pouch!!! We have three active grands whose parents promote school, of course, sports and the arts. These pouches will be the perfect gift. One of the grands is a boy and I have the perfect fabric….race cars! Thanks so much for sharing your talentswith those of us that have minimal. Patt
LikeLike
Love, love, love. Beautiful.
LikeLike
This is a great idea! Thanks for sharing!
PS- we use the same wordpress theme- I’ve only ever seen one other blog using Bueno aside from ours. Such a great theme!
LikeLike
I have posted links to one of your tutorials on my blog. Please let me know if you would like me to remove it and it will be done right away. Thank you for your tutorial!
Ginger
LikeLike
I have posted links to one of your tutorials on my blog. Please let me know if you would like me to remove it and it will be done right away. Thank you for your tutorial!
Ginger
LikeLike
Awesome project! Thank you for the very clear instructions! Beautiful. Pinning to my board!
LikeLike
I sure spoke before I should to see you have directions all posted. Thanks for all the many things your doing for us sewers and for keeping our world safe. So many, many thanks, Linda, Luke my therapy dog and his buddies Annie & Emily the kitties.
LikeLike
Will use your strap method, for putting onto a yoga mat bag. Yea! Thanks for the great tutorial.
LikeLike
Thanks!
LikeLike
Great tut. Thanks for sharing.
LikeLike
You have another winning idea here!!! I know of at least 4 kids who would LOVE these bags and they’re amazingly easy to make. Thank you, Teresa!
LikeLiked by 1 person
Thank you 😊
LikeLike