

Materials and fabric needs
This list of materials is for both part 1 and 2 of this tutorial

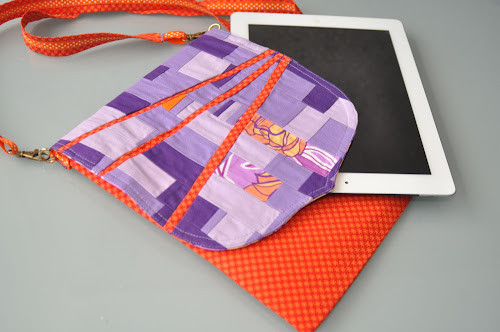
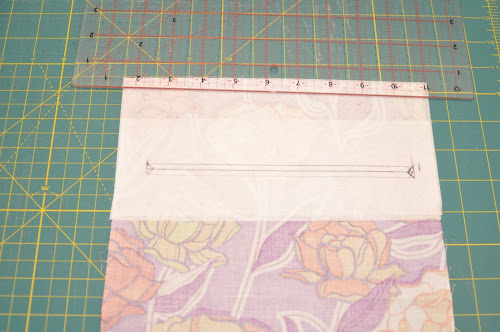
I chose fabrics in complementary colours, purples and oranges.
- Outside fabric: 2 panels measuring 10 1/2 x 9 inches
- Lining: 2 panels measuring 10 1/2 x 9 inches
- Fabric scraps in different colours and prints for the flap
- Ribbon for the handles and key holder
- Strap: 1 strip measuring 1 1/4 in x 43 in
- Pockets: 2 rectangles 8 1/2 in x 9 in
- 8 in zipper for flap pocket
- Key ring
- 43 in ribbon for the strap
Interfacing
- Bag: Heavy fusible interfacing Peltex 71F – 2 panels measuring 10 x 8 1/2 inches
- Flap: Medium weight fusible interfacing: 1 rectangle measuring 9 1/2 x 10 1/2 cut to fit the flap shape
- Handles: 1 strip measuring 3/4 in x 43 in
Download
- Flap shape template – pdf (leave 1/4 in allowance around the pattern when cutting)
Notes
The flap is longer than the pattern’s length. When cutting the flap to shape, position the pointy end of the shape to align with the bottom of the patchwork rectangle leaving 1/4 in from the edge. If you made the patchwork rectangle at least 11 inches long, this will be the length of the flap.
The flap doesn’t use a magnetic closure because magnets aren’t good for electronic devices. The flap is quite big so this is not a problem.
Instructions
Making the flap
Using improv patchwork make a rectangle measuring at least 11in wide x 10 in long.
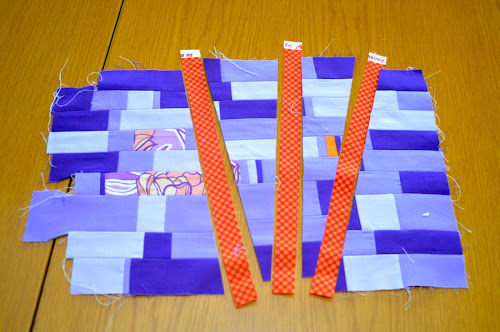
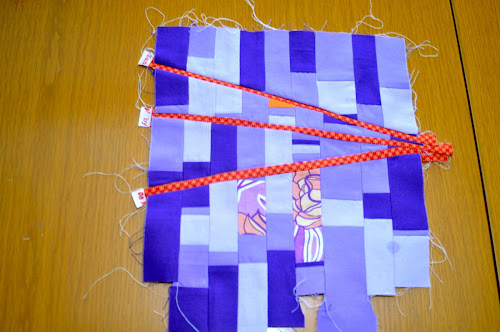
Following is a sequence showing the way I did my improv patchwork flap.


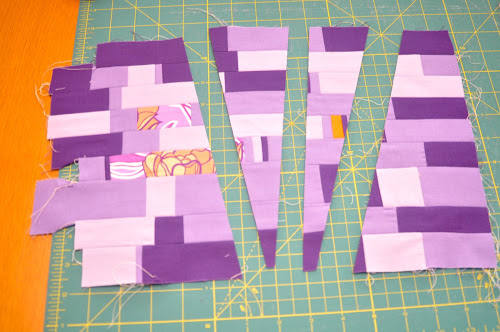
Once you have made the improv patchwork piece iron well with the seams open so that it is not so bulky.
Then fold in half and use the flap shape template (pdf) to cut to shape leaving 1/4 in allowance around the curvy sides.
Notice that the pattern is not aligned to the top. Place your pattern towards the bottom of the rectangle making sure the flap is 10 inches long after cutting.


Cut the medium weight fusible interfacing for the flap using the flap (see picture).
Iron to the flap as per manufacturer’s instructions.

Now cut a rectangle for the lining of the flap using the finished piece as template.

Zippered pocket
I added a zippered pocket to the flap.
Cut two pieces of medium weight fusible interfacing and iron to the top of the flap lining for strength.

Get your zipper, place it on the ironed interfacing and make a mark on each side. One mark will align with the zipper stopper and the other will align with the end of the zipper pull.
Trace a line to unite both ends. Then trace two lines 1/4 above and below the middle line. Then trace a rectangle on each end as per photo.
Cut through the middle line and triangle sides. Fold fabric back to make a seam and place the zipper through the “window” as per picture. Pin.

Stitch around very close to the edge.

Now trim lining using the other piece as a template. Place both pieces with the right side of the fabric facing together and stitch around 3 sides.

Turn inside out.


Iron well. Turn top raw edges in and pin.

Stitch around the flap very close to the edge and then again at 1/4 in.

Next time I will make the bag and attach the flap.

This is wonderful as are your choice of colours. NOW – I just need to get me one of those great ipads that everyone seems to have except me! Even the 5,4 and 3 yr olds next door play games on their mothers…I am totally behind the times. AGAIN.
Cheers, from Oshawa, Ontario Canada
LikeLike
I love mu ipad.
LikeLike