


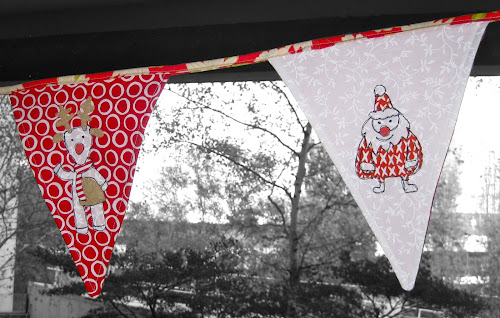
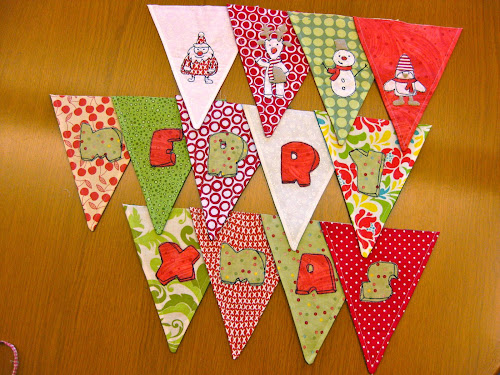
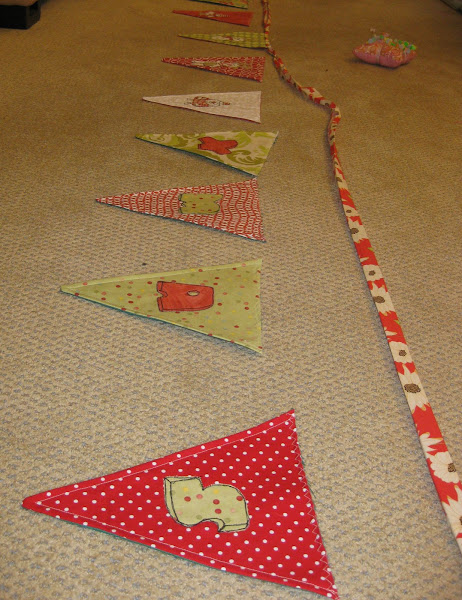
Here is my favourite Christmas decoration. It’s quite long at 140″ but can be adjusted.
Patterns
- Download free Christmas vectors (zip) from Spoongraphics for your appliqué
- Download free lettering and bunting templates (pdf).When cutting the bunting pattern add 1¼ all around for seam allowance
Fabric needs
- assorted scrap fabric in white and red for the appliqué. Use fabrics that will have enough contrast so the design shows through
- assorted scrap fabric in white, green and red for the triangles
- lightweight fusible interfacing for the flags
- black thread
- felt scraps in beige
- stranded cotton in beige
- double sided interfacing for the appliqué
- 140″ x 1 1/2″ bias tape in red, green or white
Tracing and fusing the appliqué
Trace the appliqué on to the double sided interfacing. I only used interfacing for cotton fabrics. The felt pieces weren’t fused, just pinned in place and stitched by hand.
Cut each shape roughly leaving some space around each shape and fuse to the fabric, then to the triangles following the manufacturer’s instructions. I used Heat’n Bond, the light variety.
After ironing, cut each shape and place on the flag. Place all shapes together and fuse at once.
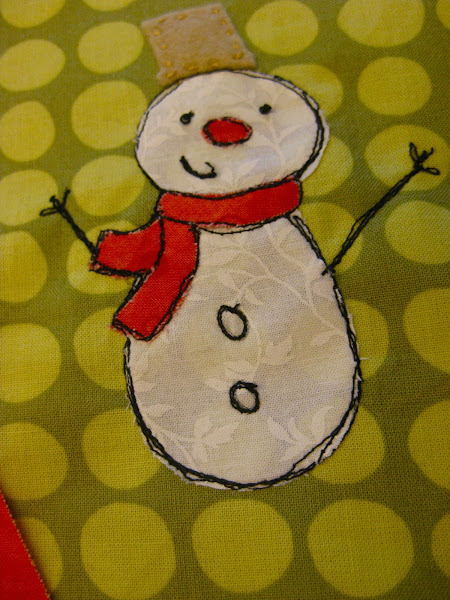
Draw the eyes, the snowman buttons and any other lines you will be stitching along.
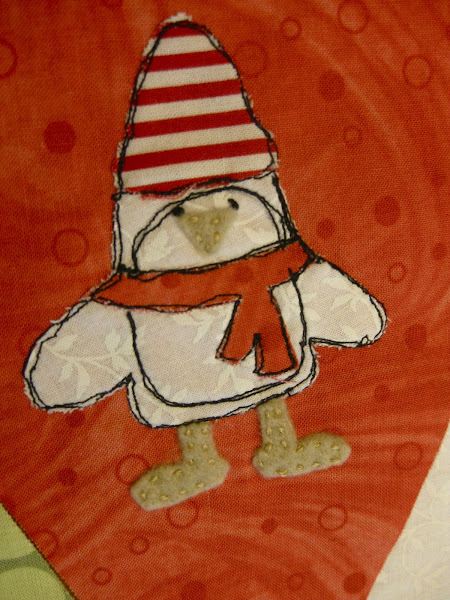
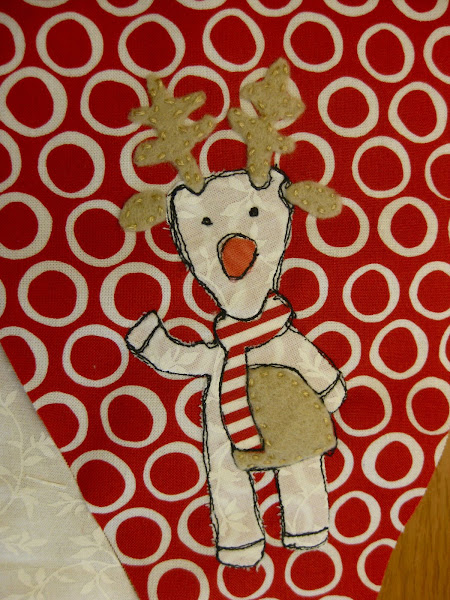
After the fabric is fused, cut the felt pieces and stitch to the design.
Now iron on the lightweight fusible interfacing to the back of the triangle. The interfacing will make the bunting sit better but it will also act as stabiliser for the appliqué.
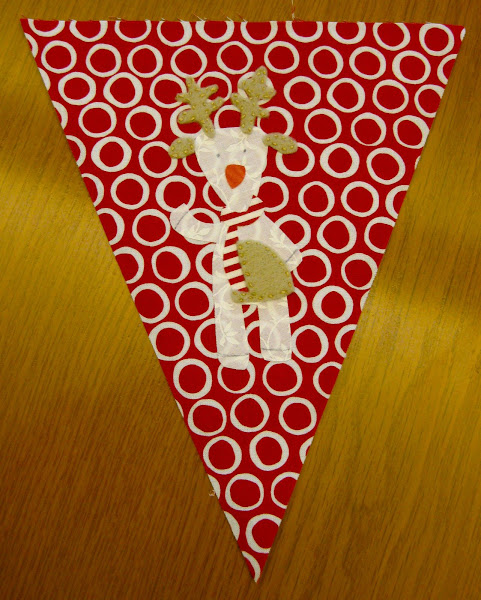
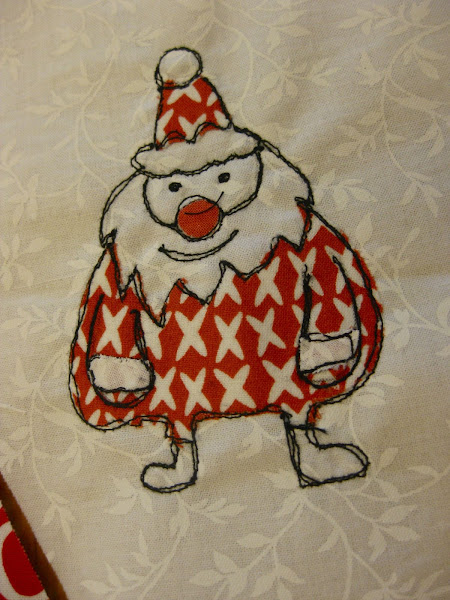
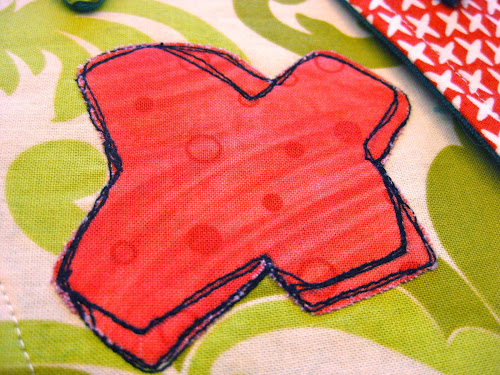
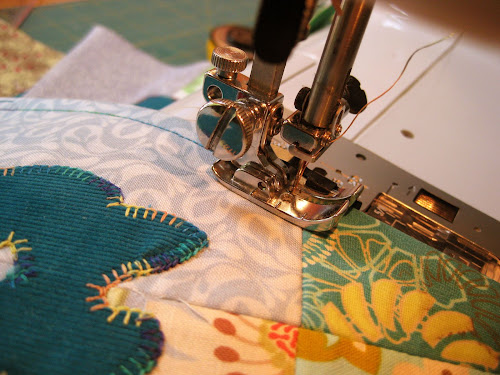
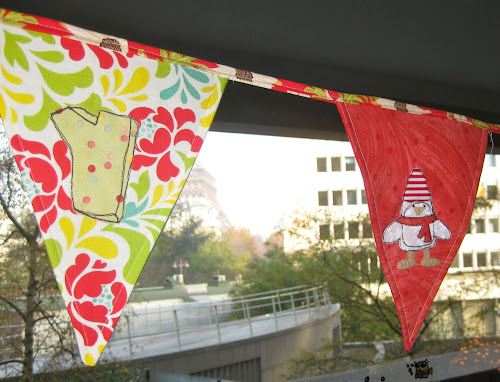
Now the fun part starts. Using black thread stitch all around the appliqué edges as in the original paper sketches.
Don’t worry if your lines aren’t straight, mine are pretty rough.
Go around each line at least twice. I used the darning foot but didn’t lower the dogs so the fabric wasn’t too loose. I found that I didn’t have so much control with the dogs down.
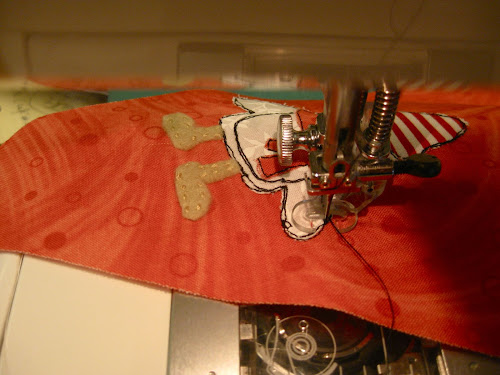
You will end up with a lot of threads at the end of it. Just cut them close to the fabric so they don’t show through the fabric.
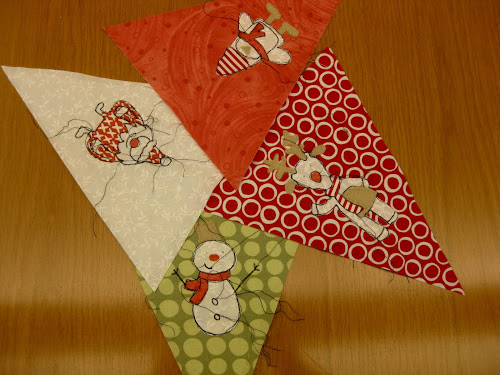

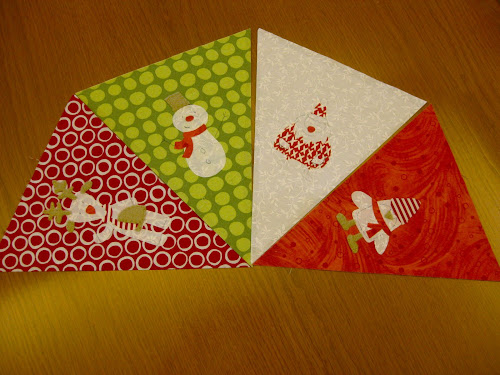
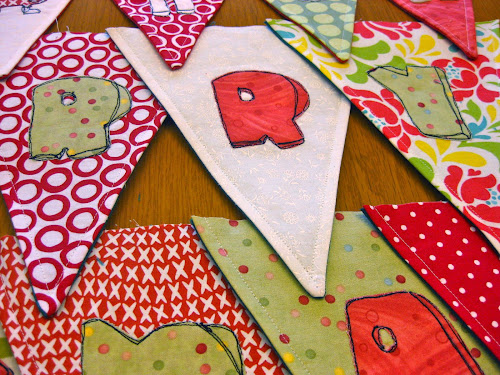
Close ups
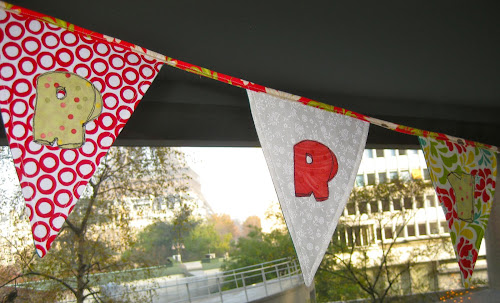
Now let’s add all the lettering MERRY XMAS.
Download the typography (pdf), print it and proceed to fuse it to the flags.
Cut 9 flags and fuse the letters to the flags.
Cut 9 triangles of one sided fusible interfacing and iron to the back of each flag.
Then draw the inside lines of each letter to make it 3D as per pattern.
Stitch around each line and around the edge of each letter as per picture below).
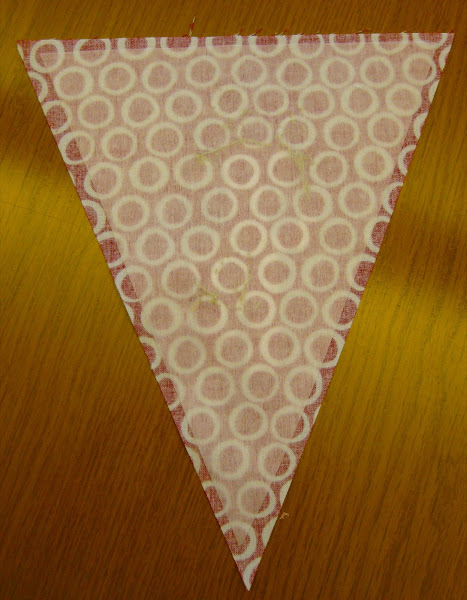
Now you will need to add some backing to each flag. Cut 13 triangles in a matching fabric or calico.
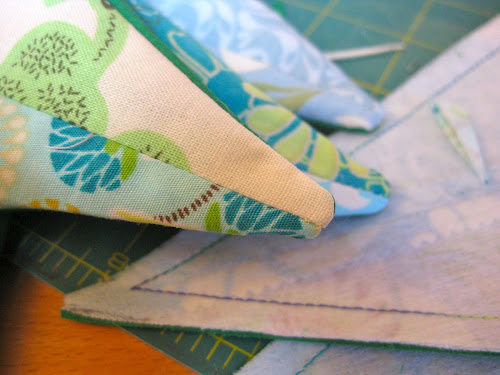
Place front and back flags right sides together and stitch around 2 sides leaving the top open to turn inside out. Trim the pointy end of the triangle before turning inside out.
Note: I forgot to take a picture of this step so the photos below are from a similar project.
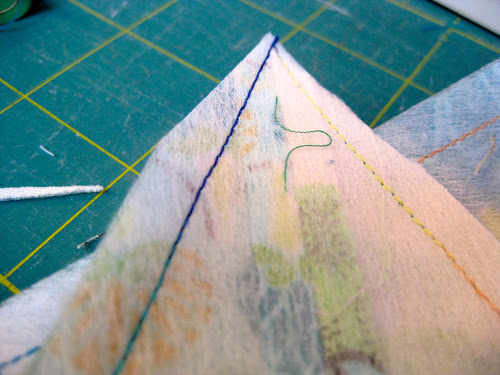
Turn inside out and push the corner out with a pointy blunt instrument. Iron flat.
Top stitch each triangle around 3 sides leaving a one quarter seam allowance.
Trim the open end of each triangle.
The triangles are ready to be placed on the bias tape.
Sewing the bunting to the bias tape
Distribute the flags along the strip.
Fold the strip in half and pin it in the middle. Use this mark to place the first flag.
After pinning the first flag, continue to place a flag on each side leaving 3 ½ inches separation between flags.

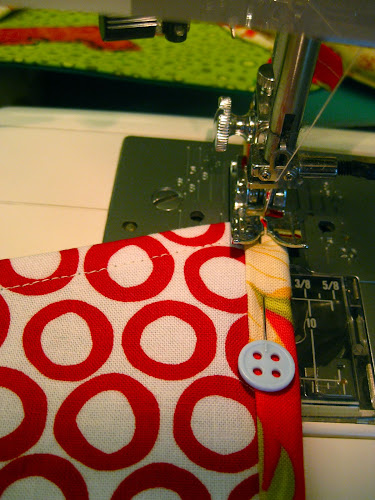
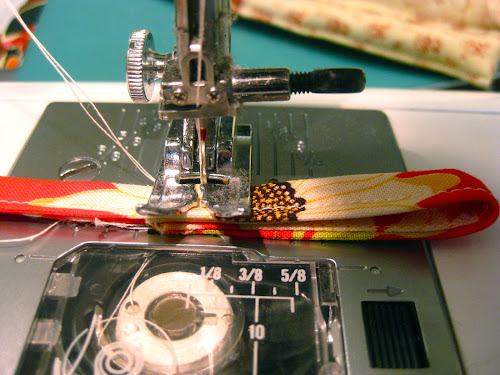
After all flags have been pinned, top stitch along the strip.
Fold both ends of the strip to make a hook as per picture.
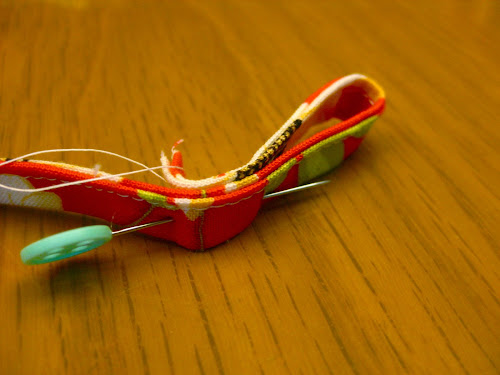
Stitch.
All done.
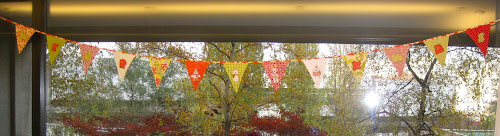

I love it!!!
From: Sewn Up To: thefatquarterlady@yahoo.com Sent: Monday, December 5, 2016 6:30 PM Subject: [New post] Tutorial: Merry Christmas bunting #yiv6389575855 a:hover {color:red;}#yiv6389575855 a {text-decoration:none;color:#0088cc;}#yiv6389575855 a.yiv6389575855primaryactionlink:link, #yiv6389575855 a.yiv6389575855primaryactionlink:visited {background-color:#2585B2;color:#fff;}#yiv6389575855 a.yiv6389575855primaryactionlink:hover, #yiv6389575855 a.yiv6389575855primaryactionlink:active {background-color:#11729E;color:#fff;}#yiv6389575855 WordPress.com | TeresaDownUnder posted: “Here is my favourite Christmas decoration. It’s quite long at 140″ but can be adjusted.Patterns Download free Christmas vectors (zip) from Spoongraphics for your appliqué Download bunting pattern (pdf). When cutting this pattern add 1¼” | |
LikeLike
This is darling. Thank you. From J. Crisp, California, USA
Sent from my iPad
>
LikeLike
Looks great. Not sure I’ll have time this year but will make a great project in time for next xmas.
LikeLike
You do such fun tutorials! I made a “celebrate/Happy Birthday” banner one year. It was VERY long. I made a mistake by adding ties along the banner in the WRONG spot. If you add some extra ties, do it “between” the triangles, not in the middle of one. One day, I am going to borrow the banner back and FIX it!
LikeLiked by 1 person
Very cute!
LikeLike
J’adore !!! MERCI
LikeLiked by 1 person