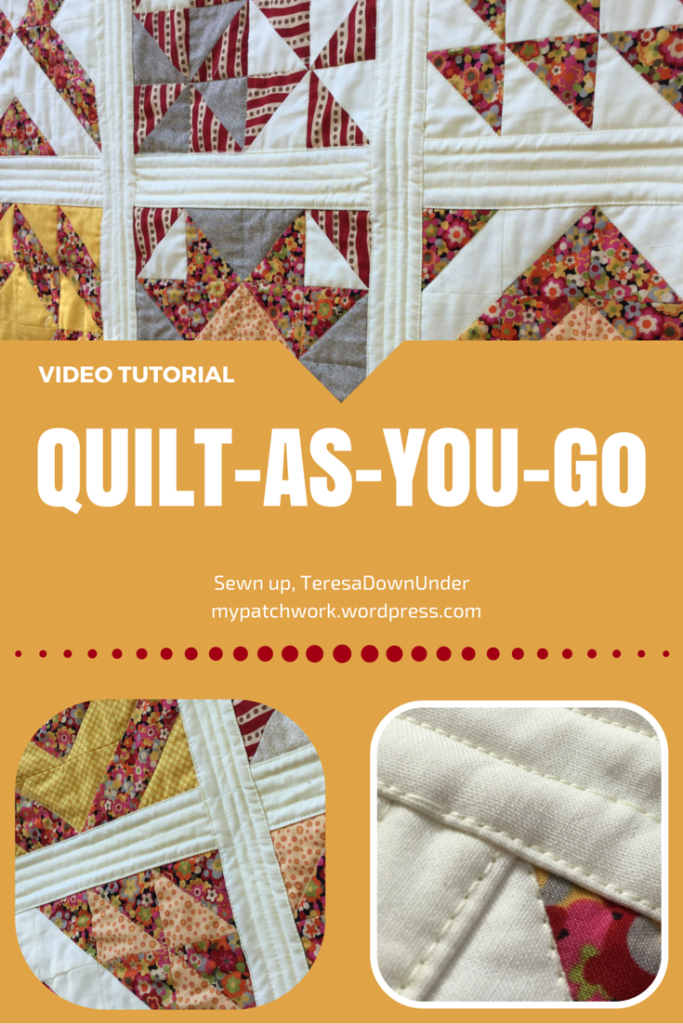
There are many ways to do quilt-as-you-go or QAYG. I use this technique to quilt each block individually and then attach them using sashing. This technique uses exclusively machine sewing.
How to Quilt as you go (QAYG)
The finished sashing width for this project is 2 inches but it can be adjusted to a wider or narrower sashing. Learn the technique in 3 minutes:
Materials
For the block sandwich
- A piece of backing fabric the same size as the block (I used half square triangles for some blocks to make a star)
- A piece of batting 1 inch larger than the block
- One finished block
For the sashing
- 1 strip of sashing fabric 4 1/2 inch x the length of the block side
- One strip of batting 1 1/2 inch x the length of the block side (you can add a bit more for good measure)
- One strip of sashing fabric 2 1/2 inch x the length of the block side
Get the 16 HST quilt sampler pattern featured on the video. It’s free.
There is another QAYG technique that I’ve used in my Dear Jane quilt for instance that uses a narrower sashing that’s sewn by hand on the back.
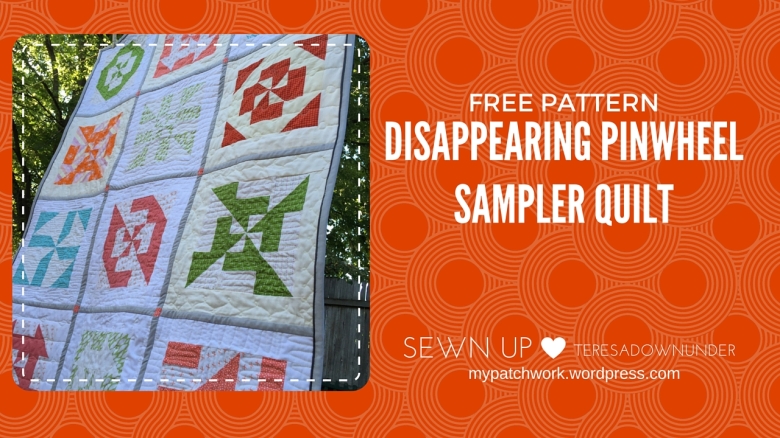
Would you like to make the quilt on the video? Get the Disappearing pinwheel sampler tutorial. It’s free.


You’re terrific, Teresa. Thanks. Love all your videos.
LikeLiked by 1 person
Thank you!
LikeLike
Love, love, love your method. Your explanation was so clear and the pictures were great. Thanks so much for this. I am definitely going to try your way!
LikeLike
Thank you Judith.
LikeLike
Is there a video showing how to quilt as you go for the blocks, if not using sashing? Thank you
LikeLiked by 1 person
Carla, Sorry no, I don’t have any videos for qayg without sashing.
LikeLike
Love the quilt as you go video, it would be better than trying to quilt on my sewing machine.
LikeLike
Amazing! Thank you!
LikeLike
I’m confused. When you flip the folded sash over and top stitch to the 2nd block is that piece a raw edge??
LikeLike
Hi Jolynne, the folded piece raw edge side needs to be aligned with the block’s edge.
LikeLike
You are Amazing. I can,t wait to your next project. Love that QAYG.I love the florals.
LikeLike
Thank you Catherine.
LikeLike
Very easy to understand and informative. Well Done!!!!
LikeLiked by 1 person
Thank you Robyn.
LikeLike
Hi Teresa,
I have been using the method of QAYG that you show but with a couple of changes.
* I press the front sashing flat so it’s easier to attach to the next block or row.
* I attach a narrow strip of iron-on stabilizer (used very light interfacing) to cover the seam allowances where they meet. This keeps them from “popping” as they want to do because it’s not a solid piece of fabric under the sashing. (Thanks to Marti Michell on Craftsy for this tip).
I’ve used this a lot and have assembled entire quilts this way. It’s great.
Thanks again for a great video.
Marjorie
LikeLiked by 2 people
Forgot to mention that you can also sew the sashing by machine…..but hand stitching looks nicer. I use matching or invisible thread so it doesn’t show so much on the back side and stitch in the ditch from the front side.
LikeLike
Thank you for your tips Marjorie. I’ve also finished this type of sashing by hand on the back, it hasn’t occurred to me to add interfacing but it seems like a good idea.
LikeLiked by 1 person
Do you have any information about adding borders to QAYG quilts?
LikeLike
Gail, I would treat a border like sashing. If the border is made out of blocks, then I would place the double fabric strip on the back of the quilt.
LikeLike
Gail, I have created borders as modules (several borders assembled together).I usually quilt them before I attach them to the quilt. I attach them just like a block with the narrow sashing as Teresa showed.
LikeLiked by 1 person
That’s a great idea
LikeLike
Hi Teresa. Thanks for your clear instructions on this wonderful technique. I have used the wider sashing method with batting between, and it works great! I am now making a Dear Jane and plan to use your narrow sashing method. The DJ sashing is supposed to be 1/2 inch wide. Do your instructions finish to 1/2 inch? Also, I am worried that without batting inside, it will be “floppy.” Has this been a problem?
LikeLiked by 1 person
Have you seen my DJ QAYG sashing tutorial? https://mypatchwork.wordpress.com/2015/05/02/quilt-as-you-go-qayg-jane-a-stickle-quilt/ I used this method. The sashing is not floppy in my view. The space is taken up by the bulky edges of the blocks around it. Plus one of hte fabrics is doubled as well. So the sashing has 3 layers of fabric. You should do a test with just 2 plain blocks and see if it feels floppy to you. With a quilt of this type you want to be sure it works to your liking.
LikeLike
Perhaps Marjorie’s suggestion about fusible interfacing would help – I will try the narrow type.
LikeLike
I don’t like interfacing very much, particularly if it’s synthetic. I would do a test with both methods and see which one you like best
LikeLike
Did I say that the finished sashing is about 1/2″?
LikeLike
Hi Teresa
I have never quilted a quilt before (only made the tops) and I was wondering if you can quilt as you go in rows and what the differences are between blocks and rows? Also if you have made a video on QAYG in rows.
LikeLiked by 1 person
I’ve done this in rows. No difference and it’s faster. Still I did the long sashing like on the video.
LikeLike
I haven’t done a video on it just treat each row as if it was a block
LikeLike
Would be helpful for us newbies if the joining sections were just a little slower. Otherwise, very helpful!
LikeLiked by 1 person
Jennifer, you can play the video on slow motion. Look for the cog on the opposite side to the play button and select your speed.
LikeLike
Fantastic tuts. Any plans for QAYG without sashing?
LikeLike
I posted a video on that about 3 weeks ago. If you follow the video then you add the backing at the end.
LikeLike
Would you add binding around the quilt edge as usual?
LikeLiked by 1 person
Yes, you finish the quilt in the same way
LikeLike
then how do you add the long sashing strips???
LikeLiked by 1 person
The long sashing is done in the same way. So you join the blocks into strips with sashing and then you join the strips together with sashing again
LikeLike
Would you consider offering these instructions in a printable version? I’d sure pay to have a copy! I can watch a video tutorial, but then can’t remember all the steps. Thank you!
LikeLiked by 1 person
Hi Robbie
I don’t currently have the time to do printable versions of all my tutorials but I appreciate your feedback and I may do a set of instructions on paper for the more popular tutorials.
LikeLike
Thank you for this tut! This was exactly the method I wanted to do, but needed some help with the sashing measurements. A lot of the other methods use a lot of hand sewing. I wanted to do mine all by machine. Thanks again.
LikeLike