
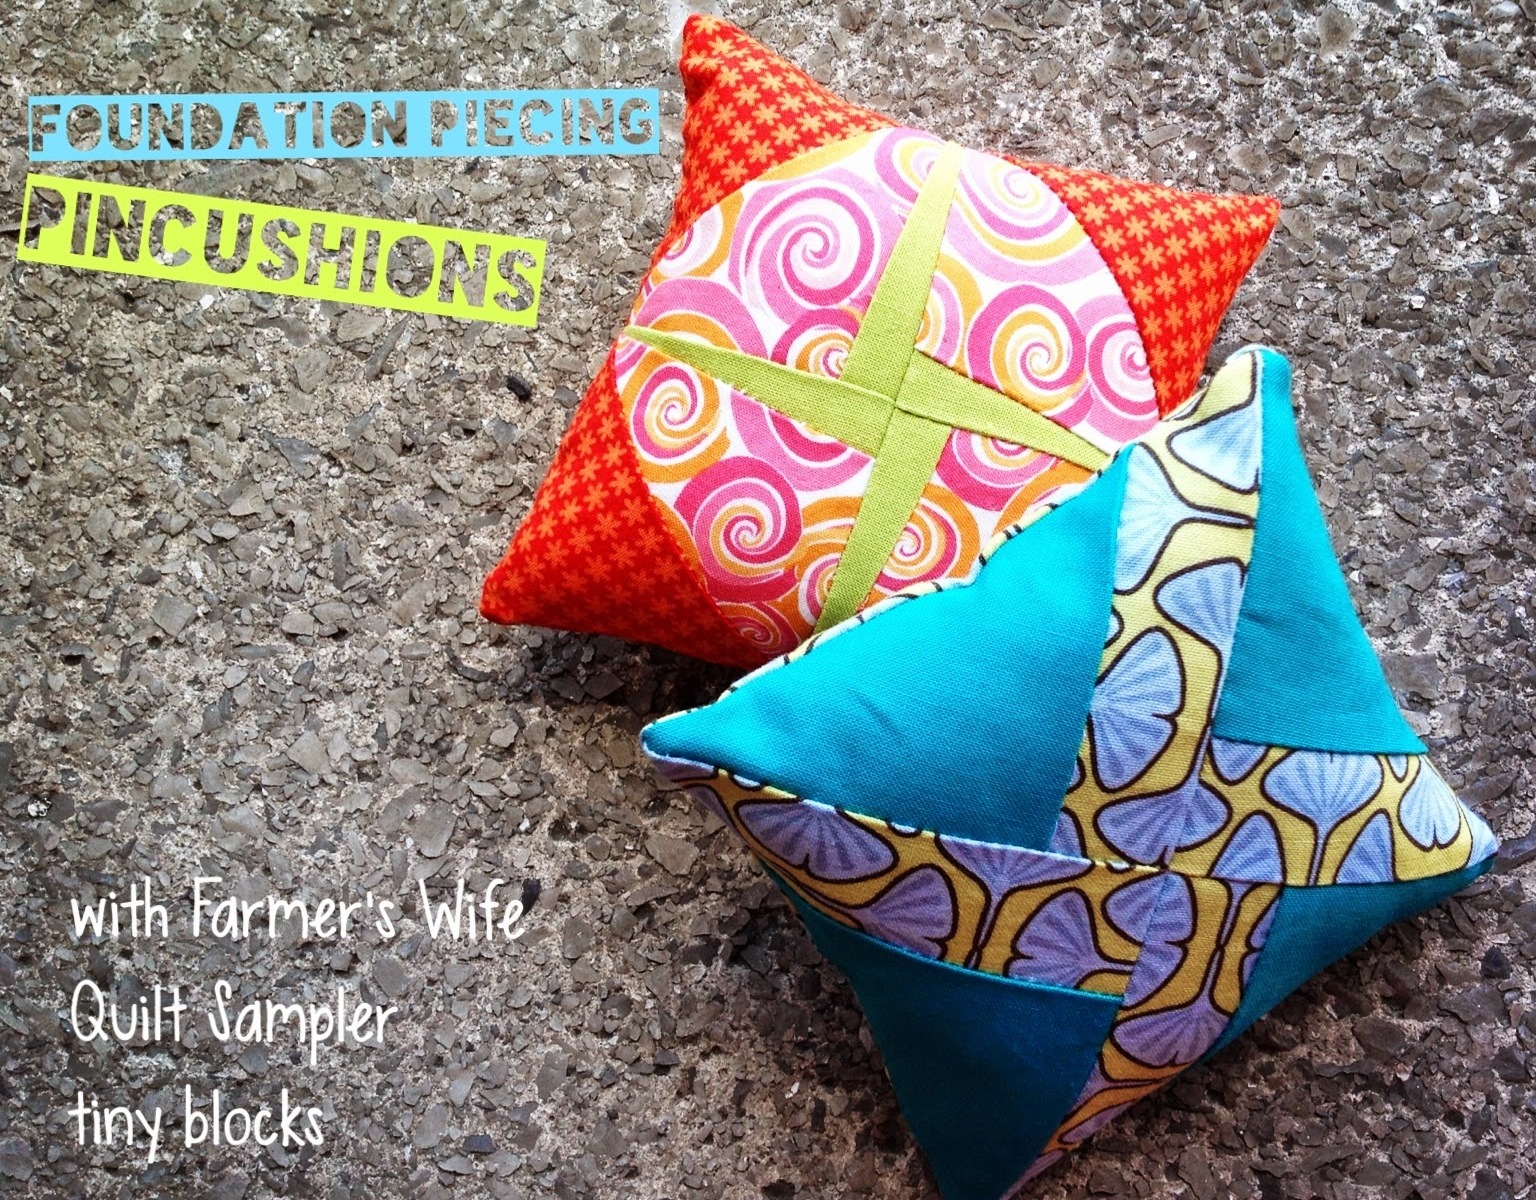
I am not very experienced with foundation piecing but last time I made some foundation piecing blocks I quite enjoyed the process and discovered a handful of its benefits, one of them being that your blocks look perfect or almost. With that in mind I thought that foundation piecing would also be a good way to make rather small blocks with little fuss and have them look really good.
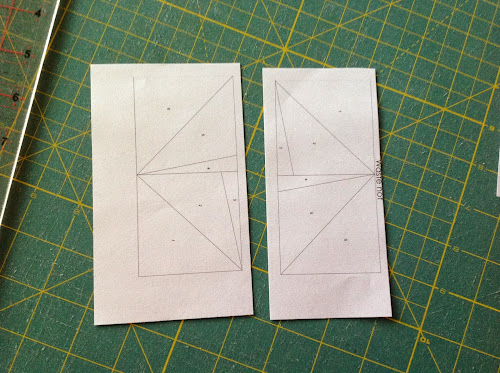
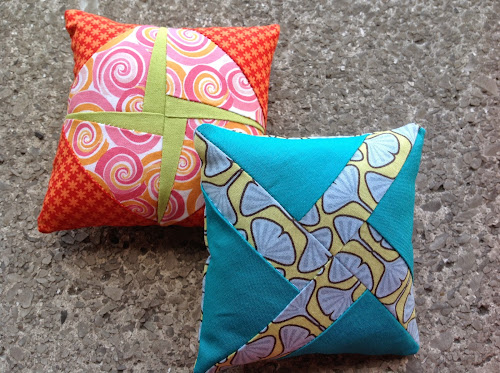
Having finished my Farmer’s wife quilt sampler recently I thought I would just reduce some nice blocks to about 5 inches square and try them out. So I went to the Yahoo! FWQS group where you can get all the foundation piecing templates for this quilt under Files, got the template for Windmill and Waste not, reduced them to about 5 inch squares and put them into a page for you to download.
For this project you need small fabric scraps big enough to cover each individual piece and have at least 1/4 in around each of them, including the outer edges. For the pincushion use polyfill or batting scraps.
How to do foundation paper piecing
You can learn the principles of foundation piecing on this 2 minute video. These principles can be applied to any foundation piecing blocks no matter how complex they are.
And here is the regular printed tutorial:
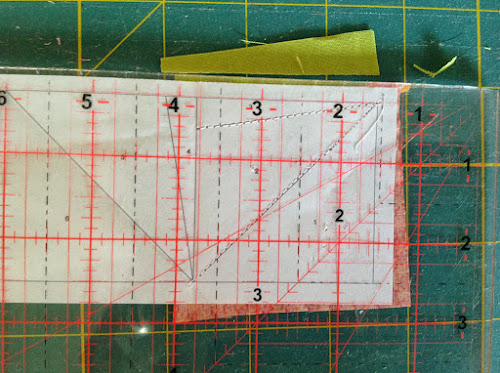
Cut your template leaving 1/4 inch around the edges.
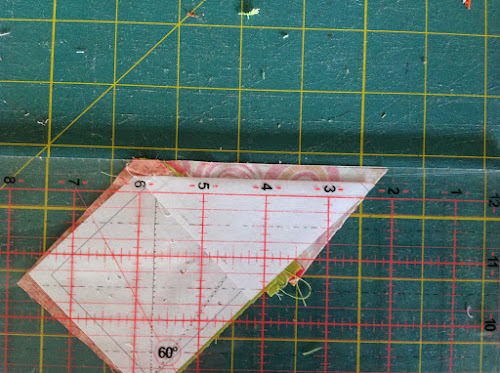
Then fold along the printed lines. Use a piece of plastic or thin cardboard to help you.
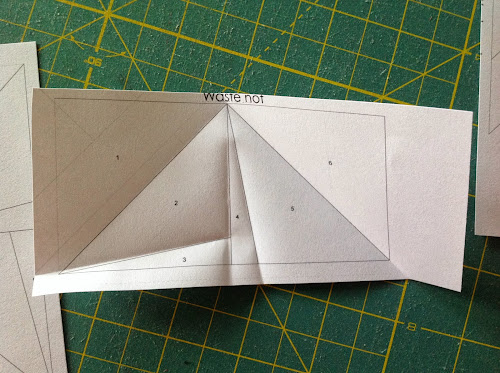
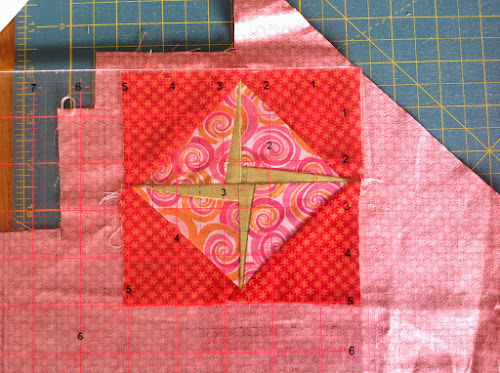
Now cut the pieces. To waste as little fabric as possible measure each piece on the largest sides as well as the length. You will end up with squares or rectangles. Sometimes like in this case you can cut a square and then use it in both triangles. My squares, pink and orange, were around 3 1/2 inches square. Then I cut both squares on the diagonal.
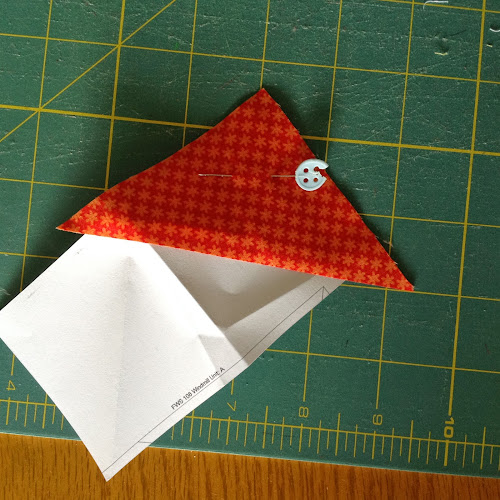
The process is always the same. Start with your piece number 1.
Place it on the wrong side making sure that you have 1/4 inch seam allowance all around.
Pin the piece.
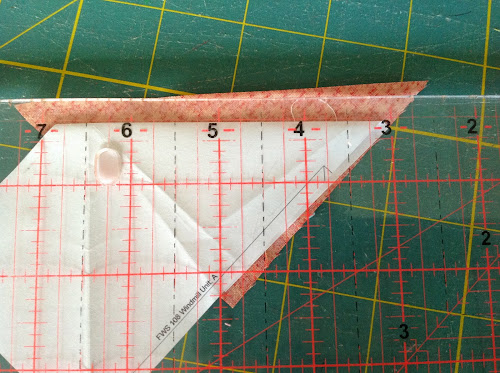
Now trim the piece. To do that, fold along the line you pressed earlier and then cut leaving 1/4 inch allowance.
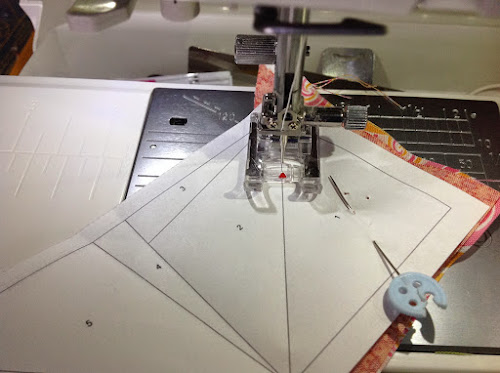
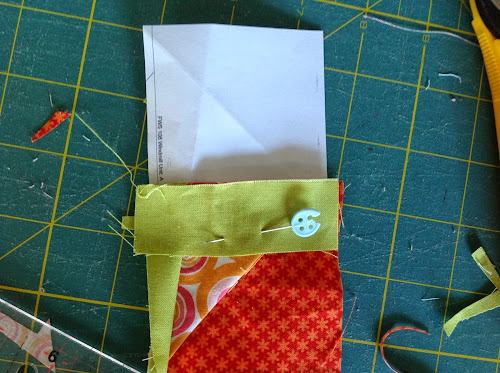
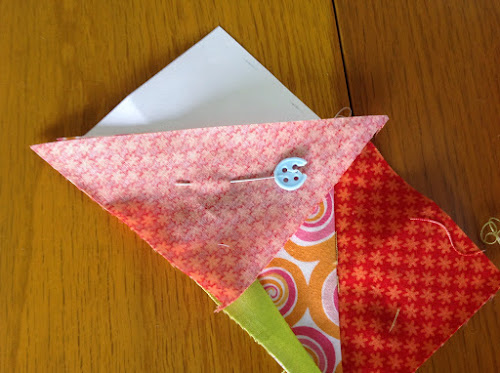
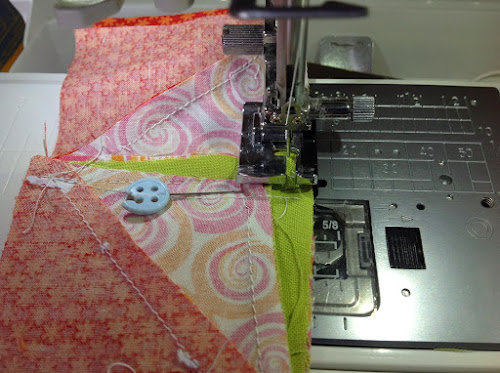
Now the stitching starts between piece 1 and 2.
Align both pieces, right sides together, and pin together and to the paper.
Turn paper around and stitch between piece 1 and 2 along the line.
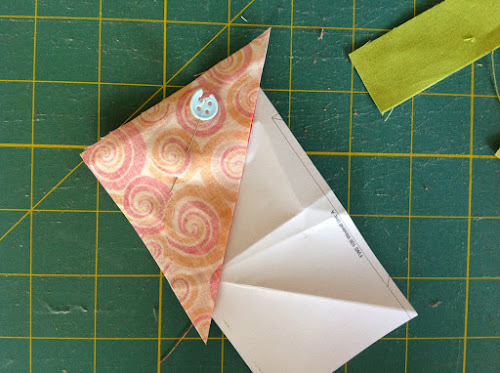
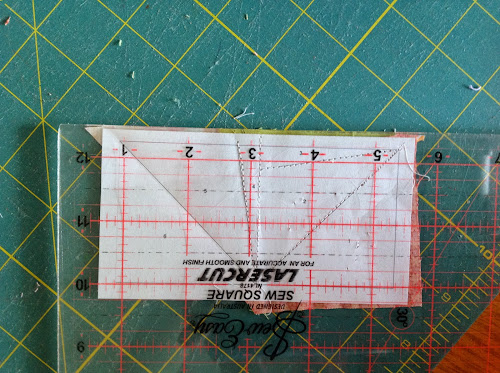
Time to trim piece 2.
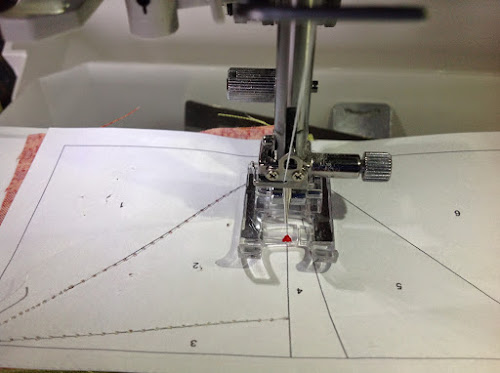
Turn over and fold the paper between piece 2 and 3.
Trim leaving 1/4 inch allowance.
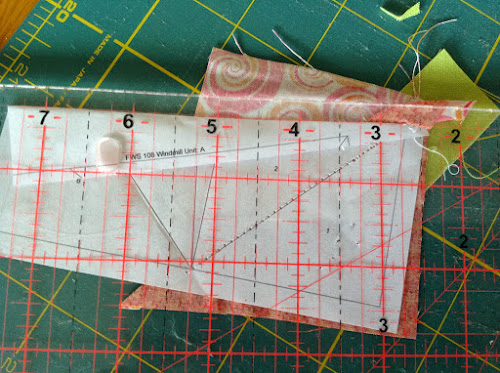
Add piece 3 aligning your piece with the previous trimmed piece.
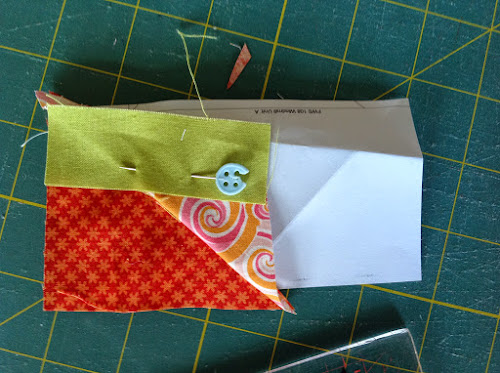
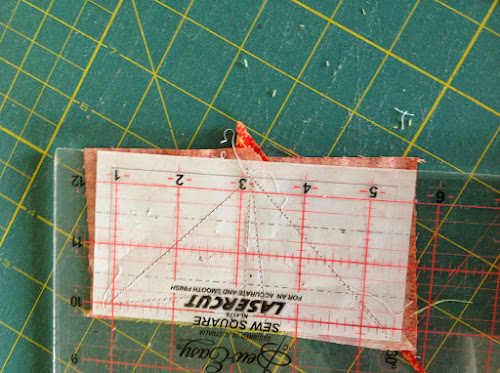
And so on. The process is the same. Trim, add next piece, align, stitch, trim, and so on.

You place on the back of the paper and stitch following the lines on the front.
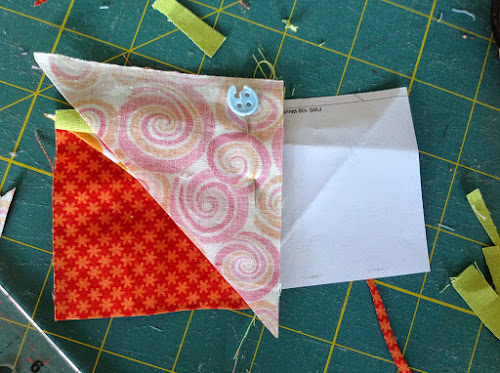
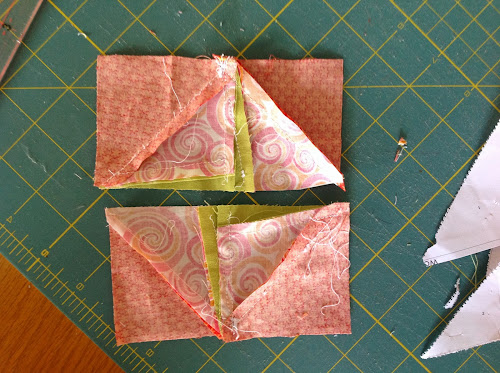
Once you have both pieces, stitch them together using a 1/4 inch allowance.
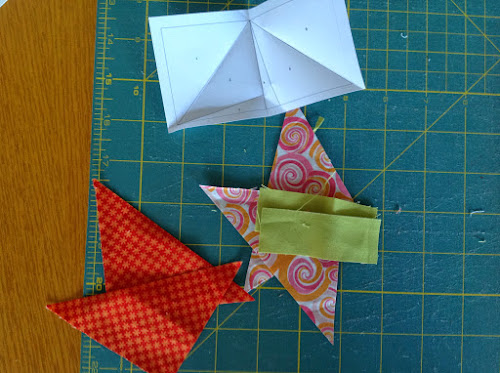
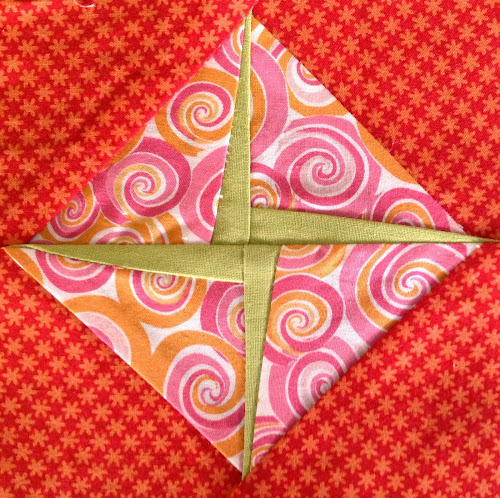
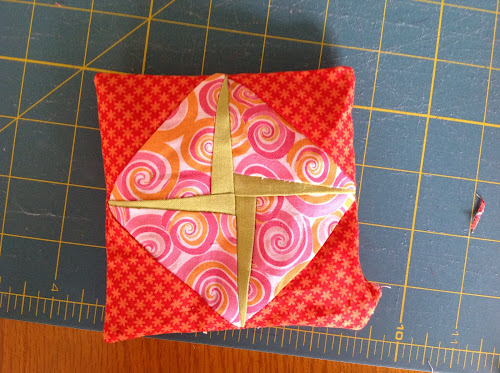
And there you have it, a 5 inch block.
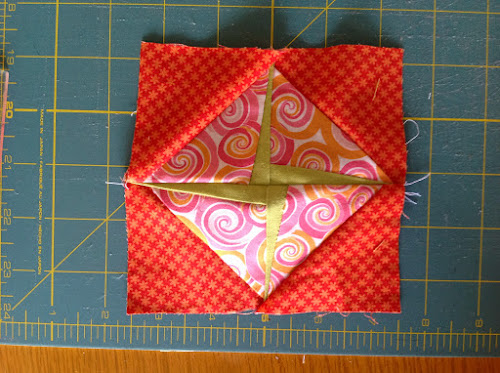
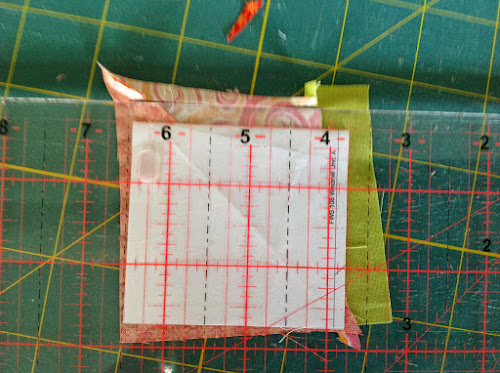
Press well.
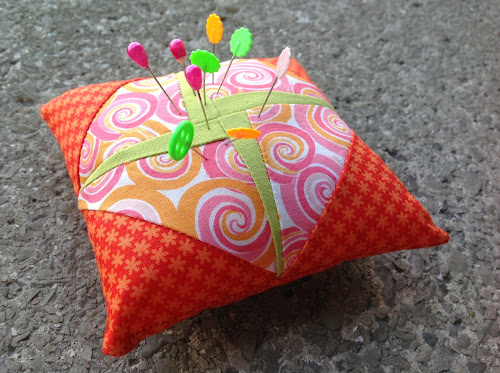
Pincushion
After making the block what to do with it. I always do something with my samples, be a potholder, a pincushion, even a quilt! At 5 inch square I chose a pincushion design I can donate for a good cause or give as a gift.
Cut the back of the pincushion using the block.
Stitch around all sides leaving a 1 inch opening to turn inside out.
Trim the corners.

Fill the pincushion with polyfill or some batting scraps.
Close the opening using a ladder stitch.
There you have it!
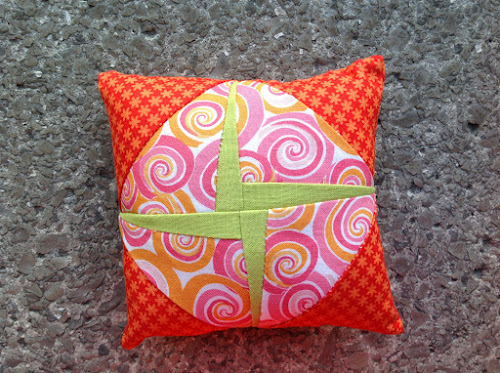
This is the second block on the pattern sheet.

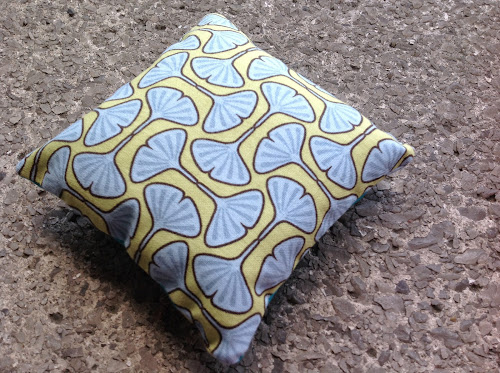

I love his.
LikeLike