


I recently upgraded my glasses and the case they came with doesn’t fit in my small bag so I made a case for them I can take with me and clip on my bag or my iPad carry case. This is a quick project that needed a bit of creative thinking but I’m quite pleased with the results.
Materials
- 5 x 5 in charm squares
- 3 for the body
- 1 for the tabs
- 1 for the top border
- 4 inch shrapnel purse frame
- 2 hair clips
- velcro
- batting scraps: 2 pieces of 6 in x 4 1/2 in
- fabric scraps for the lining: 2 pieces of 6 1/2 in x 4 1/2 in

Take 3 charm squares and cut them in half and in half again to obtain 4 x 2 1/2 inch squares per square. 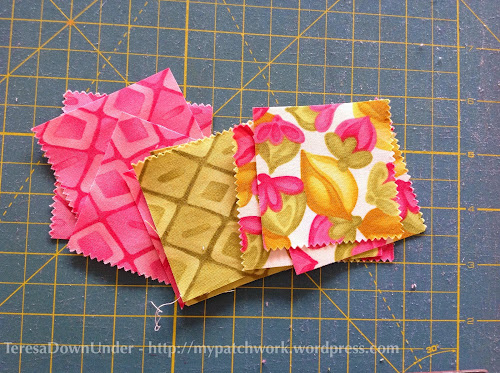
Cut another charm square in half. Then place all the pieces as per picture below.  Stitch.
Cut the batting and pin to the patchwork as per picture. Notice the fold on the top border. Fold in and pin. 
Now quilt any way you like. Stitch along the seam on the top border. 
Fold the top by 1 inch.

Stitch along the seam leaving 1/4 inch allowance. 
Do the same with both sides.

Now place both pieces right sides together and sew together from one edge to the batting to the other. Clip the corners. 
Now let’s make the tabs. Cut a charm square in half. 
Fold in half and stitch along two sides leaving the other narrow side open to turn inside out. 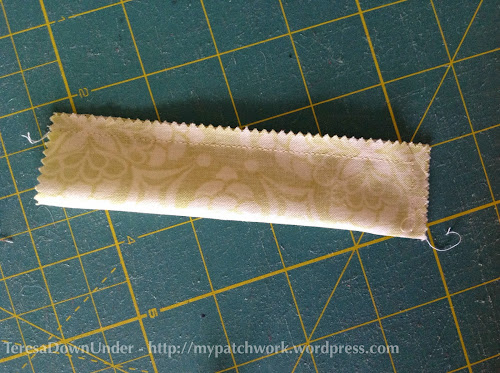
Turn inside out and then fold the opening in and stitch along the seam. Do two tabs in this way. 
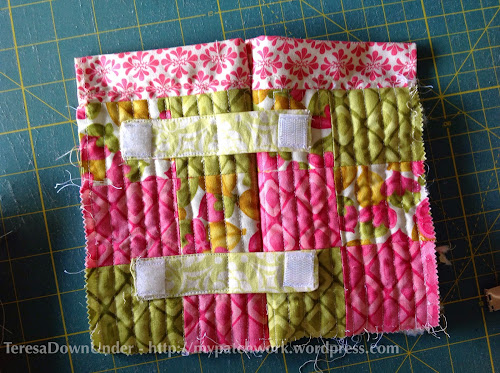
Now attach a small piece of velcro to each end as per picture. 
Place on one of the slipcase sides. Ignore how both pieces are stitched on one side. I made a mistake. We’ll stitch the bag later. 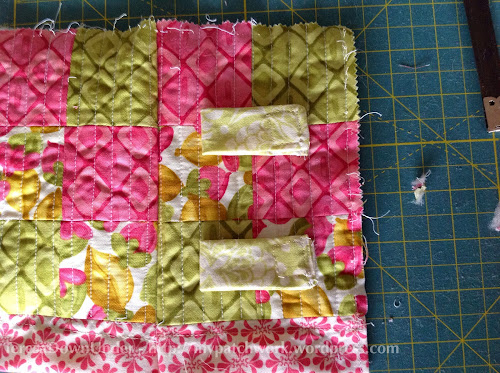
When well centred pin the tab.

Now stitch from the middle of the tab all around. 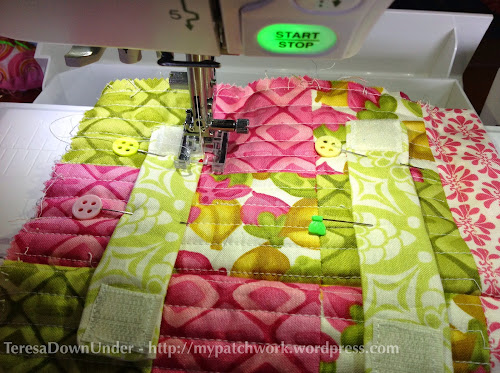
The tabs are added.
Now make a small incision to insert the hair pin. Make sure the incision is in the right location as both ends of the velcro need to reach to form a closure.
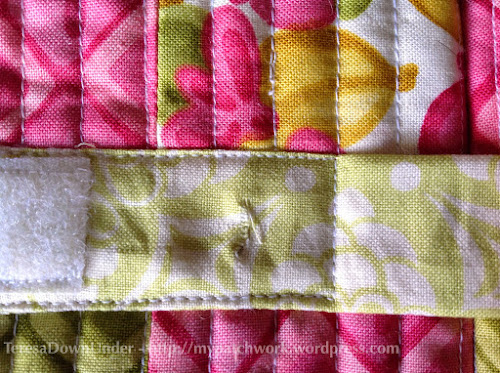
Insert the pin.

Now fold over the tab to cover the hair pin.

Do the same for both tabs.

Place both panels with right sides facing together and stitch all around from the top border seam on one side to the other. 

To add the lining, cut both pieces.

Then stitch around 3 sides and clip corners as per picture. 
Turn the lining inside out and the exterior inside out as well and place the exterior inside the lining as per picture, wrong sides together. 
Fold in the lining and pin.

Slip stitch around the top.

I thought of adding a bit of embroidery along the top, just for fun. But I don’t recommended. My glasses get stuck on the thread all the time.

Now insert the purse frame.
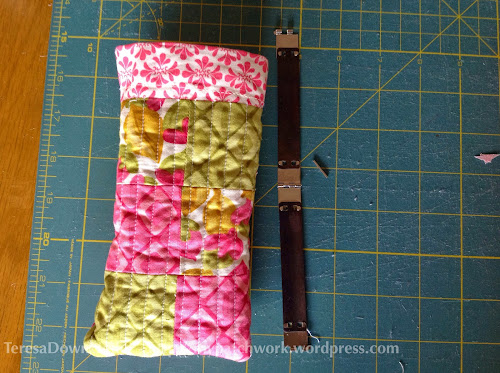

Insert the little metal tube and clip both ends of the frame. 
The glasses case is finished.

Clip your case to your bag’s strap. This is how I have been wearing the glasses case.

Great little glasses case! So handy you can just clip it to your strap, no digging through your purse for your glasses. I’ve got a Craft Gossip post scheduled for later this morning that links to your tutorial:
http://sewing.craftgossip.com/tutorial-glasses-case-you-can-clip-to-your-purse-strap/2014/10/05/
–Anne
LikeLike
Great tute! What size is the shrapnel purse frame? Thx
LikeLike
Lique, the clasp is 4 inches wide.
LikeLike