

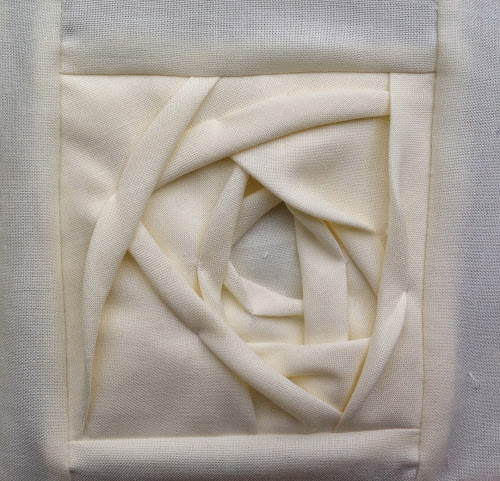
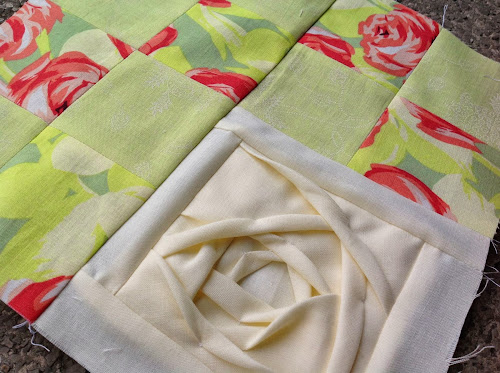
Close up
Block type: 4-patch
Block size: 10 1/2 inches
Colour scheme: reds, greens and neutrals
Texture/fabric manipulation: Canadian smocking
Cut:
- six 3 inch pale green squares
- six 3 inch red squares
- eleven 4 inch squares (more or fewer if you reach the 4 inch square)
- one 5 inch square of felt
- two 4 inch x 1 1/4 inch strips
- two 5 1/2 inch x 1 1/4 inch strips
Making the improv fabric folding
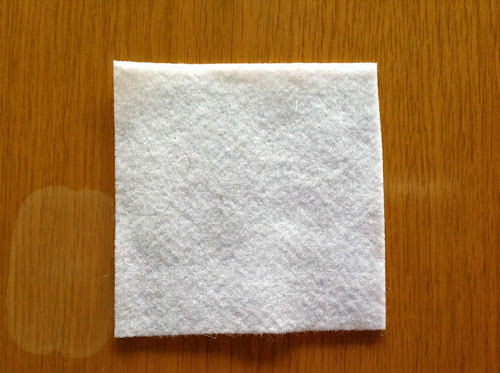
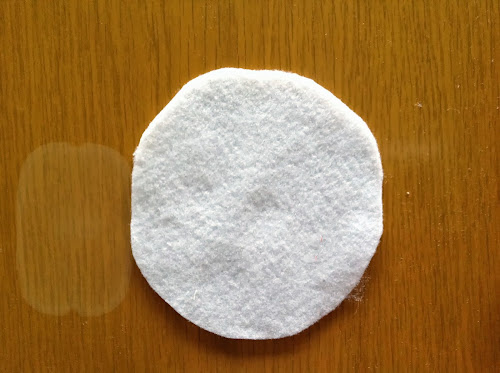
Cut a 5 inch square in felt.
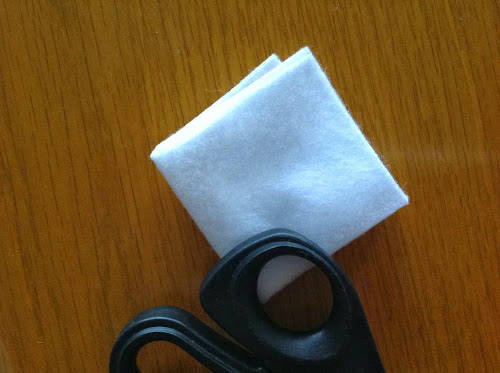
Now fold it twice to cut it into a square.
Roughly cut the corners as per picture.
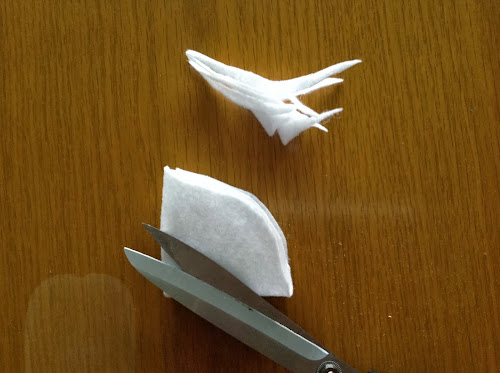
Trim the circle as much as needed.
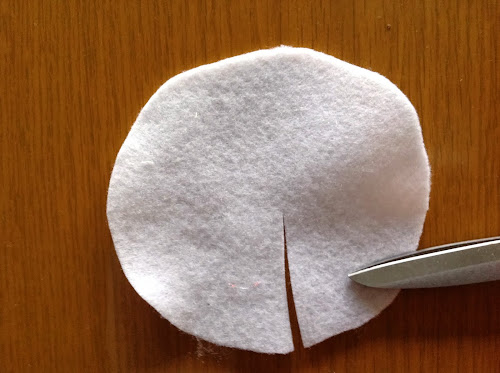
Now make a cut up to the centre of the circle.
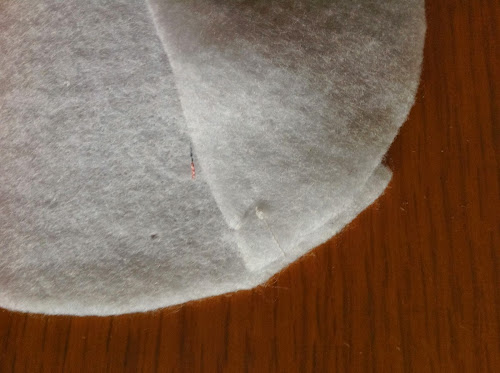
Overlap both sides of the cut by 1 inch.
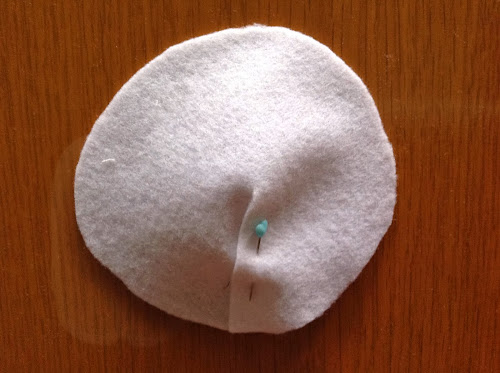
Stitch together.
This previous step is supposed to lift the texture though I’m not sure I was successful.
Now place a 4 inch square on top of the felt circle.
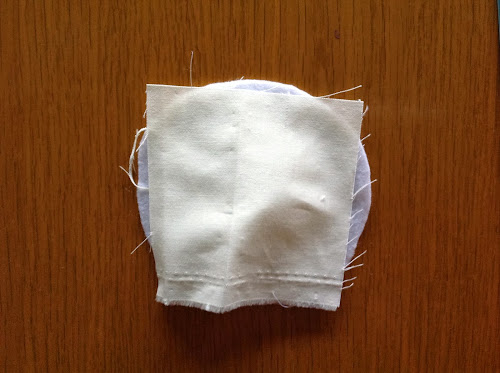
Stitch all four corners to the circle.

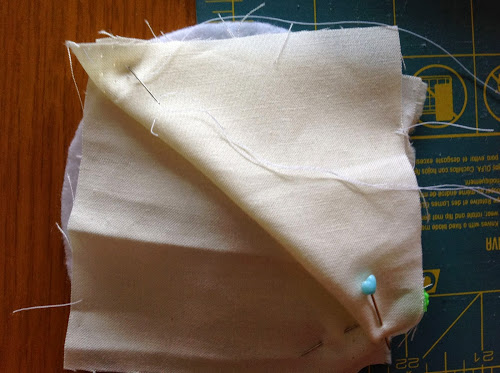
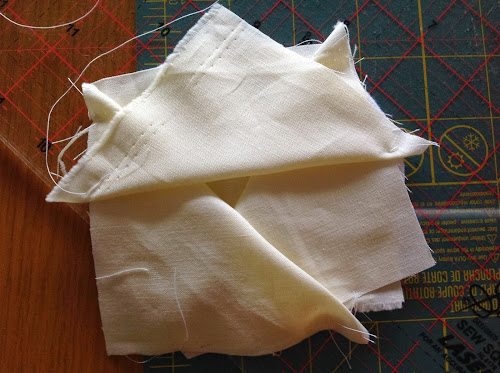
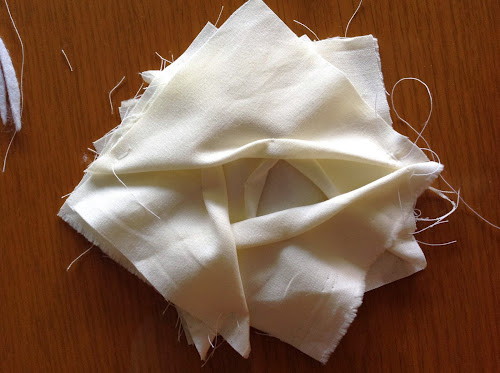
Now take another 4 inch square and fold it on the diagonal as per picture.
Place it on the previous square and stitch both corners to the previous layer and to the felt.
Continue to do the same with the next piece.
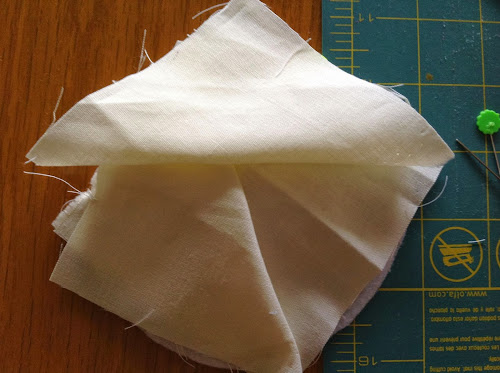
If possible when sewing the corners to the base, do so through all layers underneath.
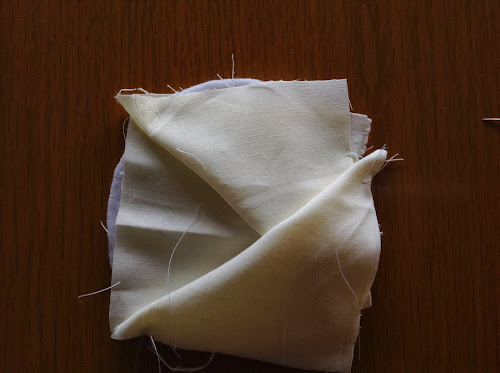
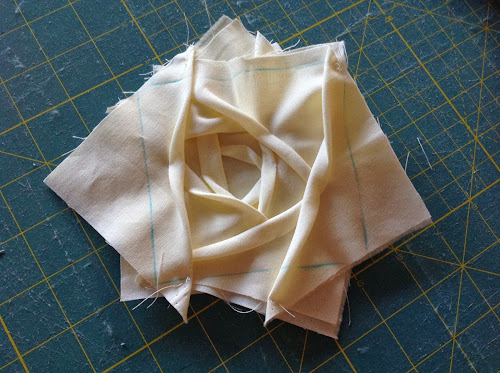
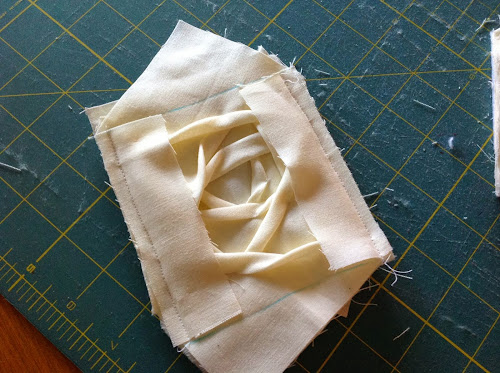
It was looking a bit dull at this stage so I thought of folding some of the fabric back.
Fold back and stitch down tight.
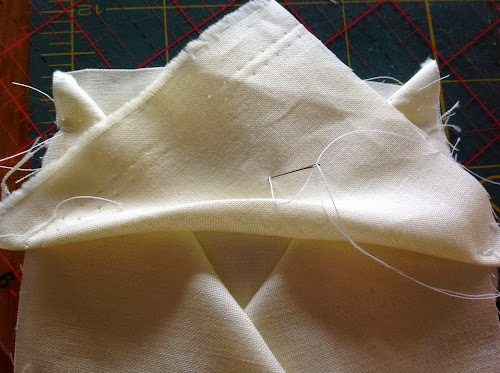
Do with all three placed pieces. This can also be done from the start for each pieced added.
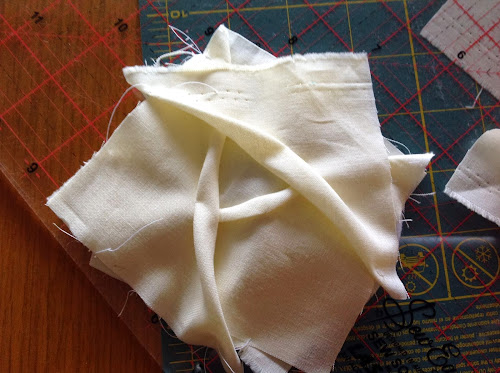
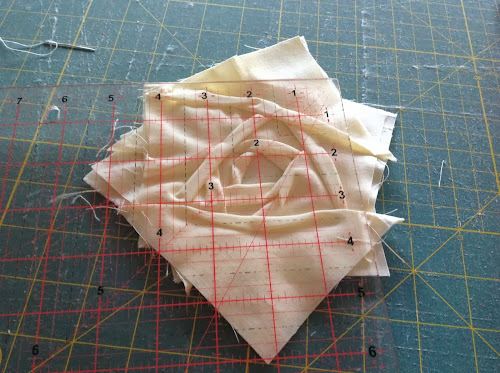
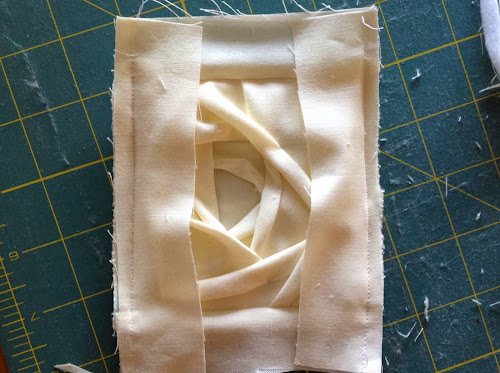
Now continue to add pieces in the same fashion.
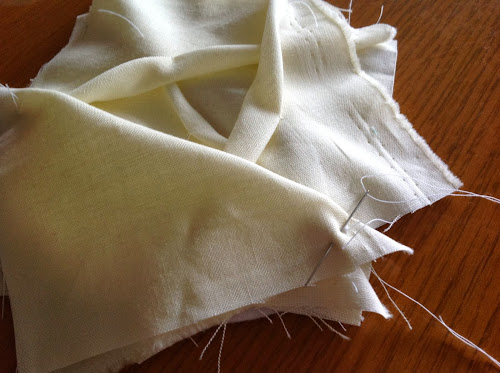
Your piece will start looking a bit like this.
Add up to as many pieces you need to achieve the desired effect and until you get at least a 4 inch square.
Once you have a 4 inch square you can stop adding pieces.
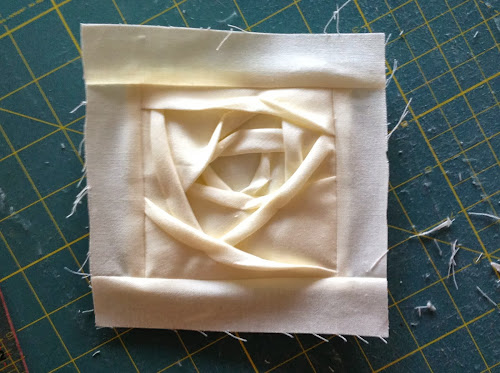
Mark the square.
Pin the two 4in x 1 1/4in strips as per picture.
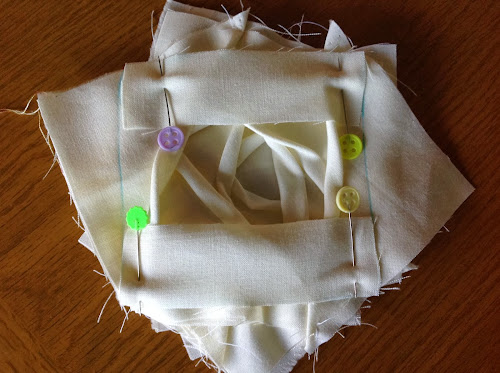
Stitch leaving 1/4 in allowance from each strip. Trim off the excess fabric.
Do the same with the other two strips of fabric.

Trim off excess fabric.
Press seams flat.
Now place all the squares as per picture.
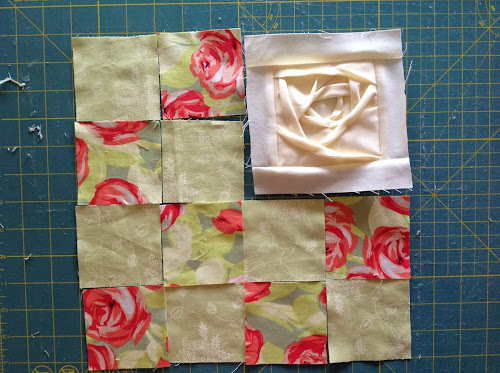
Stitch into larger squares and then together.
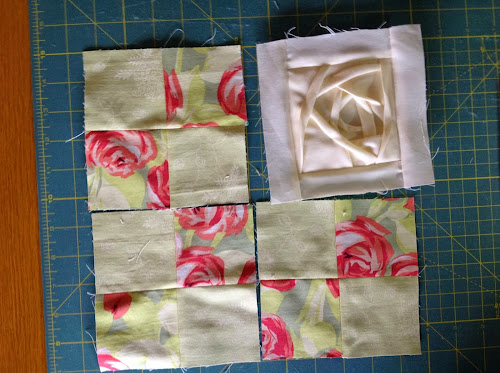
The block is finished.
Textured 4-patch quilt tutorial
This quilt has 16 x 10 1/2 in blocks.
Each block is a 4-patch block in greens and reds. The fabric manipulation is made in a cream fabric.
See all Textured 4-patch quilt tutorials.
See also my first Textured quilt sampler tutorial.
Share your pictures
Are you making this quilt? Share your pictures on Flickr’s TeresaDownUnder group.

I absolutely love this block. It reminds me of a rose in full bloom. Thank you for offering another excellent tutorial.
LikeLike
Thanks for the tutorial!!! The block is really amazing!
LikeLike
This is so beautiful, looks like a rose garden. Your instructions are spot on I really enjoy all your work.
LikeLike
Thank you for your encouraging comments. It’s specially nice to hear because this texture was an experiment.
LikeLike
Absolutely gorgeous and cannot wait to try it out.
Just a thought about the ‘lift’ … Have you thought to put a bit of stuffing (toy stuffing) under the felt circle once you have lifted it by the 1″ cut and stitch. It would of course require an additional 4″ patch beneath the felt circle but you could add that at the same time as you add the first 4″ patch …
LikeLike
When I did this block I didn’t do much planning as you can see. I had a vague idea of what effect I wanted. I wanted the flower to stick out but then I realised it wasn’t quite working (things in my head and things in reality are quite different sometimes!). But even if it wasn’t working I was happy with what was emerging. The only problem was that using folded cotton fabric plus the felt made the block very bulky and it’s going to stick out in the quilt too much dragging with it a bit the surrounding area. I think your suggestion, if I understand it correctly, would have been better because the flower would have been kind of added to the block with some slip stitch. But then that’s an idea for another block some time in the future! Thank you for the suggestion.
LikeLike
Absolutely beautiful! Can’t wait to try this! Thanks so much for sharing.
LikeLiked by 1 person