
Materials
- 2 fabric rectangles: 4 1/2 x 18 inches each for the roll basket
- 2 strips of fabric: 8 1/2 x 1 1/4 each to hang the basket
- Stranded cotton to match fabric colours
Marking the fabric before cutting
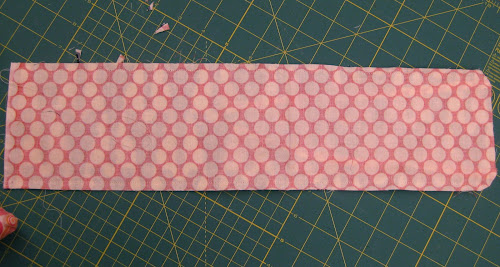
Get your outside fabric and draw the rectangle on it with a lead pencil.
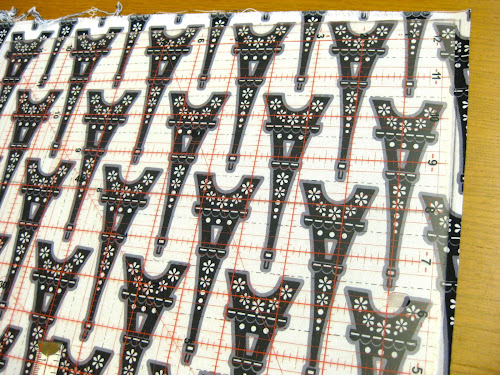
Do not cut the fabric yet though you could cut the inside fabric as it won’t be embroidered.
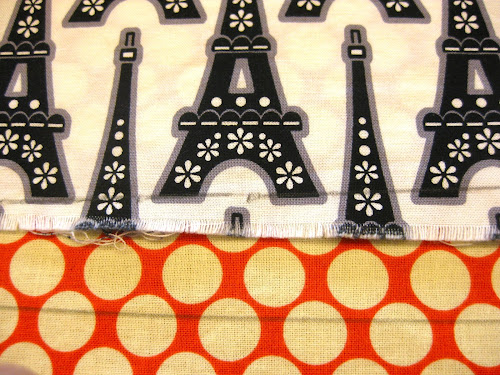
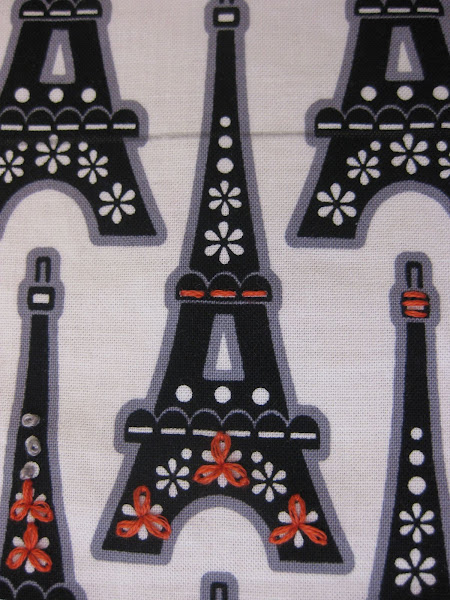
Choose matching colours with high contrast.

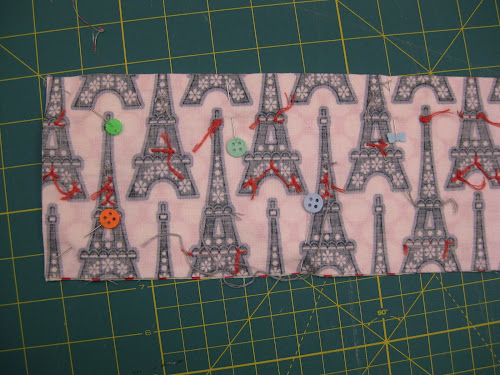
Embroider some elements in a symmetrical manner or as you see it fit. Both ways work very well. You can see an example of random embroidery on a fabric print in my eye mask tutorial. This time I chose to embroider around the patterns in a systematic way.
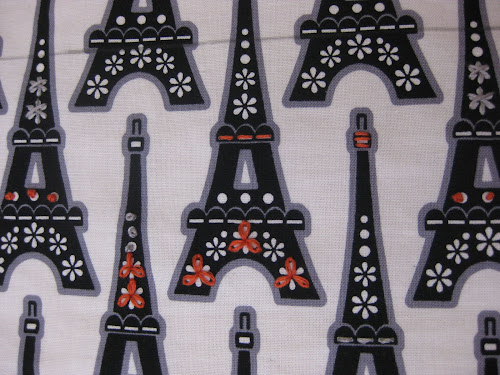
I recommend you choose thread that has enough colour contrast or the embroidery will not show through like in this case. Both photos, above and below have some embroidery in light grey but it is hard to see because the colour is very similar to the fabric’s grey.
Once the embroidery is done, cut the rectangles along the marked lines.
You can cut the strips 2 strips of fabric, 8 1/2 x 1 1/4 each, which will be used to hang the basket. Fold the strips in half and then fold each side to the middle again and iron as per picture below.
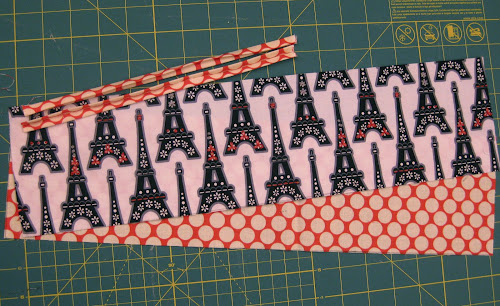
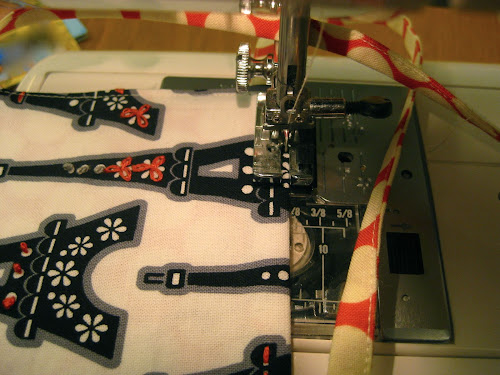
Top stitch the strips very close to the edge.
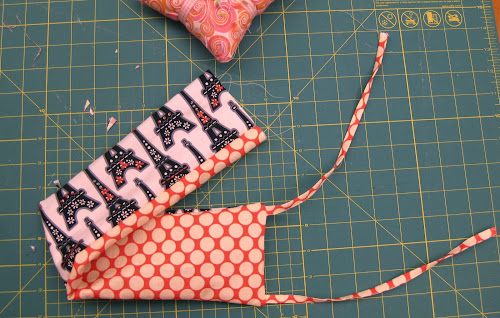
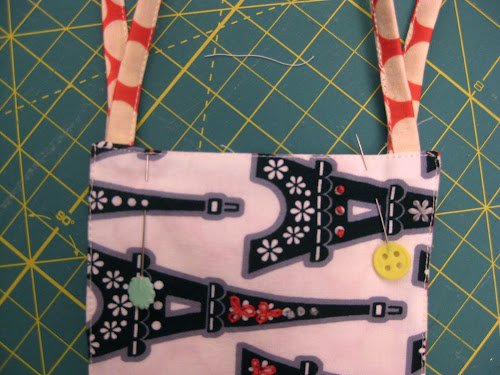
Now pin the strips on the edge of one rectangle as per photo leaving 1/4 inch allowance on each side.
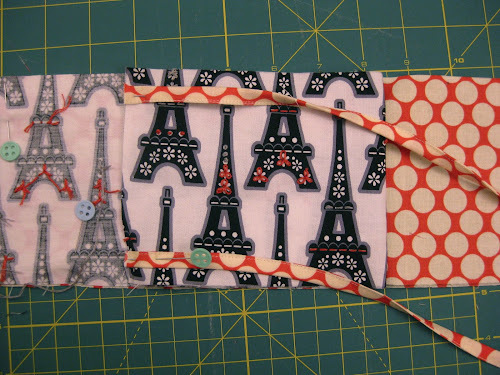
Place both rectangles together with the strips in the middle.
Sew around three sides of the rectangle, including the side where we pinned the strips.
Use the open side to turn piece inside out.
Iron well. Place the end of each strip and pin inside the open side of the rectangle. Fold each side in about 1/4 inch to make an internal seam.
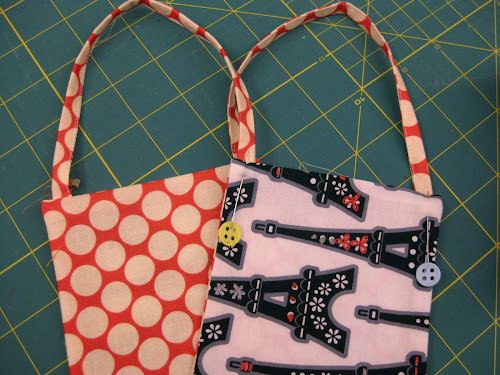
Top stitch all around the rectangle.

Now pin the narrow sides together as per photo.
Sew together.
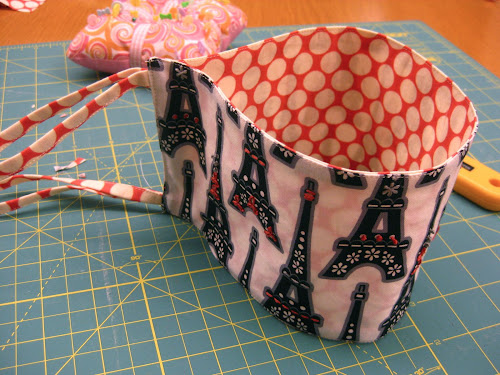
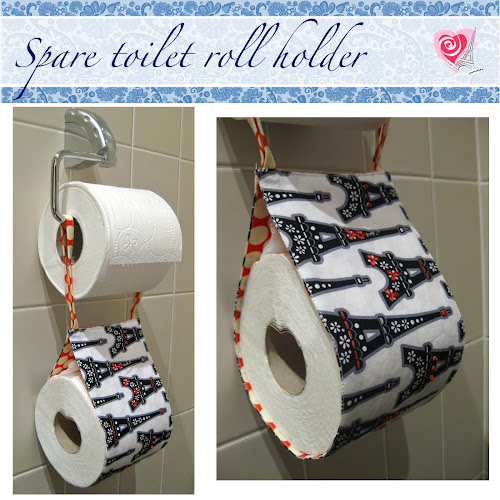
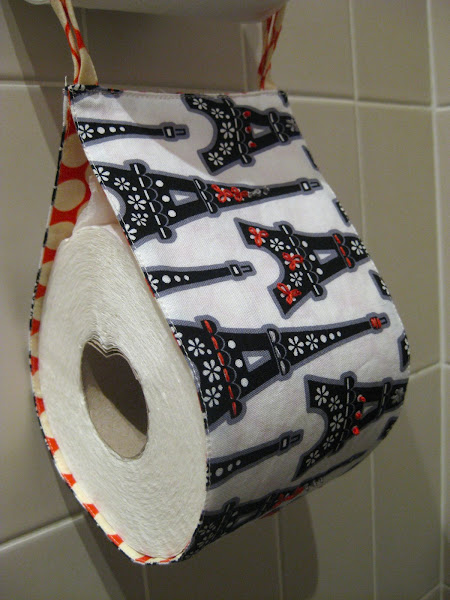
The sparte toilet roll is finished!
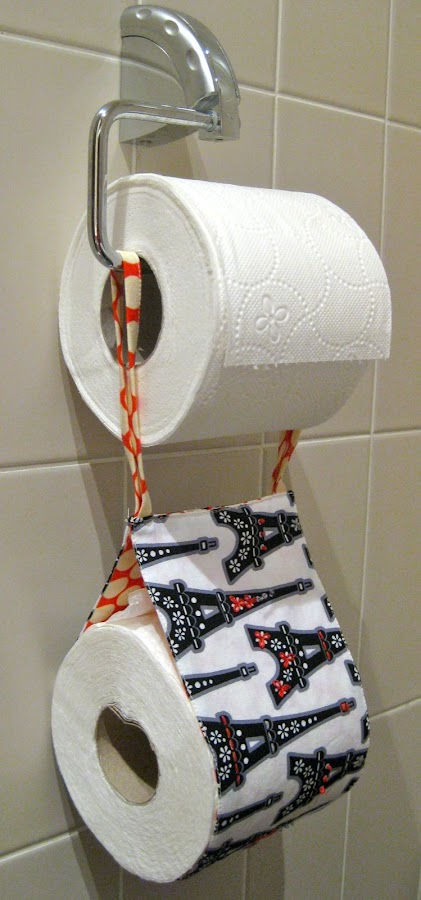
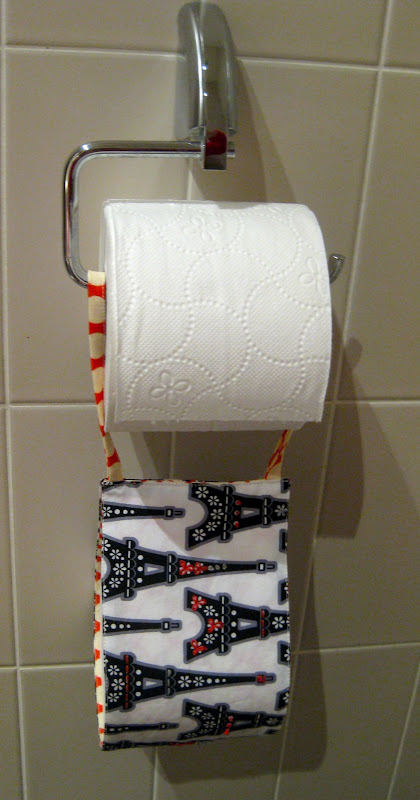
Frontal view.
Detail of holder.

Muito bonito o seu trabalho, assim como esplêndido o seu tutorial…
Muito obrigada
de Maria Filomena
LikeLike
hhhmmm, it’s cute. I first thought to worry about the draaaag that might be created, but I’ll bet that is a good thing. It’s decorative, functional and definately will help “slow your roll”. Super!!
LikeLike
these are really making a comeback and nice not all country frilly. Great fabrics.
LikeLike
Thank you!
Funny enough I haven’t noticed any drag on the roll.
LikeLike
Brilliant!!!
LikeLike
This would be so nice when having a party or extra houseguests. They wouldn’t have to go looking through cabinets and drawers for extra paper.
LikeLike
I have forgotten all my sewing skills, which way must the thread run along with selfside or the opposite?
LikeLike
I love it! I’m so going to make a few of these!
LikeLike
Thank you for the tutorial for making this – I’ve wanted one for ages but hadn’t taken the time to figure out my own pattern. I made one this a.m. and it looks terrific!
LikeLiked by 1 person
Thank you Kathy
LikeLike
Please give ads free, and printer’s friendly instructions for future projects. Thank you.
LikeLiked by 1 person