
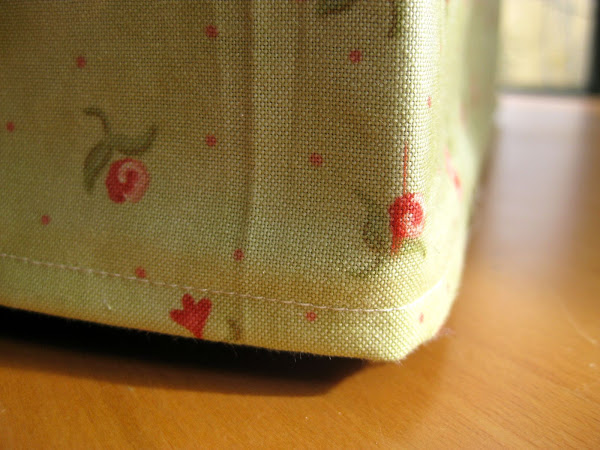
This is an extension of the crate slipcover I made a while ago following a tutorial by Laura Gunn (Download the instructions to make the crate cover in pdf).
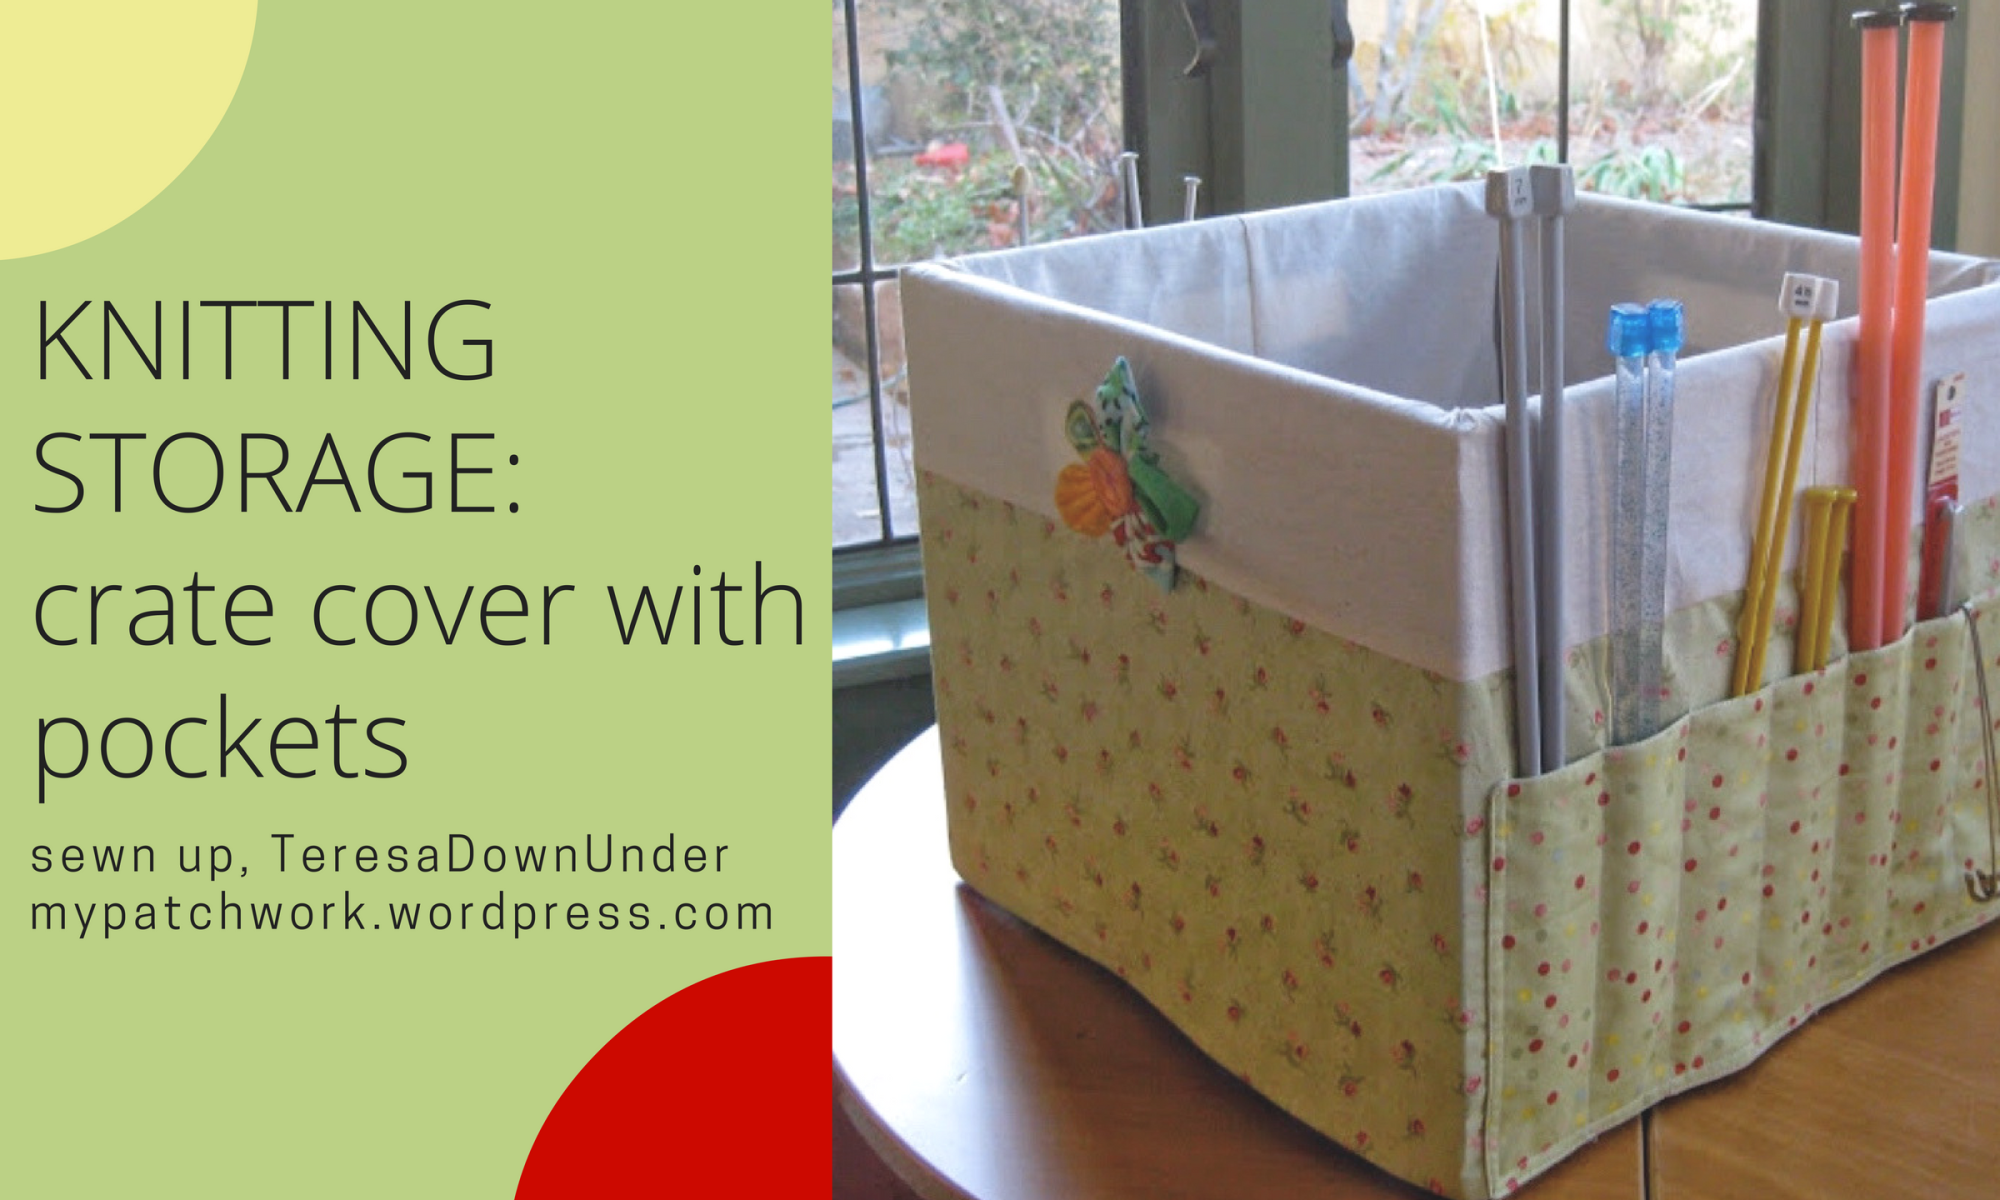
While the crate cover is great for large items, fabric and the like, knitting needles and crochet hooks get lost in the contents.
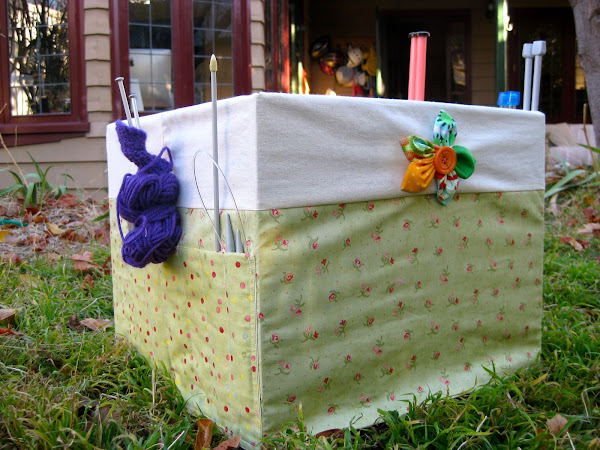
The concept is very simple: I added a long piece of fabric, folded in two, around three sides of the crate and stitched it into pockets between 1 1/2 and 2 inches apart.
The measurements I’ll be using are for the crate size on my crate slipcover post.
I started with a finished slipcover.
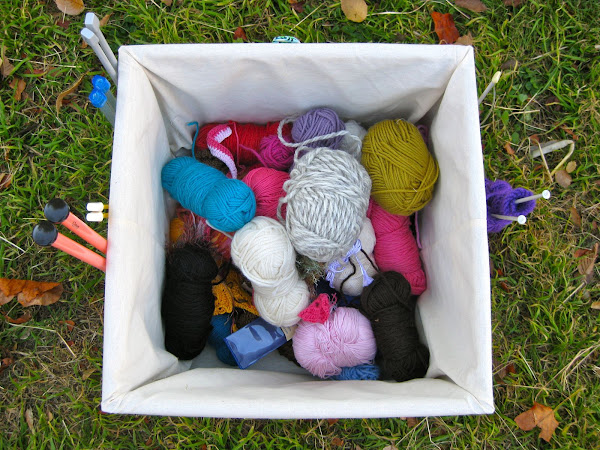
I was using this crate to store wool scraps, needles, crochet hooks and other bits and pieces.
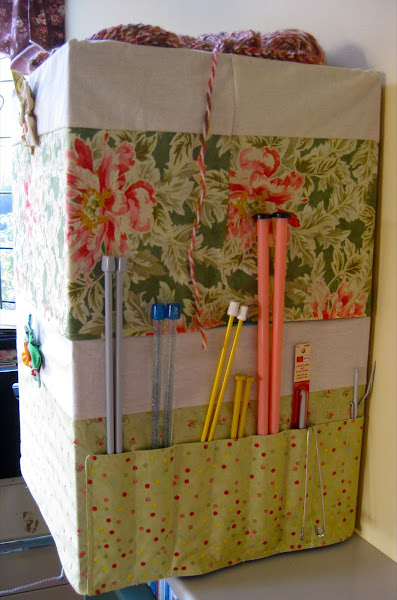
I marked the 2 corners on the front of the slipcover and measured all the way around: 42 1/2 inches. I added 3/4 inch to this figure: 43 inches. Depending on your needs you could wrap the pockets all around the crate, cover just one or two sides, or 3 of them like I did. Crochet hooks are a bit short for the pockets depth and they fall to the bottom of the pocket. You could choose to use 2 pocket widths on different sides of the crate so that the crochet hooks stick out.
Then I cut 2 pieces 43 in x 7 in in the facing fabric and another piece of the same size of calico fabric for the inside pocket.
Place both pieces of fabric right side facing together and stitch all around leaving a 2 to 3 inch opening to turn inside out.
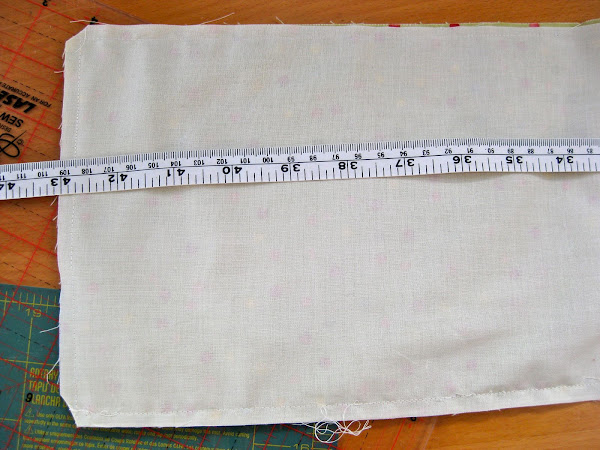
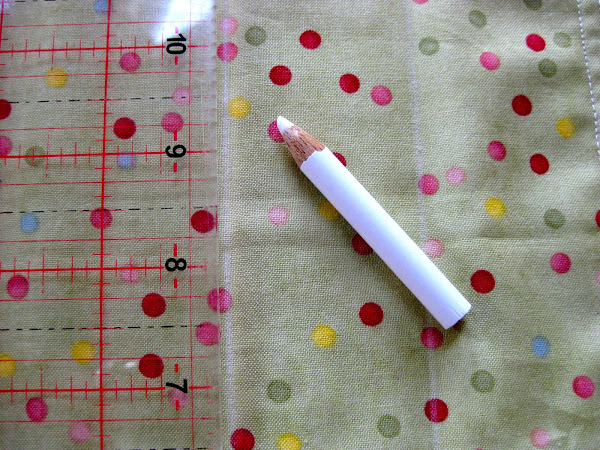
The finished height of the pockets is 6 1/4 inches.
Turn inside out and top stitch right on the edge. This edge will be placed facing up the crate.
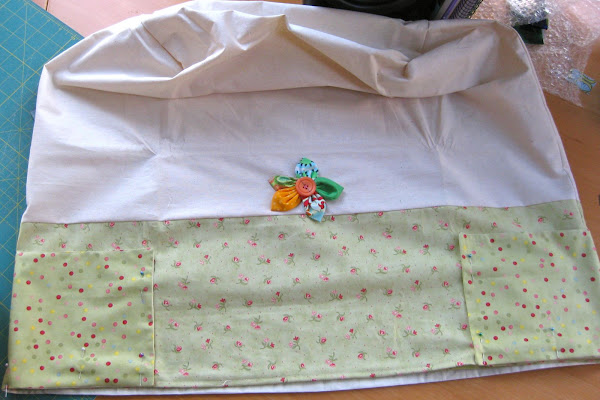
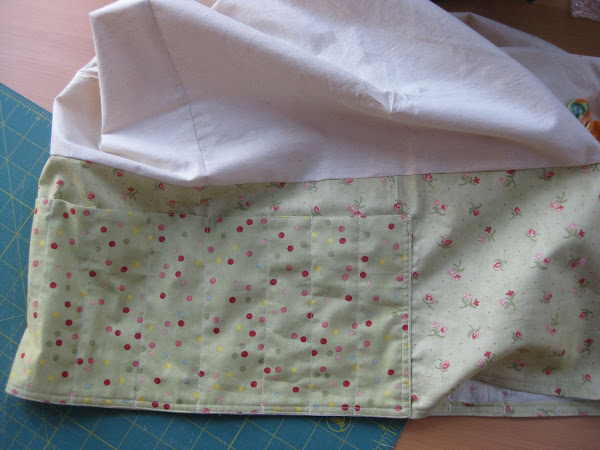
Place piece over the slipcover starting at the marking in each corner of the cover you made earlier.
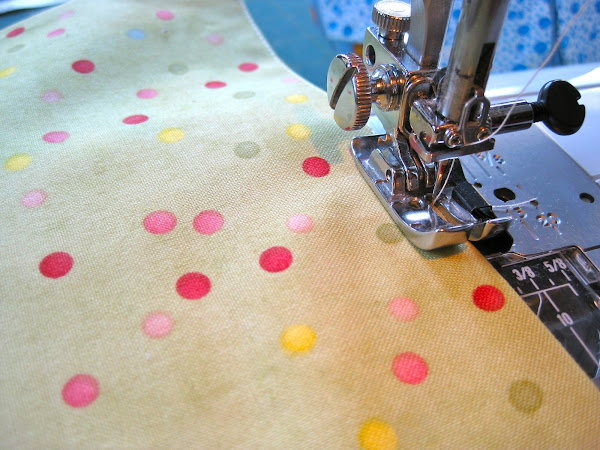
Stitch along 3 sides of the pockets fabric leaving the top side open. Stitch first right on the edge and then 1/4 inch from the edge.
Then mark the lines where the stitching making the pockets will go. I used two widths: 1 1/2 and 2 inches wide pockets all around the piece. You can adjust the measurements to your needs if you were to store larger pieces than hooks and needles.
Pin in place well so that the piece doesn’t move.
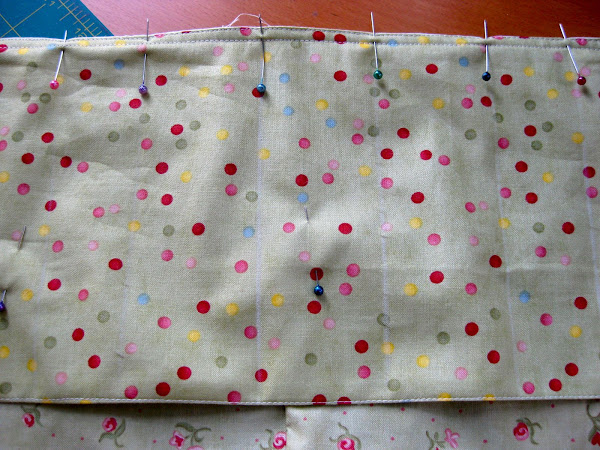
Stitch over the marked lines cutting the thread after each of the pockets. Use backstitching at the end and starting of each pocket.
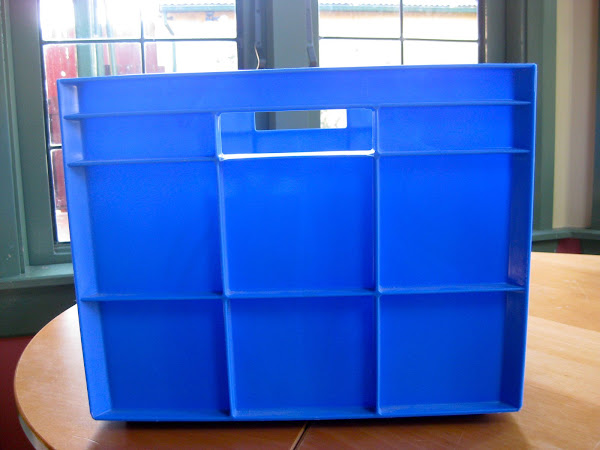
This is the ugly crate we’ll be covering.
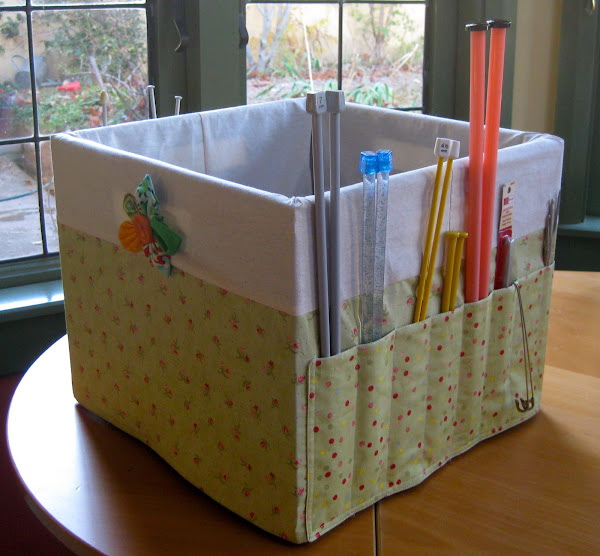
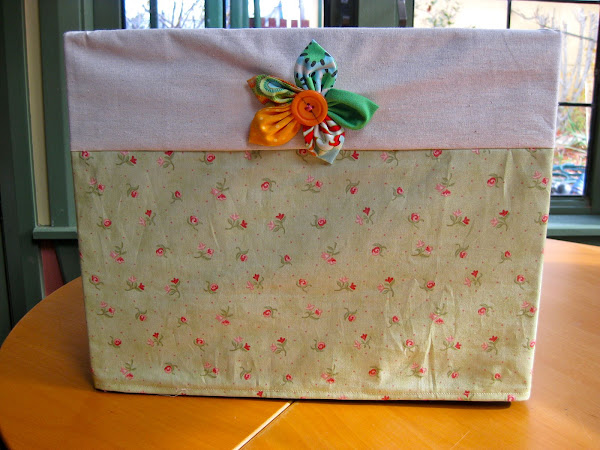
And this is the crate covered.
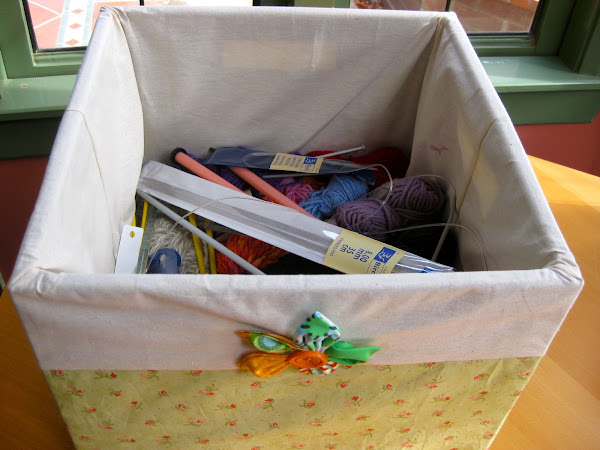
A view from the top.
And you can still stack the crates one of top of another.

I love those outer pockets!! I linked to your tutorial on Craft Gossip Sewing:
http://sewing.craftgossip.com/tutorial-slipcovered-storage-crate-with-outer-pockets/2011/05/21/
–Anne
LikeLike
Love the outer pockets. This could work very well in a smaller scale for make up brushes eye pencils and other important make up paraphernalia or for small sewing open baskets
LikeLike
This may be the best use for those awful crates ever. I made something similar, but never allowed time to cover the inside which is what I hated the most. Ok, so I’m officially inspired. Wonderful job.
LikeLike
Hi I Really Like your great tutorials!!!
I Link to you on my Blog,
http://paneamoreecreativita.it/blog/2011/07/raccolta-di-progetti-di-cucito-creativo-per-lestate
Thanks for sharing 🙂
LikeLike
Found your blog via Pinterest, great post. Thank you.
LikeLike
Such a wonderful design, I need to dust off my sewing machine.
LikeLike
I loved the covered crate, and thought, “hmmm, should do that one day”. Your pockets have made me go “Oh!!! I gotta make that for my crocheting! It’s fantastic!” I’m gonna do it tomorrow! 🙂
LikeLike
Gostei muito ,vou ver se consigo fazer ,beijos .
LikeLike
Belíssimo, amei!
LikeLike
Eu adorei a ideia, vou tentar fazer, sera que da para fazer com papelão, vou tentar,
LikeLike
Love your crate cover. I need to make one of those for my darling granddaughter. She loves to crochet but is desperate to get organized. I think I will add some large pockets to the other sides so she can keep her books in the same place. Thank you so much for posting this. I need another project haha
Geri
LikeLike